No. Name Description
3 Top cover Open it to remove jammed documents or clean the inside of the
ScanSnap.
For details about how to clean the inside of the ScanSnap, refer to
"Cleaning the Inside of the ScanSnap" (page 128).
4 [Scan/Stop] button (*1) Press this button to start or finish scanning.
Indicates the status of the ScanSnap as follows:
Blue (lit): Ready
Blue (flashing): Scanning
Orange (flashing): Error
5 Battery indicator Indicates the remaining battery power and battery charging status.
When the ScanSnap is turned on
Blue (lit): Fully charged
Orange (lit): Charging
Orange (flashing): Low battery
When the ScanSnap is turned off
Orange (lit): Charging
6 Wi-Fi indicator Indicates the status of the ScanSnap connected via wireless LAN as
follows:
Blue (lit): Connected (Access Point Connect mode)
Blue (flashing): Standby
Green (lit): Connected (Direct Connect mode)
Orange (lit): Not Connectable or waiting for connection in Direct
Connect mode
Orange (flashing): Not Connectable (WPS error)
7 Feeding section Insert the document here to load.
*1: When the ScanSnap has turned off automatically because of the automatic power off function,
either press the [Scan/Stop] button (this will not start scanning), or close the feed guide, then
open it again to turn the ScanSnap back on.
For details, refer to "Automatic Power OFF" (page 53).
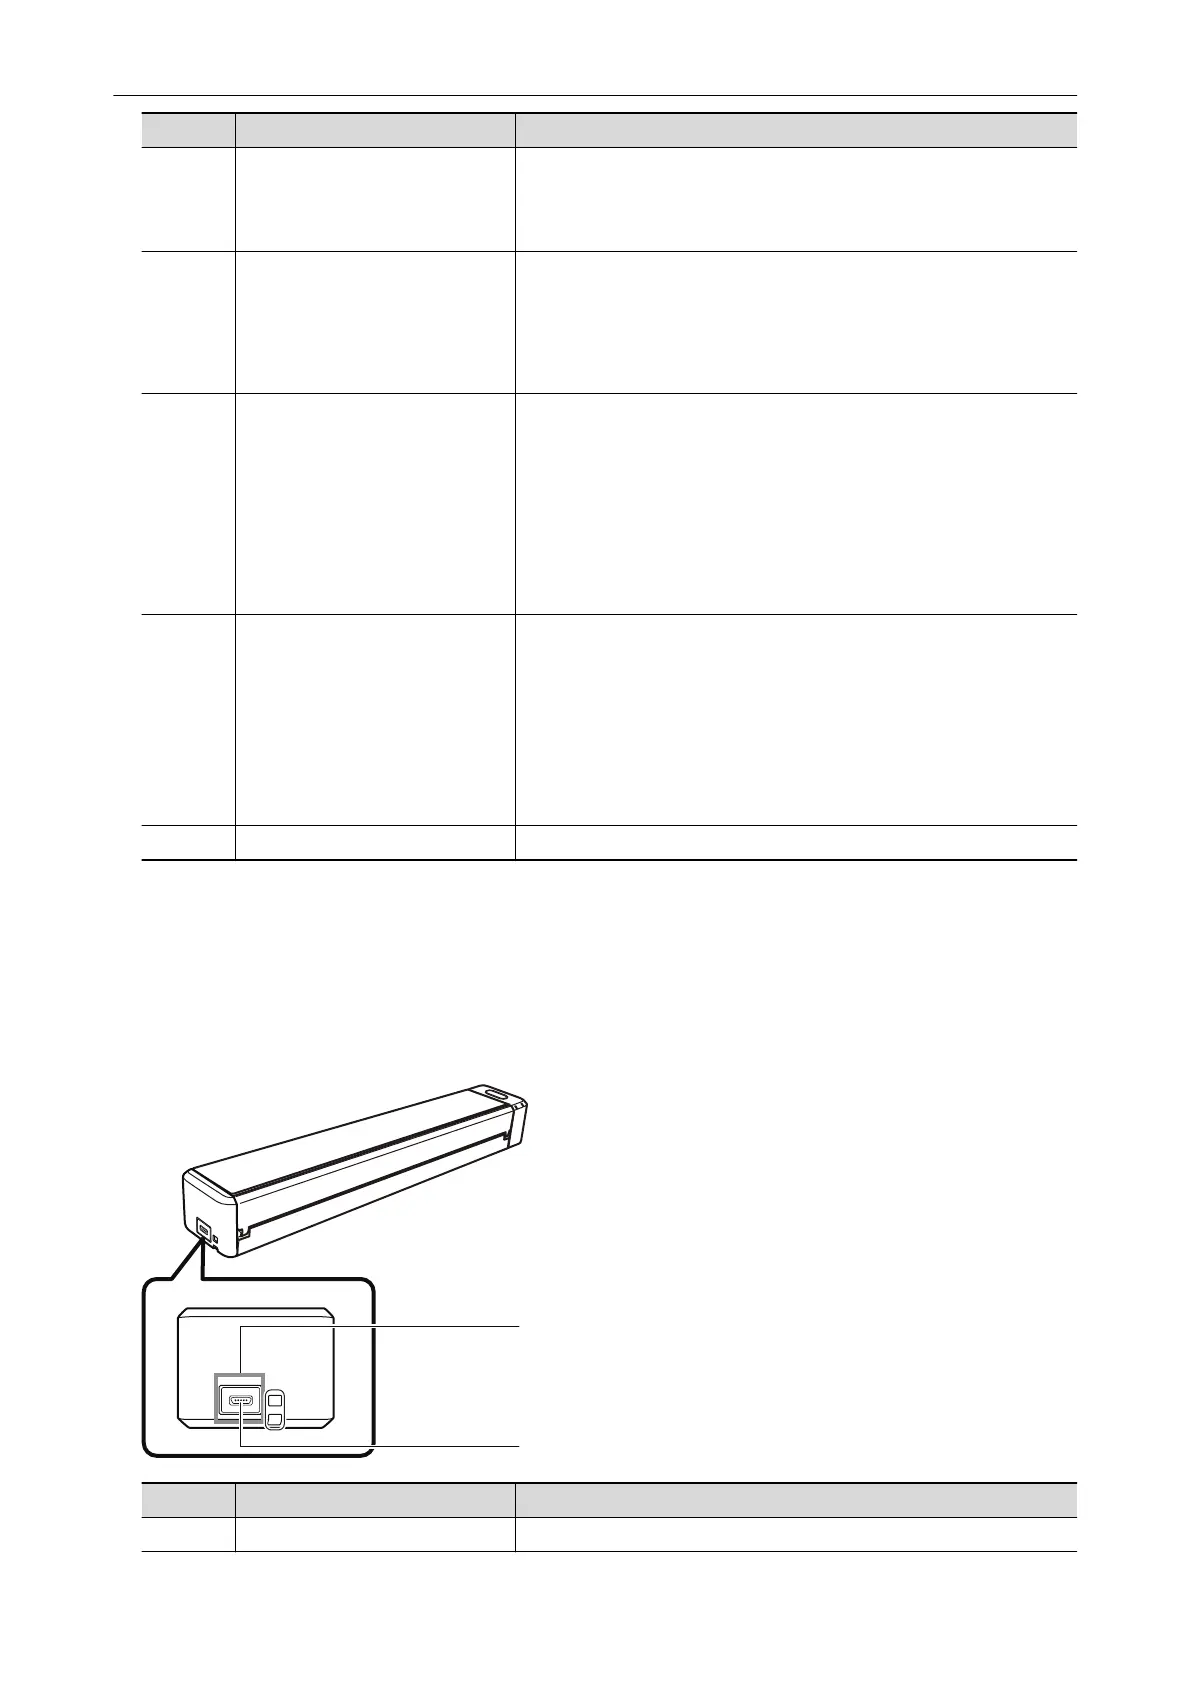
Side
No. Name Description
8 Tape seal Remove this tape seal after installing the software.
Parts and Functions
36

 Loading...