5
Installation
1. Turn on the computer and log on as a user
with Administrator privileges.
2. Insert the Setup DVD-ROM into the DVD-
ROM drive.
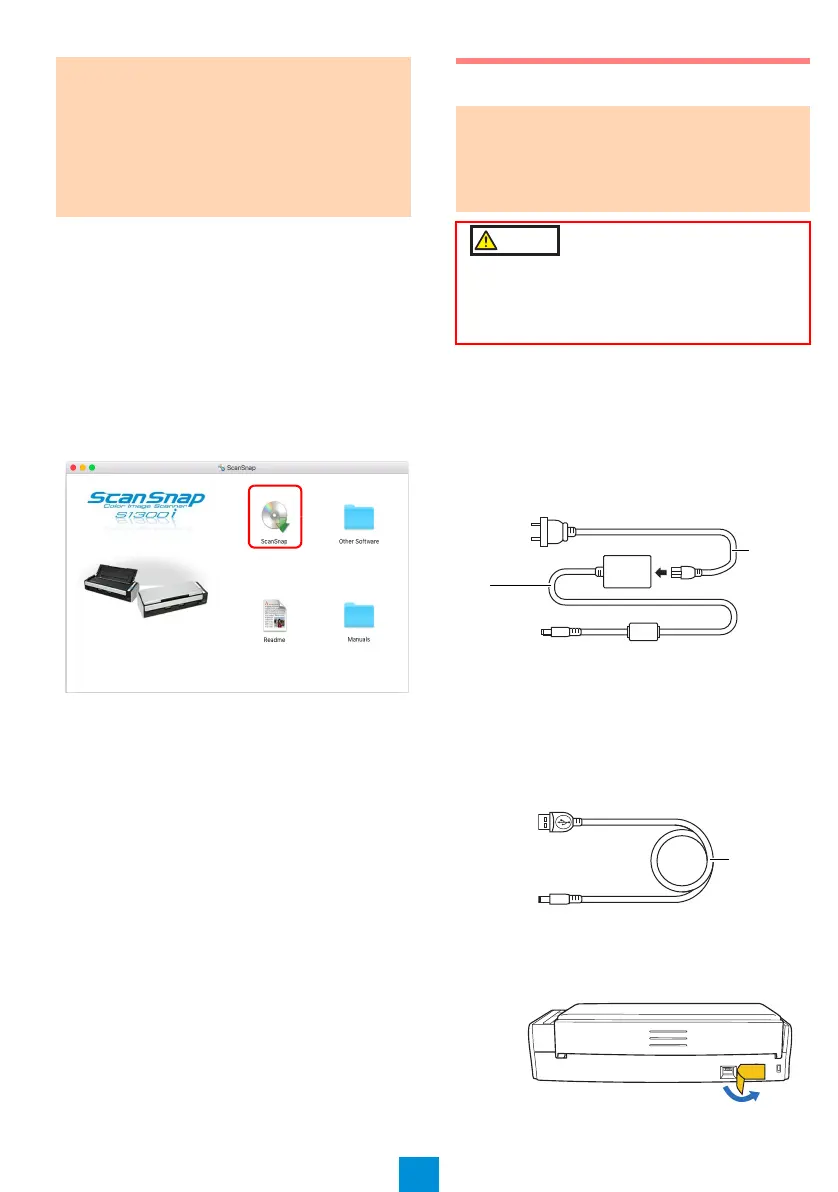
The [ScanSnap] window appears.
3. Double-click the [ScanSnap] icon.
Follow the instructions on the screen to
continue with the installation.
Connecting the ScanSnap
1.
Select a power cable depending on where
you want to use the ScanSnap.
To use the ScanSnap at a fixed location:
Use the power cable to connect to an AC
outlet.
For details about connection, refer to "Using
the Power Cable" (page 6) in Step 3.
To use the ScanSnap outside with your laptop
computer, or in a place where there are no AC
outlets nearby:
Use the USB bus power cable to connect to
your computer.
For details about connection, refer to "Using
the USB Bus Power Cable" (page 6) in Step
3.
2. Remove the tape seal covering the USB
connector and power connector of the
ScanSnap.
ATTENTION
If the system requirements above are not
satisfied, the ScanSnap may not operate.
Scanning speed will slow down in the following
cases:
- The CPU or the memory does not meet the
required specifications
- The USB port or the USB hub is version 1.1
ATTENTION
Only one ScanSnap can be used by a
computer at a time.
Use only the cables bundled with the
ScanSnap.
To prevent damage to the ScanSnap, use only
the AC adapter bundled with the ScanSnap.
Manufacturer: LEI
Model No.: NU13-1072166-I3

 Loading...