4. HOW TO INSTALL OPTIONAL EQUIPMENT
4-3
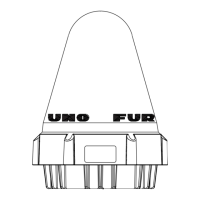
Cables connected
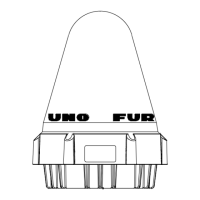
No cables connected
Peel the paper and attach the D-sub gasket
(supplied with OP16-61) to the communication
unit. Then, connect the waterproofing cable
XM-FD-361 (supplied with OP16-58)
to connect with the IC-318.
1. Unfasten two binding screws to detach
the LAN cover from the communication unit.
2. Peel the paper and attach the LAN packing 2
(supplied with OP16-61) to the communication unit.
3. Re-attach the LAN cover.
LAN cover
(16-023-4507)
LAN packing 2
(16-023-4512)
D-sub gasket
(16-023-4513)
LAN waterproof plate
(16-023-4531)
Dsub cover
(16-023-4532)
Use two binding screws
(pre-attached) to fasten the
LAN waterproof plate (supplied
with OP16-61).
Peel the paper and attach
the D-sub gasket (supplied
with OP16-61) to the commu-
nication unit. Then, fasten two
binding screws (#4-4OUNCX3/16,
supplied with OP16-61) to fix
the Dsub cover (supplied with
OP16-61).

 Loading...