Do you have a question about the Garmin Dakota 20 and is the answer not in the manual?
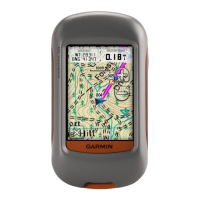
Instructs to hold the power key button as shown in Figure 1.
Explains the main menu screen appears after powering on the unit.
Describes the battery indicator showing 3 green lights with new batteries.
Details satellite signal acquisition, requiring outdoor waiting for a green connection.
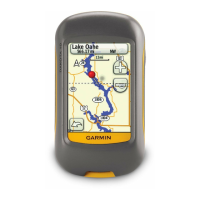
Navigate to the 'Where To?' icon, select 'Tracks', then choose the desired route.
Press the 'Go' icon to initiate the selected route navigation.
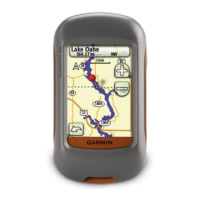
Explains route display and advises using zoom icons for optimal map viewing.
Describes how touching the screen pauses navigation and how to resume.
Explains returning to the main menu without ending navigation and accessing compass.
Suggests using the lock screen to prevent accidental screen touches and pauses.
Details the steps to lock the screen using the power key and Figure 11.
Provides instructions to unlock the screen via the power button and unlock option.
Explains using the power key and +/- buttons to modify screen brightness.
States battery life and that the screen auto-off conserves power.
Instructs on how to remove the protective cover and replace batteries.
| Geocaching (GPS stash hunt) | Yes |
|---|---|
| Marine (chartplotters, sounders) | No |
| Routes quantity | 50 |
| Tracks quantity | 200 |
| Number of waypoints | 1000 |
| Interface | USB |
| GPS receiver | HotFix |
| Internal memory | 850 MB |
| Form factor | Handheld |
| Display diagonal | 2.6 \ |
| Display resolution | 160 x 240 pixels |
| Display size (HxV) (imperial) | 1.43 x 2.15 \ |
| Map storage | Internal storage |
| USB 2.0 ports quantity | 1 |
| Battery type | AA |
| Battery life (max) | 20 h |
| Number of batteries supported | 2 |
| Sustainability certificates | RoHS |
| Depth | 33 mm |
|---|---|
| Width | 55 mm |
| Height | 100 mm |
| Weight | 148.8 g |