10
WARNING
Beware of spiders and wasps. Burner tube
should be inspected and cleaned periodically.
To avoid any are-ups, it is recommended
that the drip tray be checked and emptied
regularly. Contents of the drip tray may be
very hot during cooking. If emptied during
extended cooking extreme caution should be
taken and direct contact by hand should be
avoided at all times. Allow to cool completely
before disposing of the contents.
Should the burners extinguish for any reason,
turn off all control knobs and the cylinder gas
valve. Wait 5 minutes before attempting to
relight the appliance.
If a grease or fat re occurs, turn off all control
knobs and gas cylinder valve immediately until
the re is out.
A leak test must be carried out prior to using
the appliance for the rst time or each time
the gas cylinder is relled or each time the gas
hose and gas regulator being disconnected
from the gas cylinders or appliance.
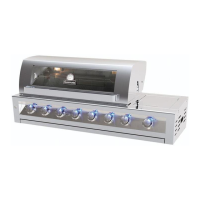
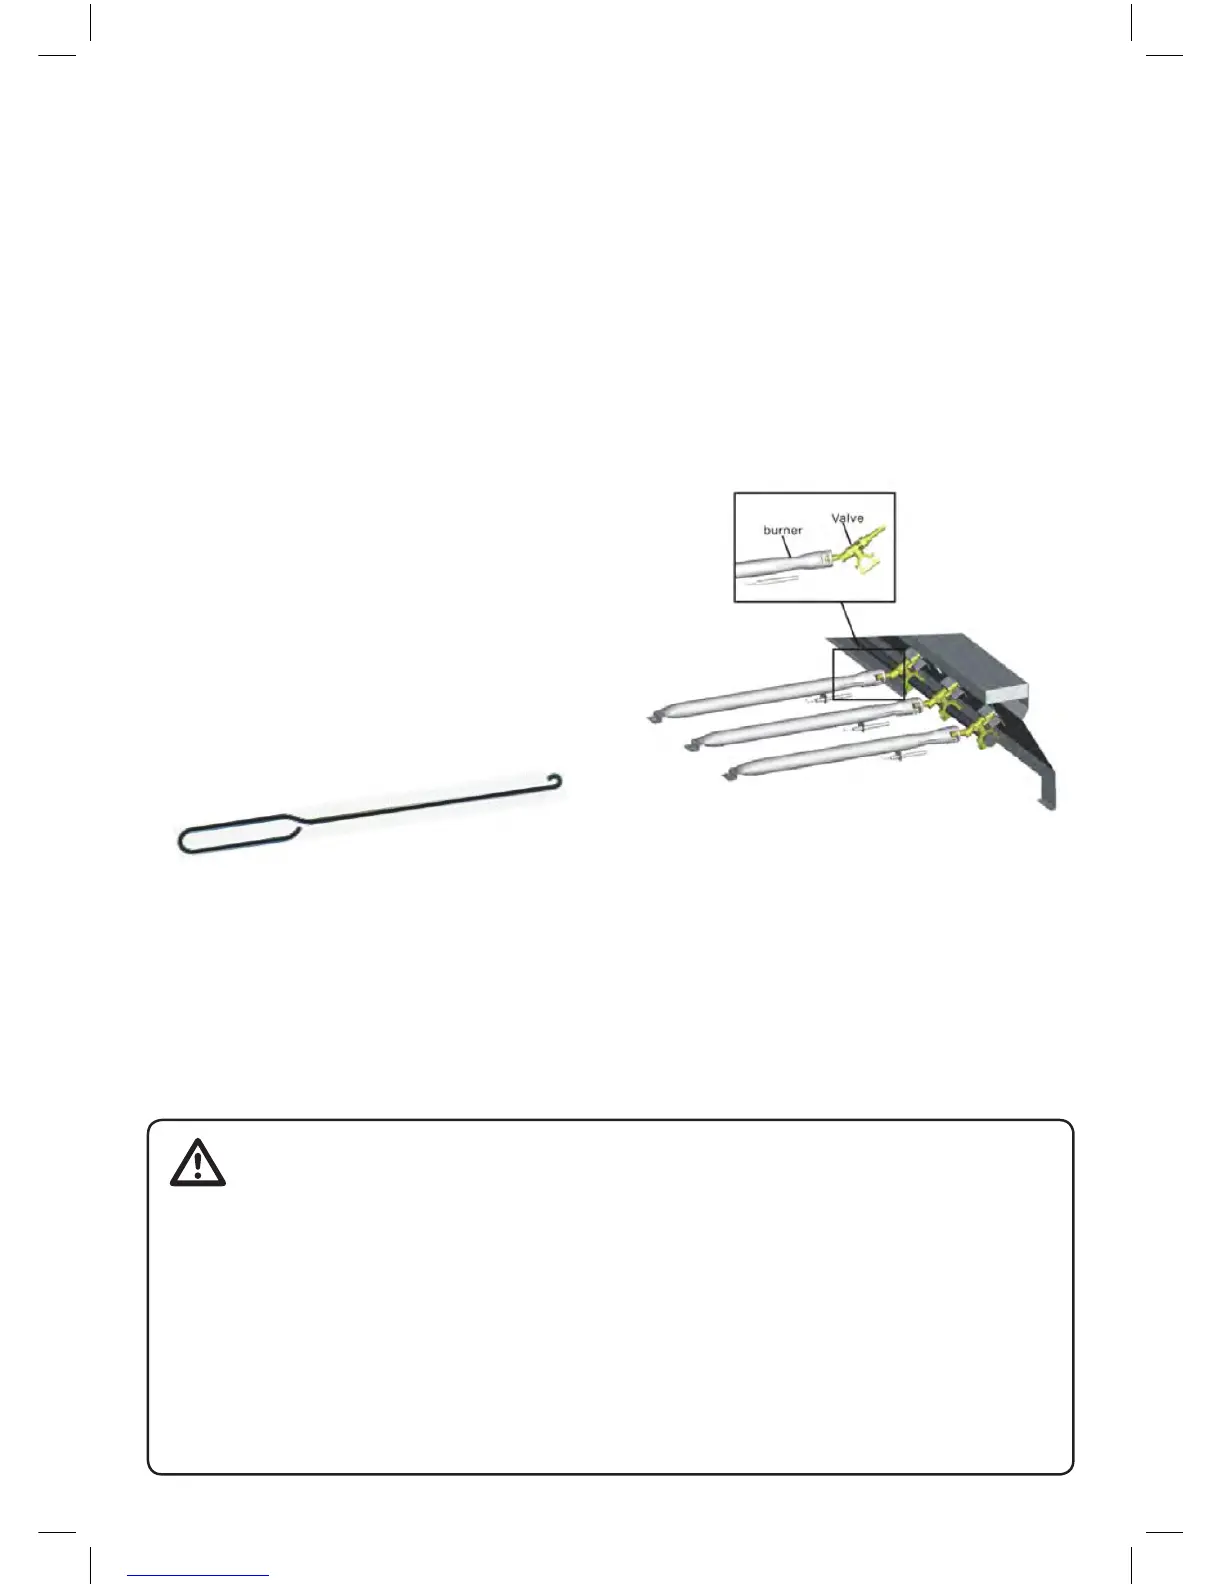
CLEANING THE BURNER
Follow these instructions to clean
and/or replace burners.
1. Turn gas off at control knobs and gas cylinder.
2. Remove cooking grates and grease tray.
3. Remove screw at end of burner using a
screwdriver.
4. Carefully lift each burner up and away from
valve openings.
CAUTION: Inspect burner for any damage (cracks
or holes). If damage is found, replace with a new
burner. Reinstall the burner, ensuring they are
located on the gas valve.
We suggest three ways to clean the burner
tubes. Use the one easiest for you.
(A) Bend a stiff wire (a light weight coat hanger
works well) into a small hook. Run the hook
through each burner tube several times.
(B) Use a narrow bottle brush with a exible
handle (DO NOT use a brass wire brush), run the
brush through each burner tube several times.
(C) Wear eye protection: use an air hose to
force air into the burner tube and out the air
ports. Check each port to make sure air comes
out each hole.
5. Wire brush entire outer surface of burner to
remove food residue and dirt.
6. Clean any blocked ports with a stiff wire such as
an open paper clip.
7. Check burner for damage, due to normal wear
and corrosion some holes may become
enlarged. If any large cracks or holes are found
replace burner.
8. Carefully ret burners, ensuring they are
located on the gas valve.
9. Replace screw at the end of burner.
10. Replace grease tray and cooking grates.
 Loading...