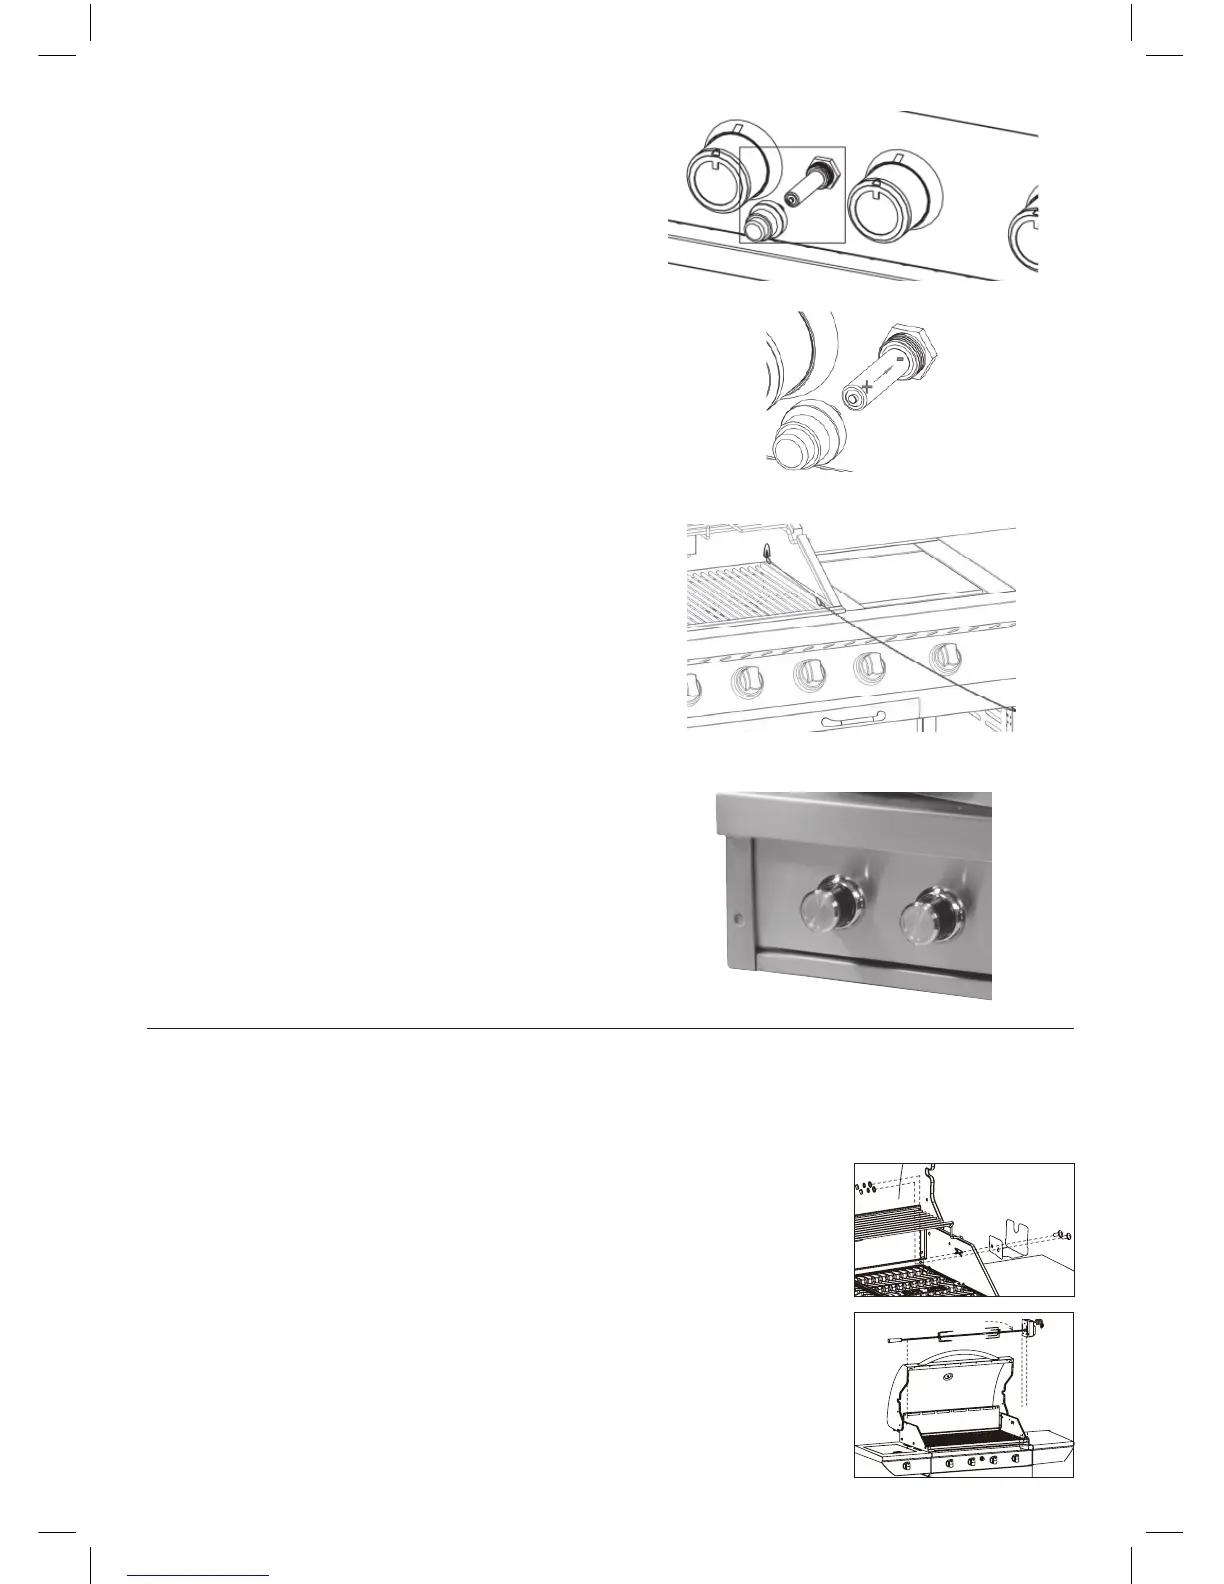
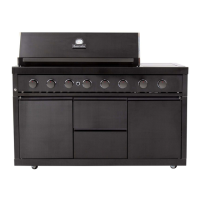
Rotisserie Bracket Assembly Instructions
Important Note: Only the rotisserie bracket is supplied with your barbecue. You must purchase your
rotisserie separately. This rotisserie bracket must be used instead of the bracket supplied with your
purchased rotisserie kit.
The following instructions assume you also have a rotisserie kit.
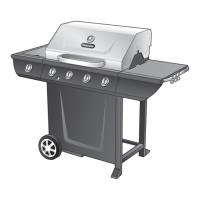
1. Remove warming rack, and close side burner cover.
2. Using screws, washers and nuts provided, attach motor bracket to side of
barbecue.
3. Close lid to make sure that the bracket and motor do not interfere with
the lid closing.
4. Tighten all screws.
5. Mount motor onto motor bracket.
6. Slide the two 4-prong meat forks onto the spit rod and tighten thumbscrews.
7. Attach collar and handle to end of spit rod.
8. Insert one end of the spit rod into the spit rod holder on the motor.
Seat the collar carefully into the recess in the barbecue body.
3. Unscrew ignition cap and place a Battery (Size: AA) into place with
the (+) end facing outwards. Screw cap back on. Upon pressing the
ignition button, you should hear a clicking sound.
4. For Manual Ignition, use a match placed onto end of match holder.
3. Unscrew ignition cap and place a Battery
(size AA) into place with the (+) end facing
outwards. Screw cap back on. Upon pressing
the ignition button, you should hear a
clicking sound.
4. For manual ignition, use a match placed onto
end of match holder.
5. Plug the power cord into a power outlet and
turn ON. To avoid damage to the power cord,
make sure it is kept away from the product
when use.
6. Turn the light power switch on. The blue
lights behind the control knob will illuminate,
along with the lights in the hood.
S i R