49
3.4.6 Removal of the Printer
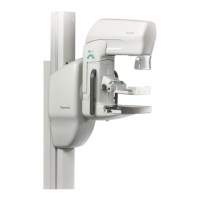
The printer motor assembly and PCB are mounted upside-down inside the base of the rear enclosure.
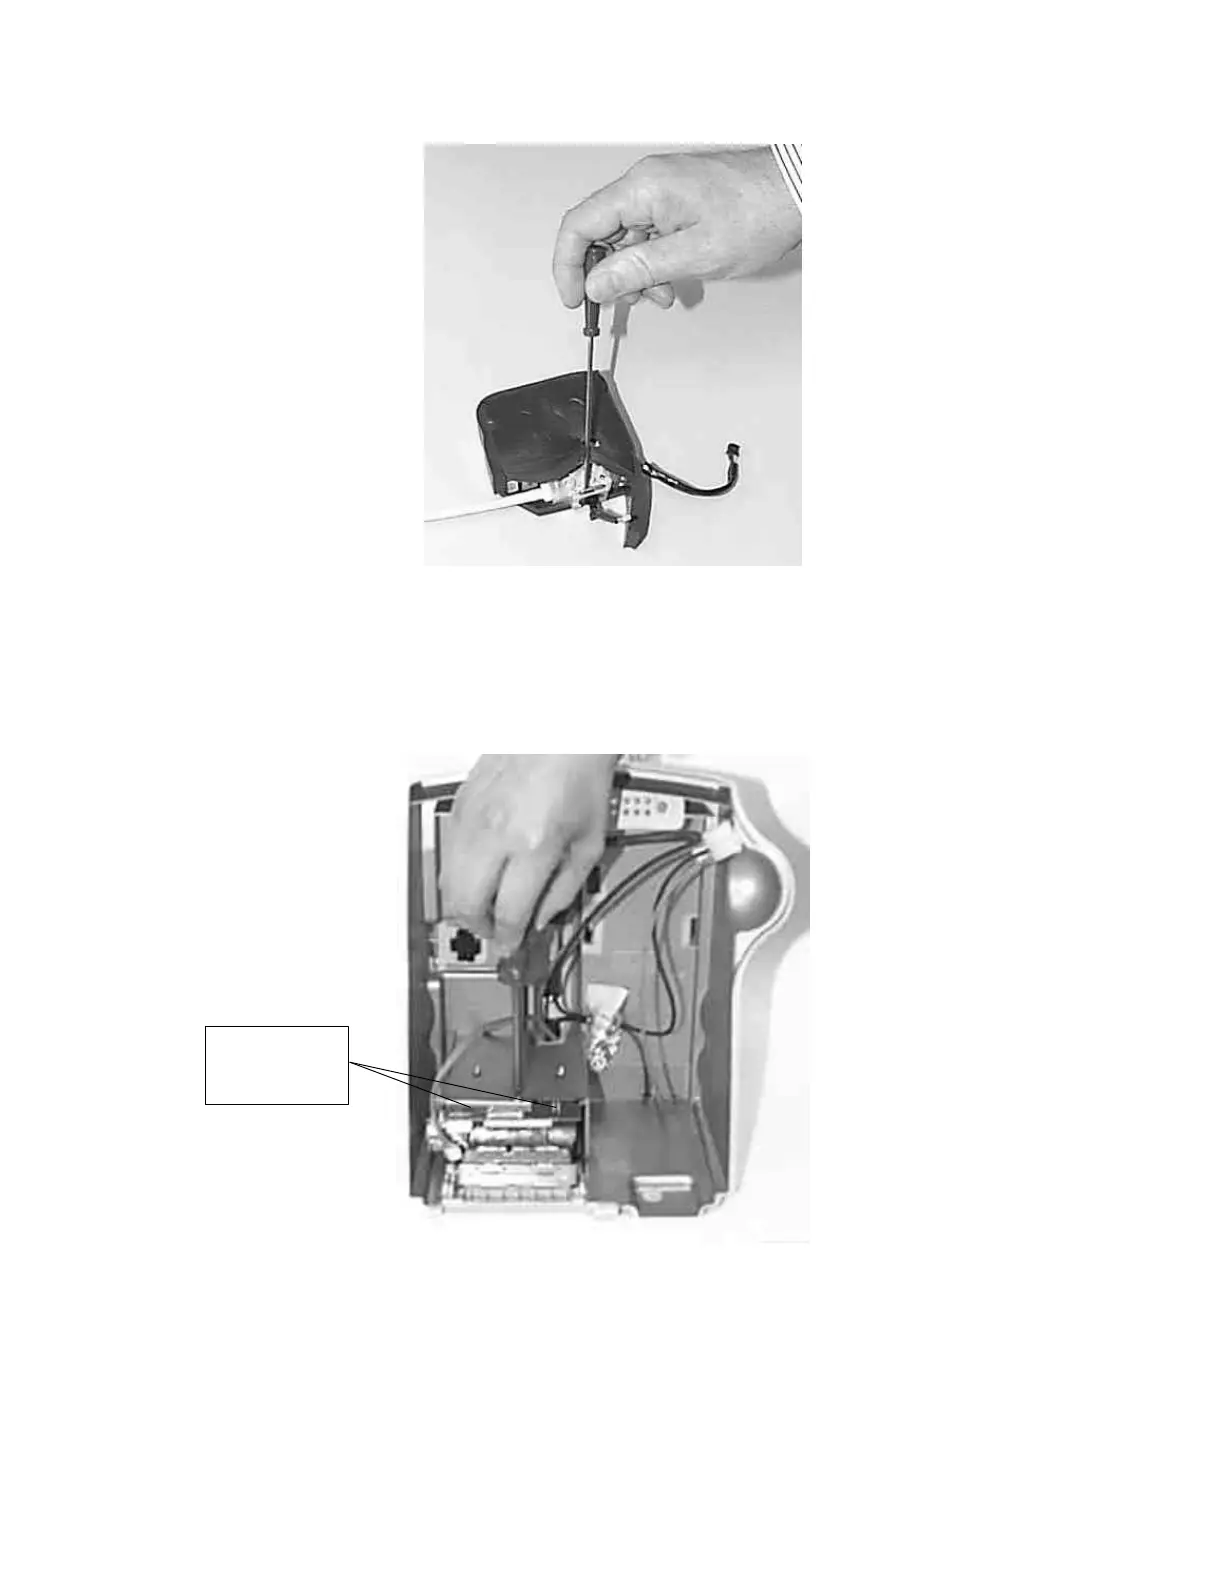
Before removing the printer, take out the paper roll if fitted and leave the printer door open. To remove the
printer assembly, withdraw the three small Pozidriv
™
screws. Support the printer with one hand as the
screws are removed.
When removed from the enclosure, the printer’s ribbon cable may be disconnected from the PCB by lifting
the outer part of the plastic connector. To refit the ribbon, first lift the outer part of the connector, insert the
ribbon, and then push the outer part of the connector down.
screws



 To Next Page