49-60704-2 13
INSTALLATION INSTRUCTIONS
Installation Instructions
3
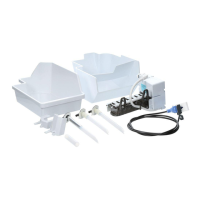
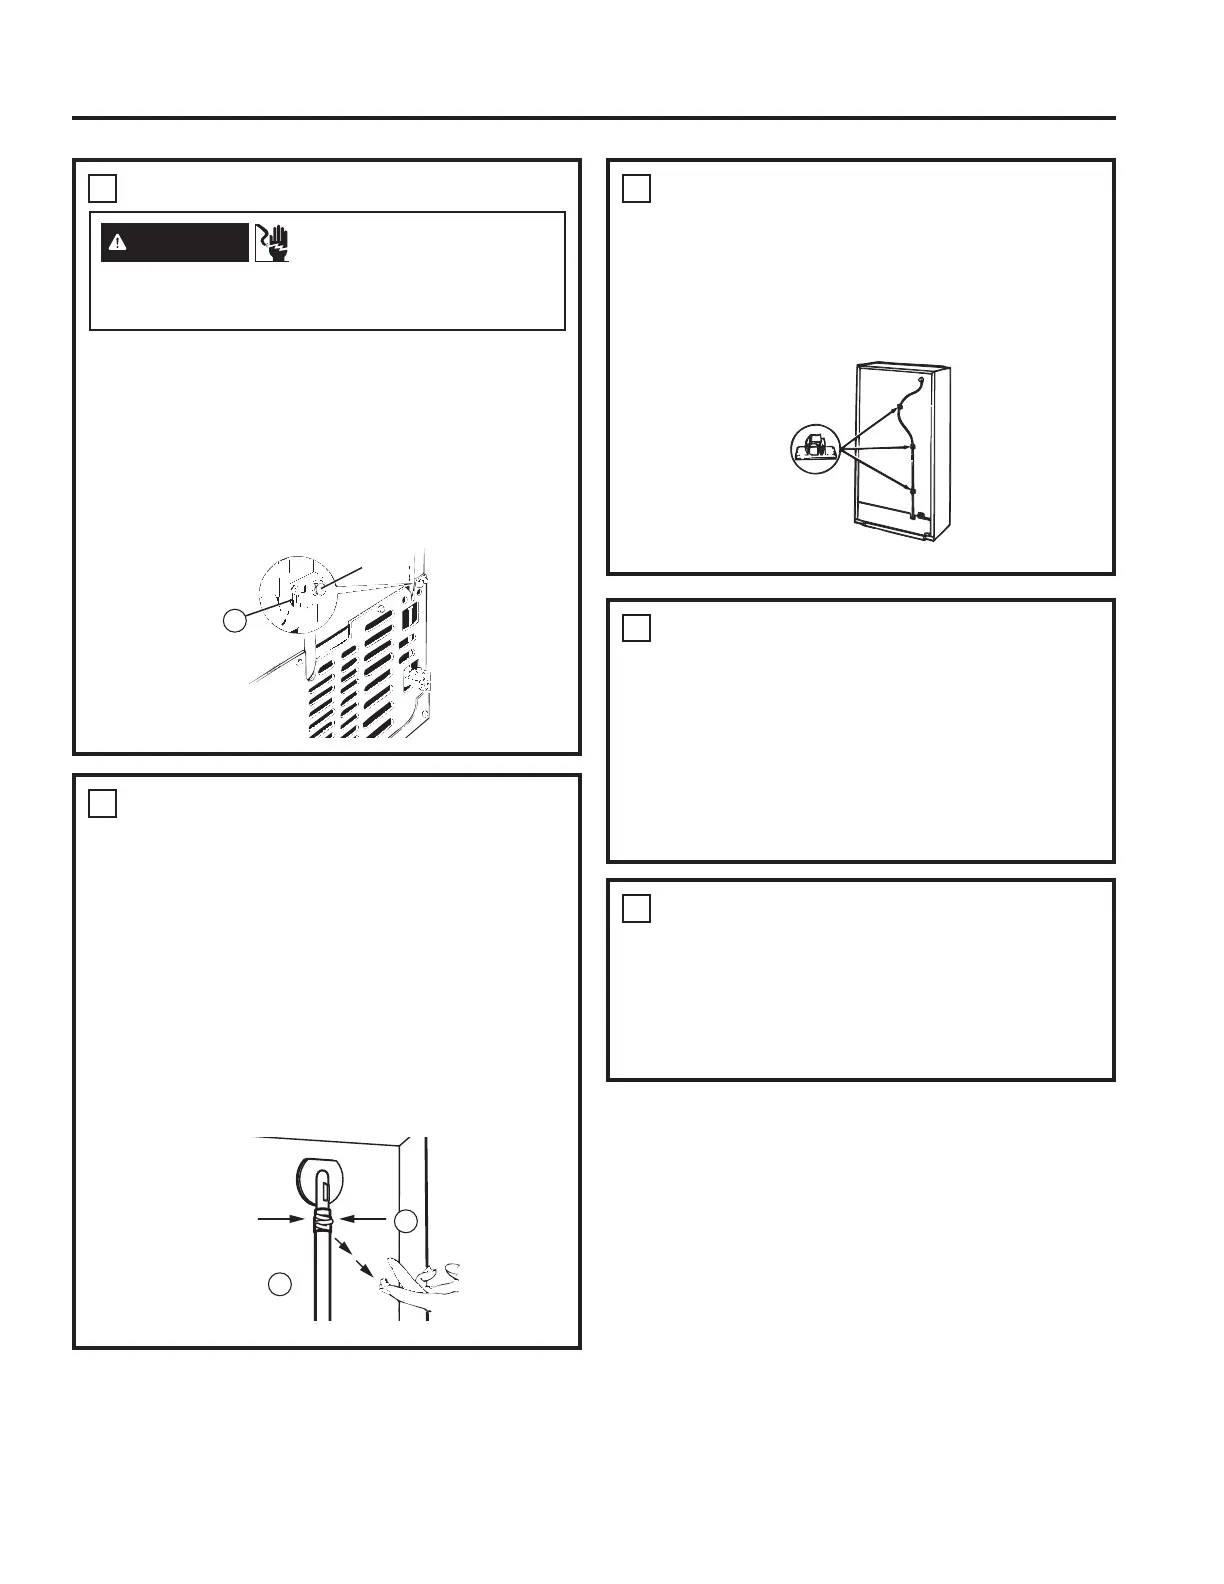
INSTALL WATER LINE CLAMP
Ŷ Attach the metal water line clamp VWUDLQUHOLHI
WRWKHUHIULJHUDWRU'ULYHRQHRIWKHVFUHZV
removed in Step 1, into the cabinet edge through
the clamp and hole in compressor cover.
Ŷ 7KHPHWDOFODPSLVIRUWKHKRXVHZDWHUOLQHVHH
:DWHU/LQH,QVWDOODWLRQ,QVWUXFWLRQV,WLVQRWWREH
used for the tubing from the water valve up to the
icemaker.
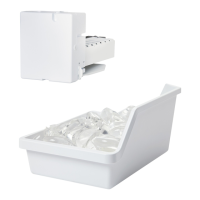
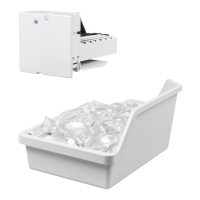
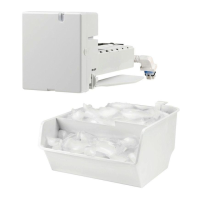
5
ROUTE AND ATTACH THE
PLASTIC WATER LINE
Ŷ Route the plastic water line along the back of the
refrigerator to the water tube inlet.
Ŷ 8VHWKHWKUHHDGKHVLYHEDFNHGIDVWHQHUVWR
secure the plastic water line to the case back.
6
WATER VALVE INSTALLED
Ŷ 5HIHUWRWKH:DWHU/LQH,QVWDOODWLRQ,QVWUXFWLRQVIRU
connection to the home water supply. After water
line installation is completed, set the icemaker
power switch to ON.
Ŷ The icemaking cycle will not begin until the
icemaker and freezer compartment reach
operating temperature, then icemaking will
begin automatically.
4
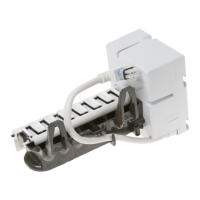
CONNECT THE WATER LINE
Ŷ 5HPRYHWKHVPDOOSODVWLFFDS%IURPWKHERWWRP
of the water tube inlet located in the upper-right
rear corner of the refrigerator.
Ŷ 6TXHH]HWKHHQGVRIWKHKRVHFODPSIURPWKH
kit with pliers and slide the clamp over the water
tube inlet.
Ŷ :KLOHVWLOOVTXHH]LQJWKHFODPSLQVHUWWKH
plastic water line into the inlet as far as it will go
DSSUR[LPDWHO\>PP@
Ŷ Then slide the clamp downward to capture the
plastic water line in place.
17
Screw
6
Water tube
inlet
B
Adhesive-backed
fasteners for
plastic water line
7
REINSTALL THE COVER
Ŷ Reinstall the compressor compartment access
FRYHU7KLVUHTXLUHVXVLQJWKHVFUHZV\RX
removed previously to reattach the cover to
the back of the refrigerator case. This must be
reinstalled for your refrigerator to function properly.
WARNING
ELECTRIC SHOCK
HAZARD
Attach tubing clamp using existing hole only. DO
NOT drill into the refrigerator.
 Loading...