14 49-60704-2
BEFORE YOU BEGIN
Read these instructions completely and carefully.
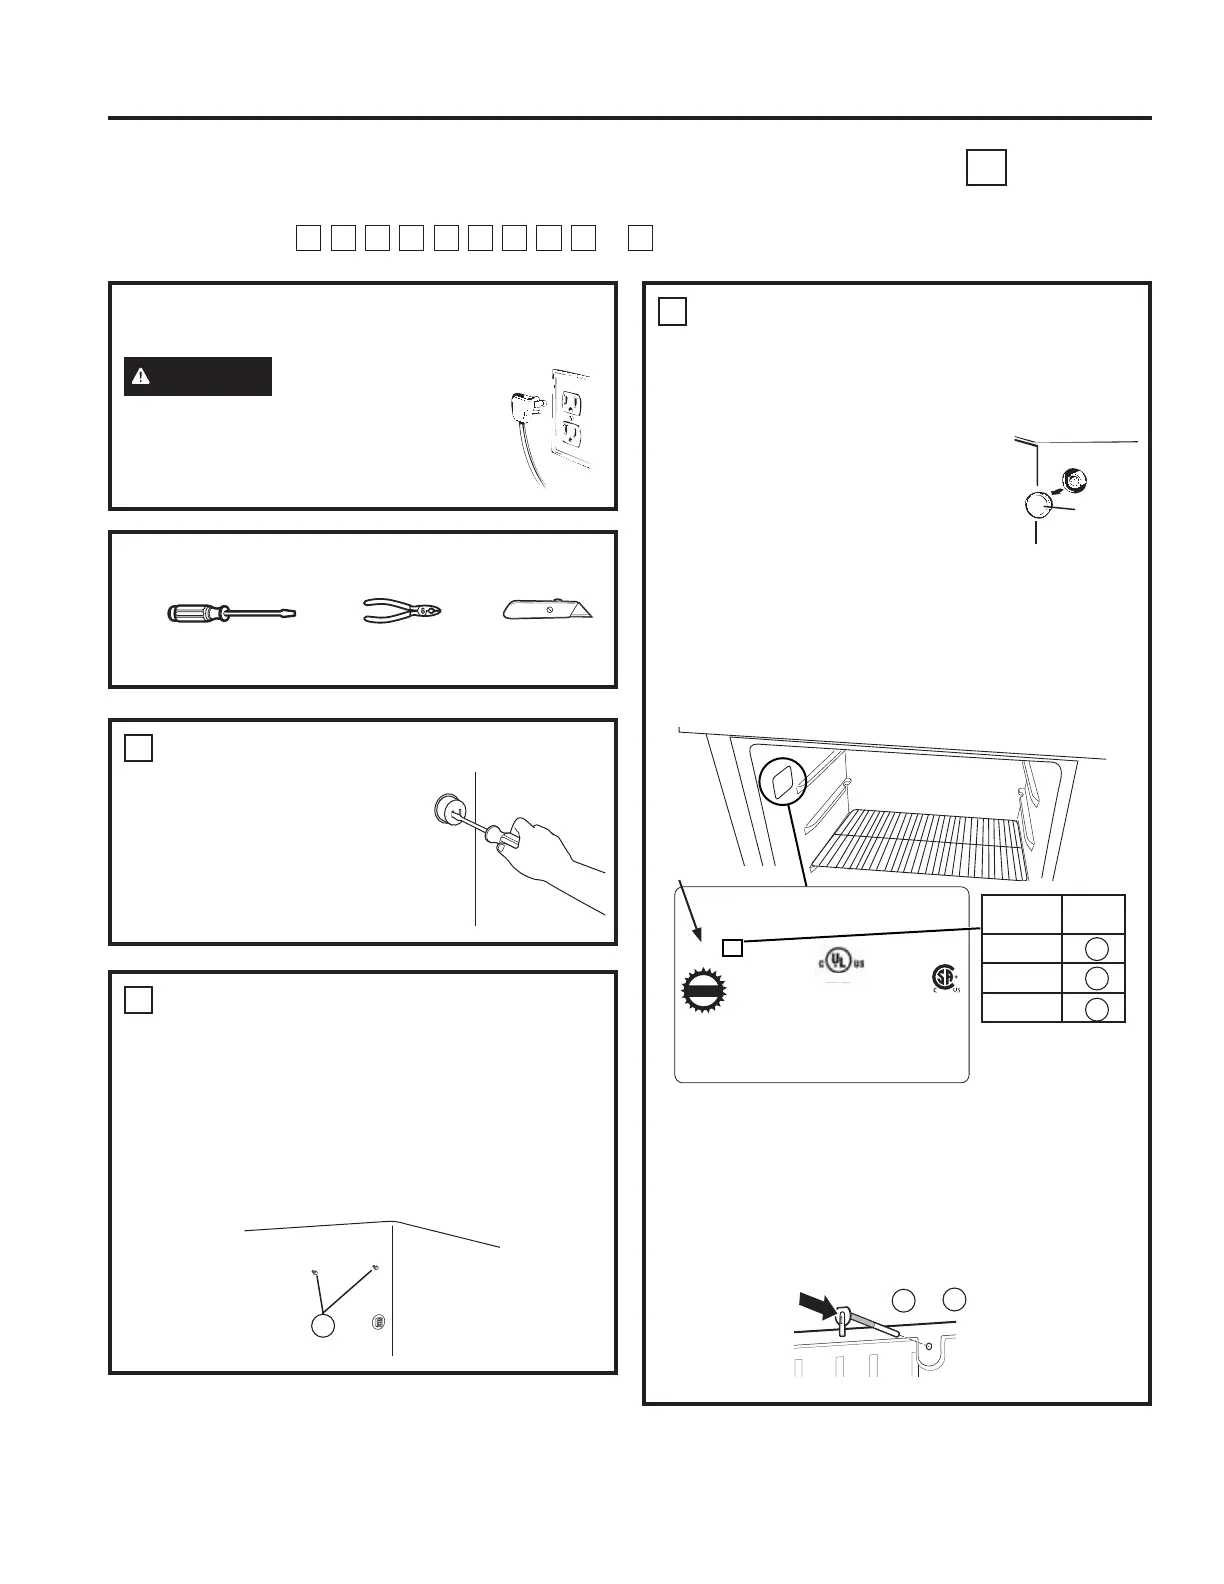
WARNING
To reduce the risk of
electric shock or injury during installation,
you must first unplug the refrigerator
before proceeding.
TOOLS YOU WILL NEED
3
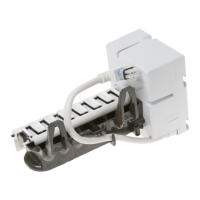
INSTALL FILL TUBE
Ŷ ,IWKHUHIULJHUDWRUDOUHDG\KDVDZDWHUWXEHLQOHW
on the back of the refrigerator, use a flat-blade
screwdriver to gently remove it. The removed
plastic elbow and gasket can be discarded.
Ŷ Remove and discard the white plug
from the upper left corner of the
freezer wall.
Ŷ Open the fresh food door and locate
the label in the upper left corner of
the compartment.
Ŷ Find the model number in bold listed under
MODEL NO.
Ŷ Match the two digit number in the model number
to the table below. NOTE: The desired number
starts at the fourth character.
Ŷ Go to the back of the refrigerator. Find the small
label in the upper right hand corner and peel it off.
7KHUHLVDQDGKHVLYHEDFNLQJRQWKHILOOWXEHRU
12). Remove the adhesive backing and slide the
tube into the hole near the top at the back of the
refrigerator. Firmly press on the inlet to secure it to
the refrigerator.
Installation Instructions
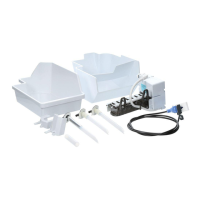
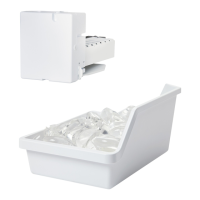
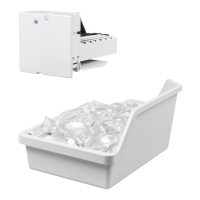
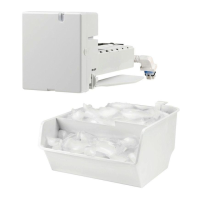
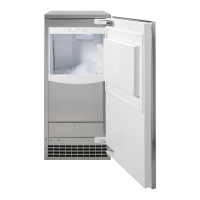
ICEMAKER INSTALLATION INSTRUCTIONS
M
INSTALLATION INSTRUCTIONS
$UHWKHVHWKHULJKWLQVWUXFWLRQVIRU\RXUPRGHO")ROORZWKH,QVWDOODWLRQ,QVWUXFWLRQVLQGLFDWHGE\WKHODEHORQWKHEDFN
of the refrigerator—
L
M
N
Q
R
S
T
U
V
or
W
Flat blade and Phillips
screwdrivers
Pliers
Sharp knife
1
REMOVE THE COVER
Ŷ Remove the outlet
cover with a flat-blade
screwdriver.
2
PREPARE FOR INSTALLATION
Ŷ ,QVLGHWKHIUHH]HUORRVHQWKHWZRmounting
screws%EXWGRQRWVFUHZWKHPDOOWKHZD\RXW
,I\RXUPRGHOGRHVQRWKDYHWKHVFUHZVDOUHDG\LQ
the freezer wall, look for two plug buttons. Remove
the plug buttons and insert the two Phillips
head screws 7KHVFUHZVVKRXOGH[WHQG
DSSUR[LPDWHO\PPRXWIURPWKHIUHH]HU
wall.
B
Remove
plug
GENERAL ELECTRIC COMPANY
APPLIANCE PARK LOUISVILLE, KY 40225
www.GEAppliances.com
LISTED HOSEHOLD REFRIGERATOR/FREEZER
SERIAL NO.
182A
MODEL NO.
FZ743041GTH18GBDCRWW
IIIIIIIIIIIIIIIIIIIIIIIIIIIIIIIIIIIIIIIIIIIIIIIIIIIIIIIIIIIIIIIIIIIIII
IIIIIIIIIIIIIIIIIIIIIIIIIIIIIIIIIIIIIIIIIIIIIIIIIIIIIIIIIIIIIIIIIIIIIIIIIIIIII
IIIIIIIIIIIIIIIIIIIIIIIIIIIIIIIIIIIIIIIIIIIIIIIIIIIIIIIIIIIIIIIIIIIIIIII
IIIIIIIIIIIIIIIIIIIIIIIIIIIIIIIIIIIIIIIIIIIIIIIIIIIIIIIIIIIIIIIIIIIIIIII
IIIIIIIIIIIIIIIIIIIIIIIIIIIIIIIIIIIIIIIIIIIIIIIIIIIIIIIIIIIIIII
IIIIIIIIIII
IIIIIIII
IIIIII
Model
Number
Fill
Tube
16 #
17 #
18 #
11
11
12
Model Number
11 or
12
 Loading...