49-60704-2 15
INSTALLATION INSTRUCTIONS
Installation Instructions
5
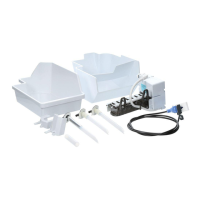
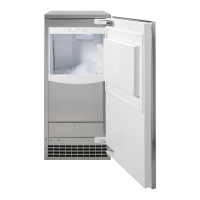
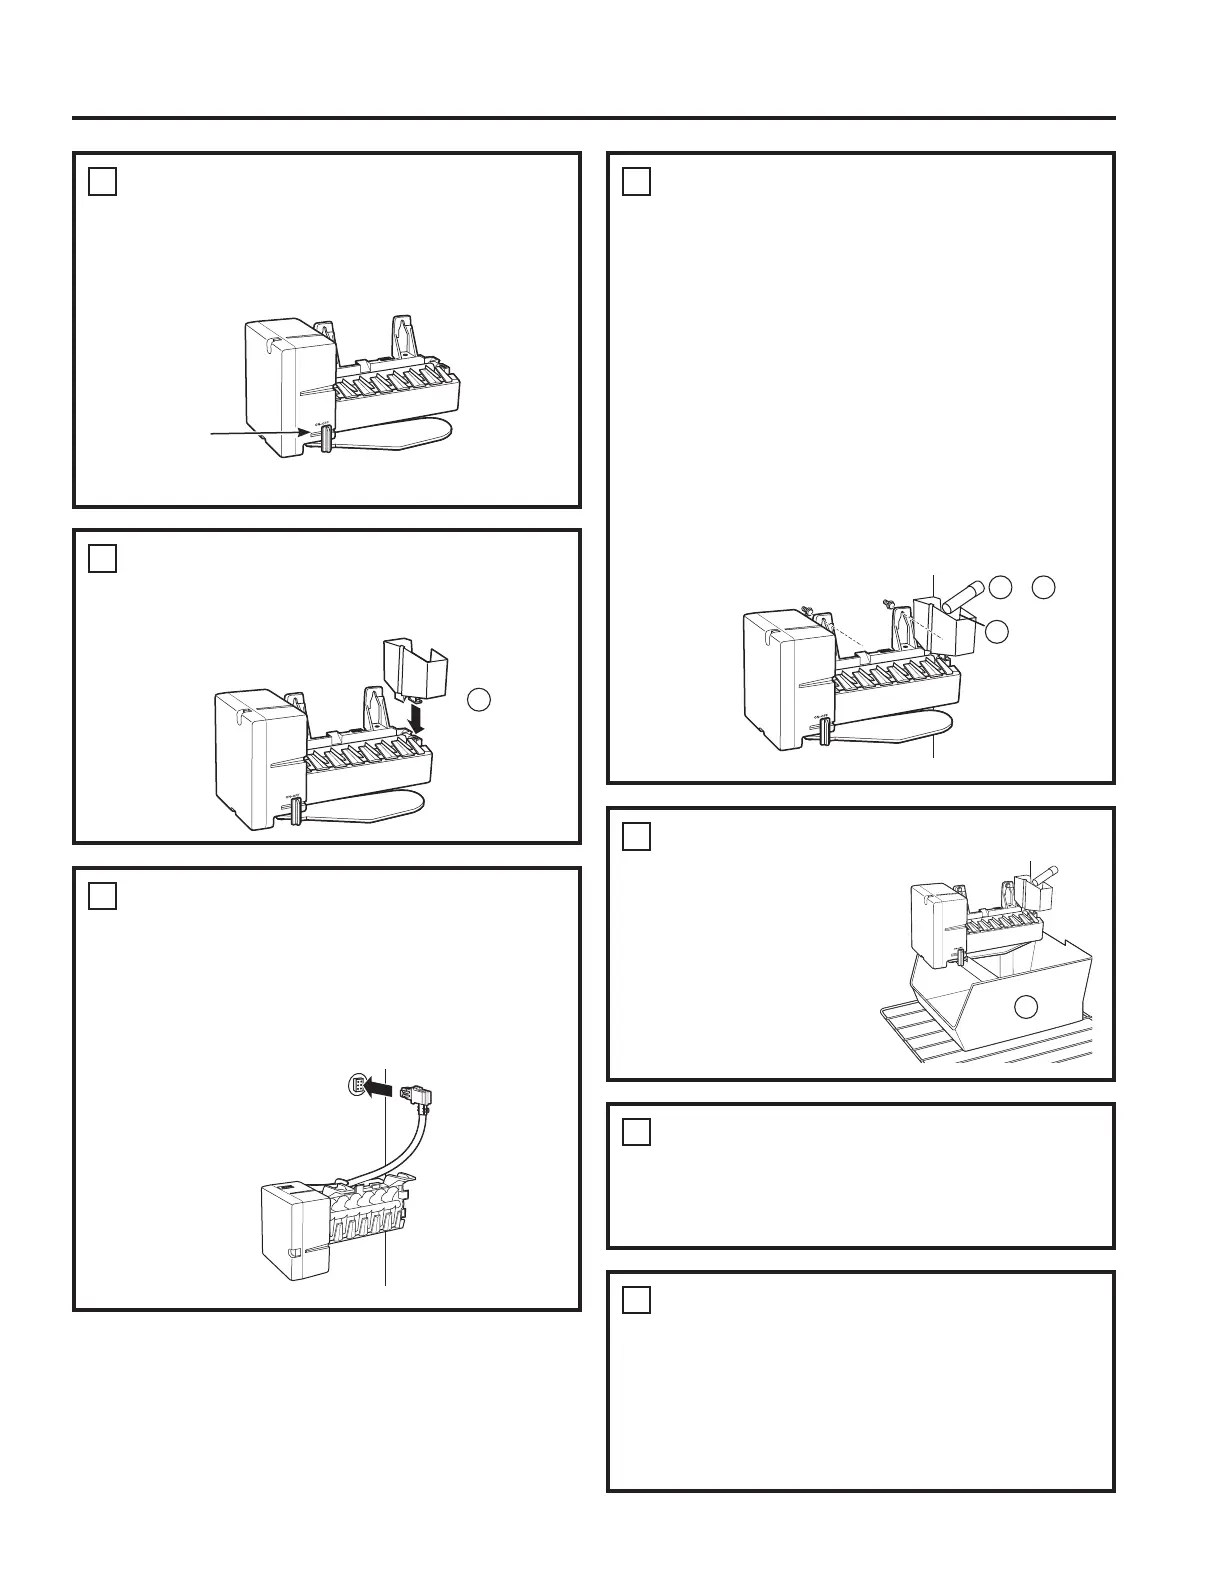
INSTALL THE ICEMAKER FILL CUP
Ŷ ,QVWDOOWKH icemaker fill cup VLGHPRXQWHG
into the icemaker as shown.
8
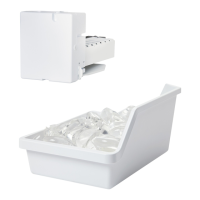
INSTALL THE ICE BUCKET
Ŷ Put the ice bucket
LQSODFHXQGHUWKH
icemaker.
Ŷ Make sure the icemaker
power switch is set to
OFF.
10
KEEP THIS MANUAL
Ŷ The warranty for the icemaker is printed in
this manual. Keep this manual with your
Refrigerator Owner’s Manual.
Ŷ The icemaker installation inside the freezer is now
complete. Continue to the Water Valve Assembly
section.
9
ATTACH WARRANTY LABEL
Ŷ A labelLVSURYLGHGZLWKWKLVNLWWRUHFRUGWKH
date of installation for warranty purposes. Apply it
to the back of the refrigerator.
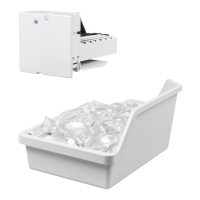
7
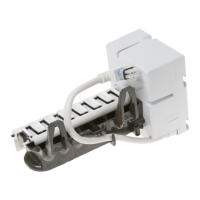
MOUNT THE ICEMAKER
Ŷ /LIWWKHLFHPDNHUVRWKH fill tube RUILWV
in the fill cup opening'+DQJWKHLFHPDNHURQ
the two screws.
Make sure:
Ŷ The power cord is still firmly in the socket.
Ŷ 7KHfill tubeRUH[WHQGVLQWRWKHILOOFXS
RSHQLQJDWWKHEDFNRIWKHLFHPDNHU&KHFN
the rear of the refrigerator to make sure the fill
tube has not been pushed out of the back of the
refrigerator).
Ŷ 7KHLFHPDNHUPRXQWLQJVFUHZVDUHORFDWHGLQWKH
uppermost position of the mounting slots.
THEN TIGHTEN THE ICEMAKER MOUNTING
SCREWS SECURELY.
6
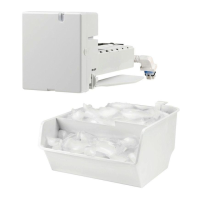
PLUG IN THE ICEMAKER
Ŷ Holding the icemaker in place, insert the power
cord plug into the socket on the side wall, making
sure that the prongs and holes are matched. Press
the plug firmly into the socket. Lock the plug in
place by clipping the restraints onto each side of
the plug. Make sure the restraints click into place.
13
9
4
SET POWER SWITCH TO OFF
Ŷ Set the icemaker power switch to OFF. Leave
the power switch in the OFF position until the
refrigerator is connected to the water supply to
prevent premature operation.
Power
Switch
$SSHDUDQFHPD\YDU\
11 12
D
or
 Loading...