28 49-60704-2
2
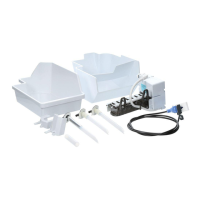
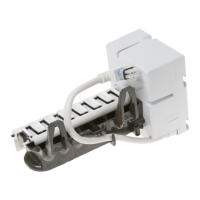
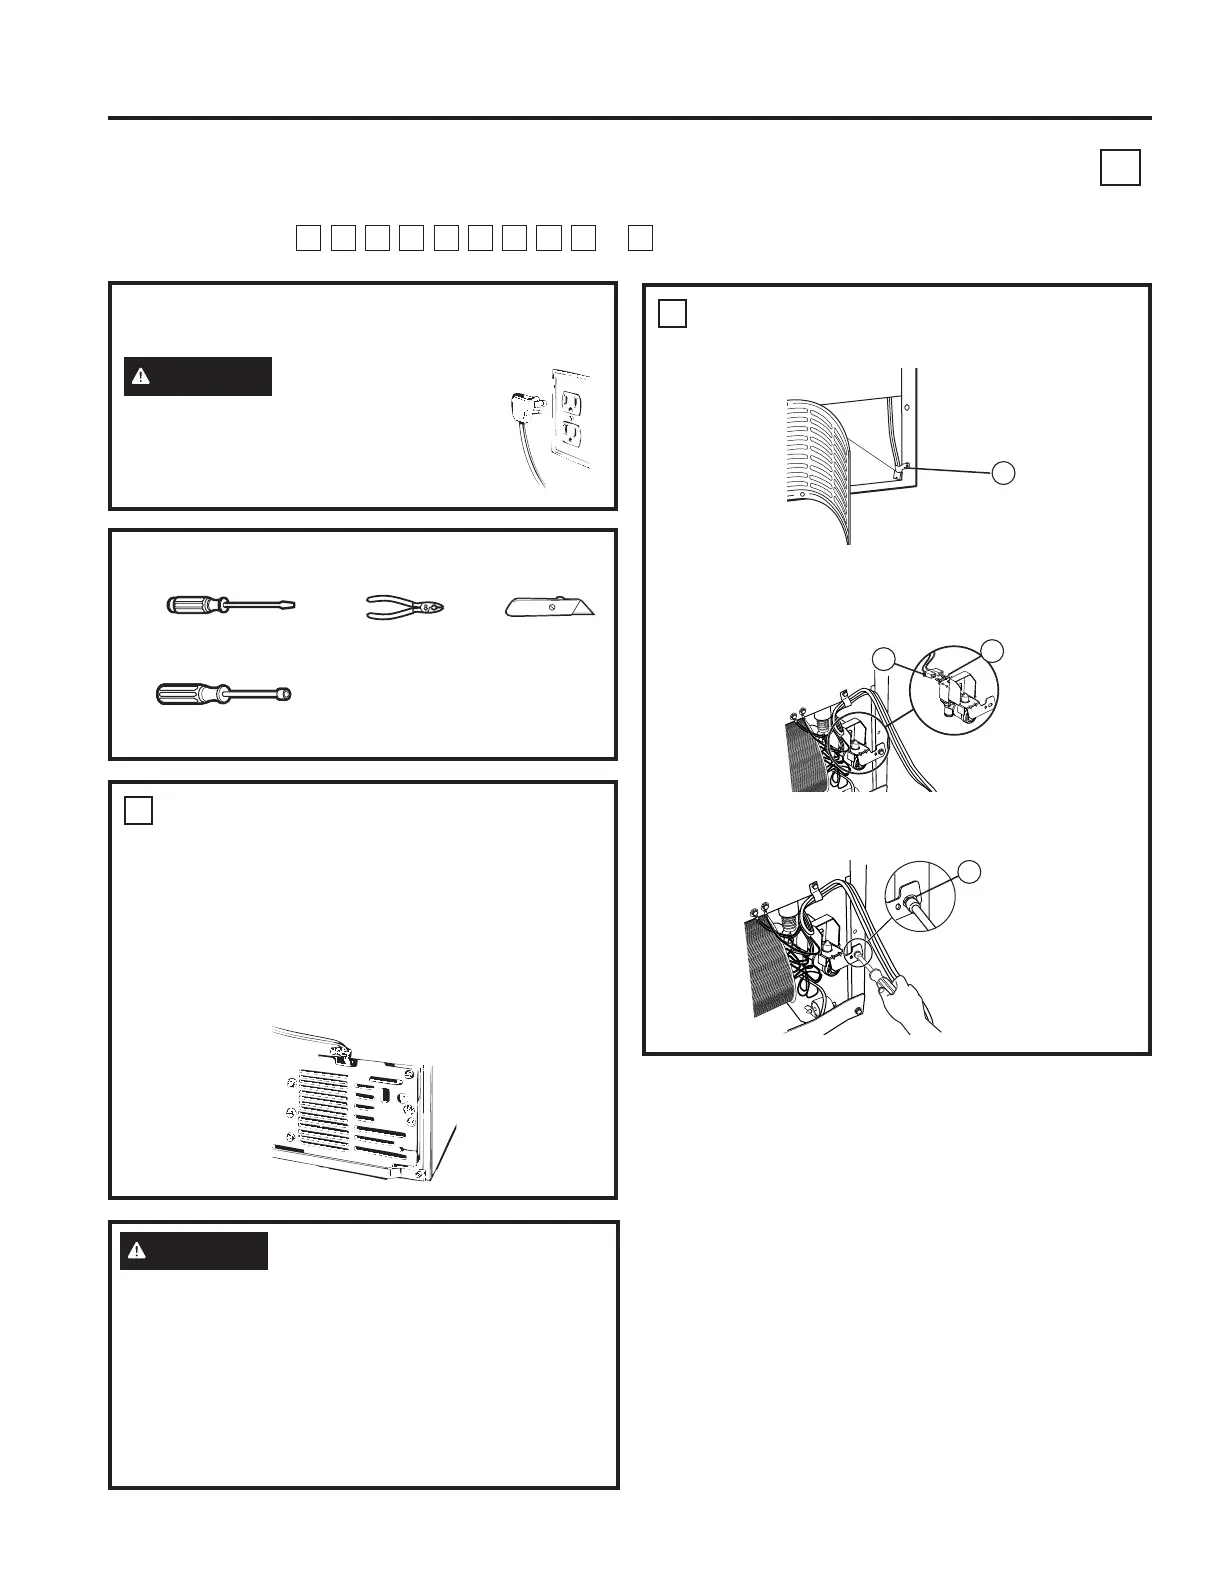
ATTACH THE WATER VALVE
Ŷ /RFDWHWKHIHPDOHFRQQHFWRUSOXJ&
Ŷ Plug the female connector&RQWRWKHmale
terminals on the water valve (LWKHUZLUHFDQ
go on either terminal.
Ŷ Fasten the water valve to the cabinet using the
hex-head screw IURPWKHNLW
Installation Instructions
INSTALLATION INSTRUCTIONS
WATER VALVE ASSEMBLY INSTALLATION INSTRUCTIONS
R
$UHWKHVHWKHULJKWLQVWUXFWLRQVIRU\RXUPRGHO")ROORZWKH,QVWDOODWLRQ,QVWUXFWLRQVLQGLFDWHGE\WKHODEHORQWKHEDFN
of the refrigerator—
L
M
N
Q
R
S
T
U
V
or
W
Flat blade and Phillips
screwdrivers
Pliers
Sharp knife
BEFORE YOU BEGIN
Read these instructions completely and carefully.
WARNING
To reduce the risk of
electric shock or injury during installation,
you must first unplug the refrigerator
before proceeding.
TOOLS YOU WILL NEED
1
REMOVE THE COVER
Ŷ At the bottom rear of the refrigerator, remove the
VFUHZVKROGLQJWKHDFFHVVFRYHU
Ŷ Bend the cover back for access to the
compartment.
Ŷ Be sure to save the screws as the access cover
must be reinstalled later to ensure your refrigerator
will function properly.
DQG1XWGULYHU
C
4
C
15
WARNING
To reduce the risk of death or
electric shock, you must follow these
instructions:
Ŷ Unplug the refrigerator before removing any
panels.
Ŷ Do not damage any wiring while the panel is
removed.
Ŷ Replace all parts and panels before plugging
the refrigerator back in.
 Loading...