49-60704-2 29
INSTALLATION INSTRUCTIONS
Installation Instructions
5
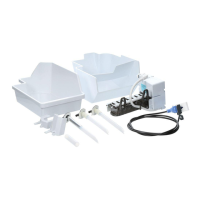
ROUTE AND ATTACH THE
PLASTIC WATER LINE
Ŷ Route the plastic water line along the back of the
refrigerator to the water tube inlet.
Ŷ Fasten the plastic water line to the back of the
cabinet with three of the adhesive-backed
fasteners
6
WATER VALVE INSTALLED
Ŷ 5HIHUWRWKH:DWHU/LQH,QVWDOODWLRQ,QVWUXFWLRQVIRU
connection to the home water supply. After water
line installation is completed, set the icemaker
power switch to ON.
Ŷ The icemaking cycle will not begin until the
icemaker and freezer compartment reach
operating temperature, then icemaking will
begin automatically.
4
CONNECT THE WATER LINE
Ŷ Make sure there is enough plastic water line to
extend from the water valve to well into the
ZDWHUWXEHLQOHW&XWRIIDQ\H[FHVVWXELQJ
Ŷ 6TXHH]HWKHHQGVRIWKHKRVHFODPSIURPWKH
kit with pliers and slide the clamp over the water
tube inlet.
Ŷ :KLOHVWLOOVTXHH]LQJWKHFODPSLQVHUWWKH
plastic water line into the inlet as far as it will
JRDSSUR[LPDWHO\>PP@
Ŷ Then slide the clamp downward to capture the
plastic water line in place.
7
REINSTALL THE COVER
Ŷ Reinstall the compressor compartment access
FRYHU7KLVUHTXLUHVXVLQJWKHVFUHZV\RX
removed previously to reattach the cover to
the back of the refrigerator case. This must be
reinstalled for your refrigerator to function properly.
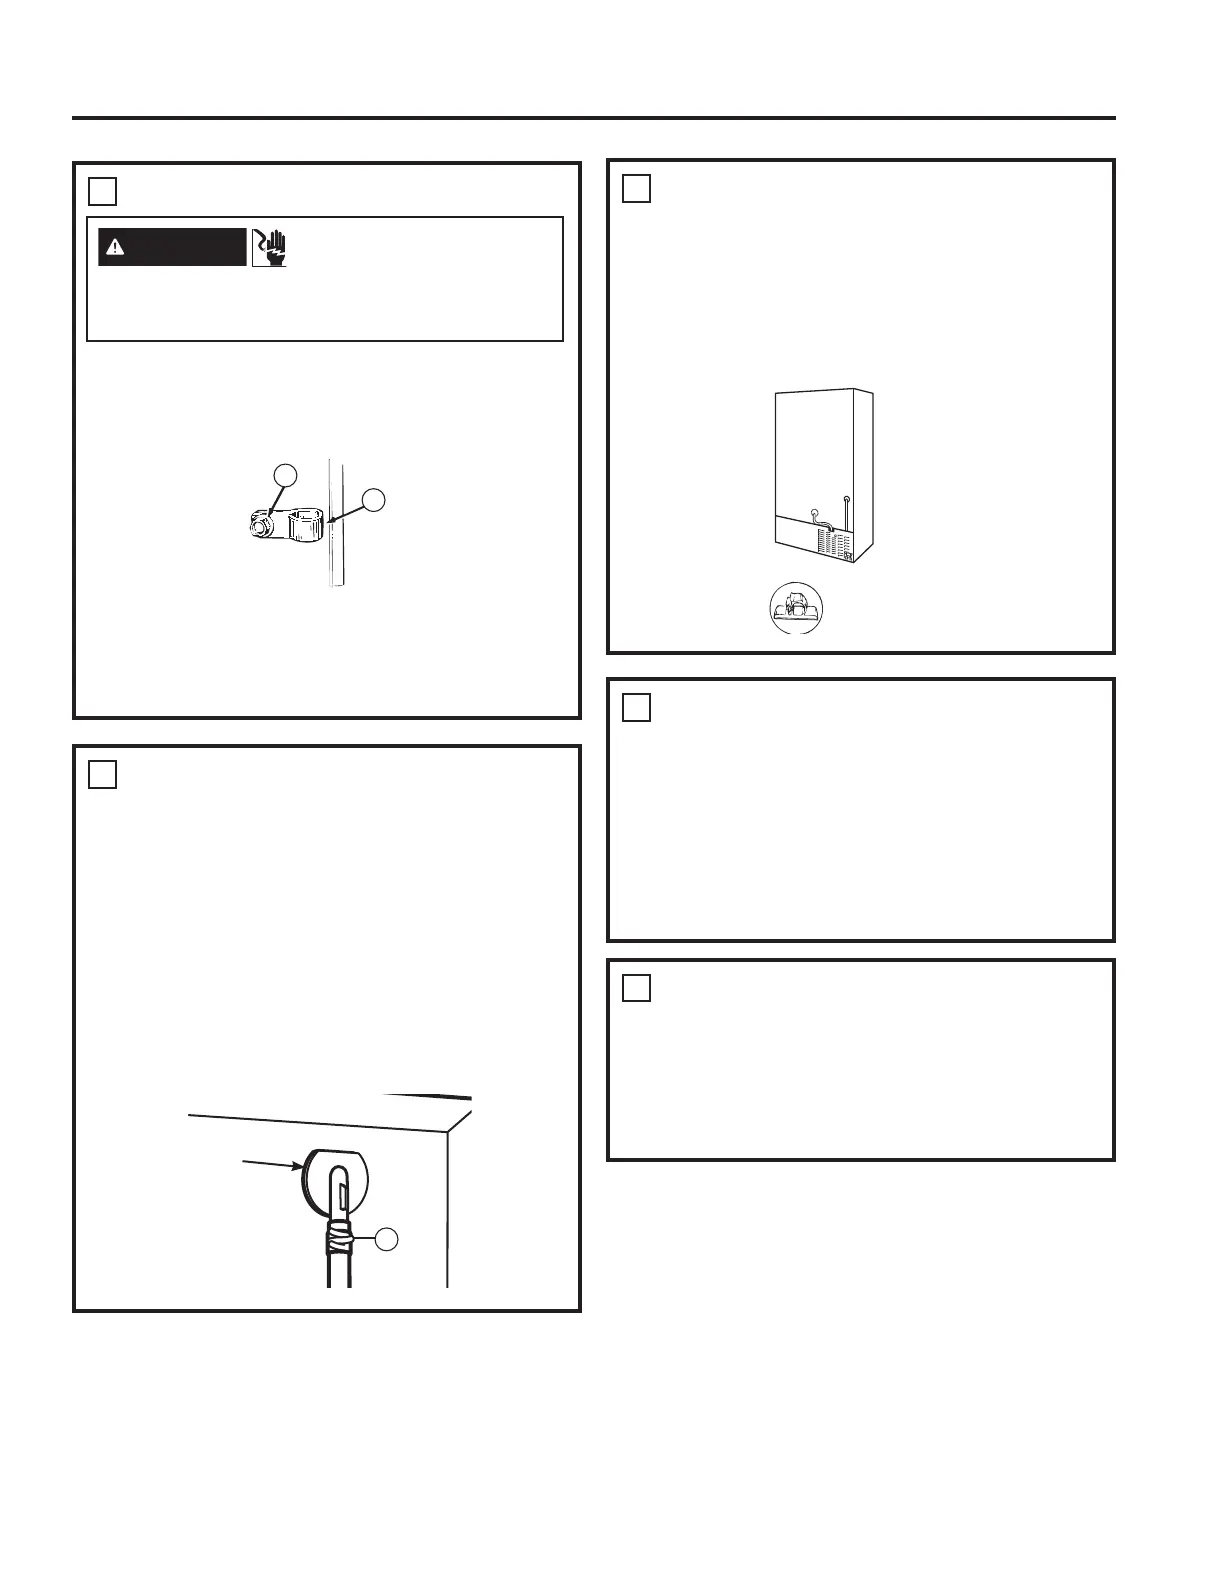
4
INSTALL WATER LINE CLAMP
Ŷ Attach the metal water line clampVWUDLQUHOLHI
WRWKHUHIULJHUDWRU'ULYHWKHscrewIURP
the kit through the clampDWWKHLQGHQWLQWR
the back of the cabinet.
Ŷ 7KHPHWDOFODPSLVIRUWKHKRXVHZDWHUOLQHVHH
WKH:DWHU/LQH,QVWDOODWLRQ,QVWUXFWLRQV,WLVQRWWR
be used for the tubing from the water valve up to
the icemaker.
7
17
3
Water tube
inlet
Adhesive-backed
fasteners for plastic
water line
WARNING
ELECTRIC SHOCK
HAZARD
Attach tubing clamp using existing hole only. DO
NOT drill into the refrigerator.
 Loading...