49-60704-2 33
INSTALLATION INSTRUCTIONS
Installation Instructions
3
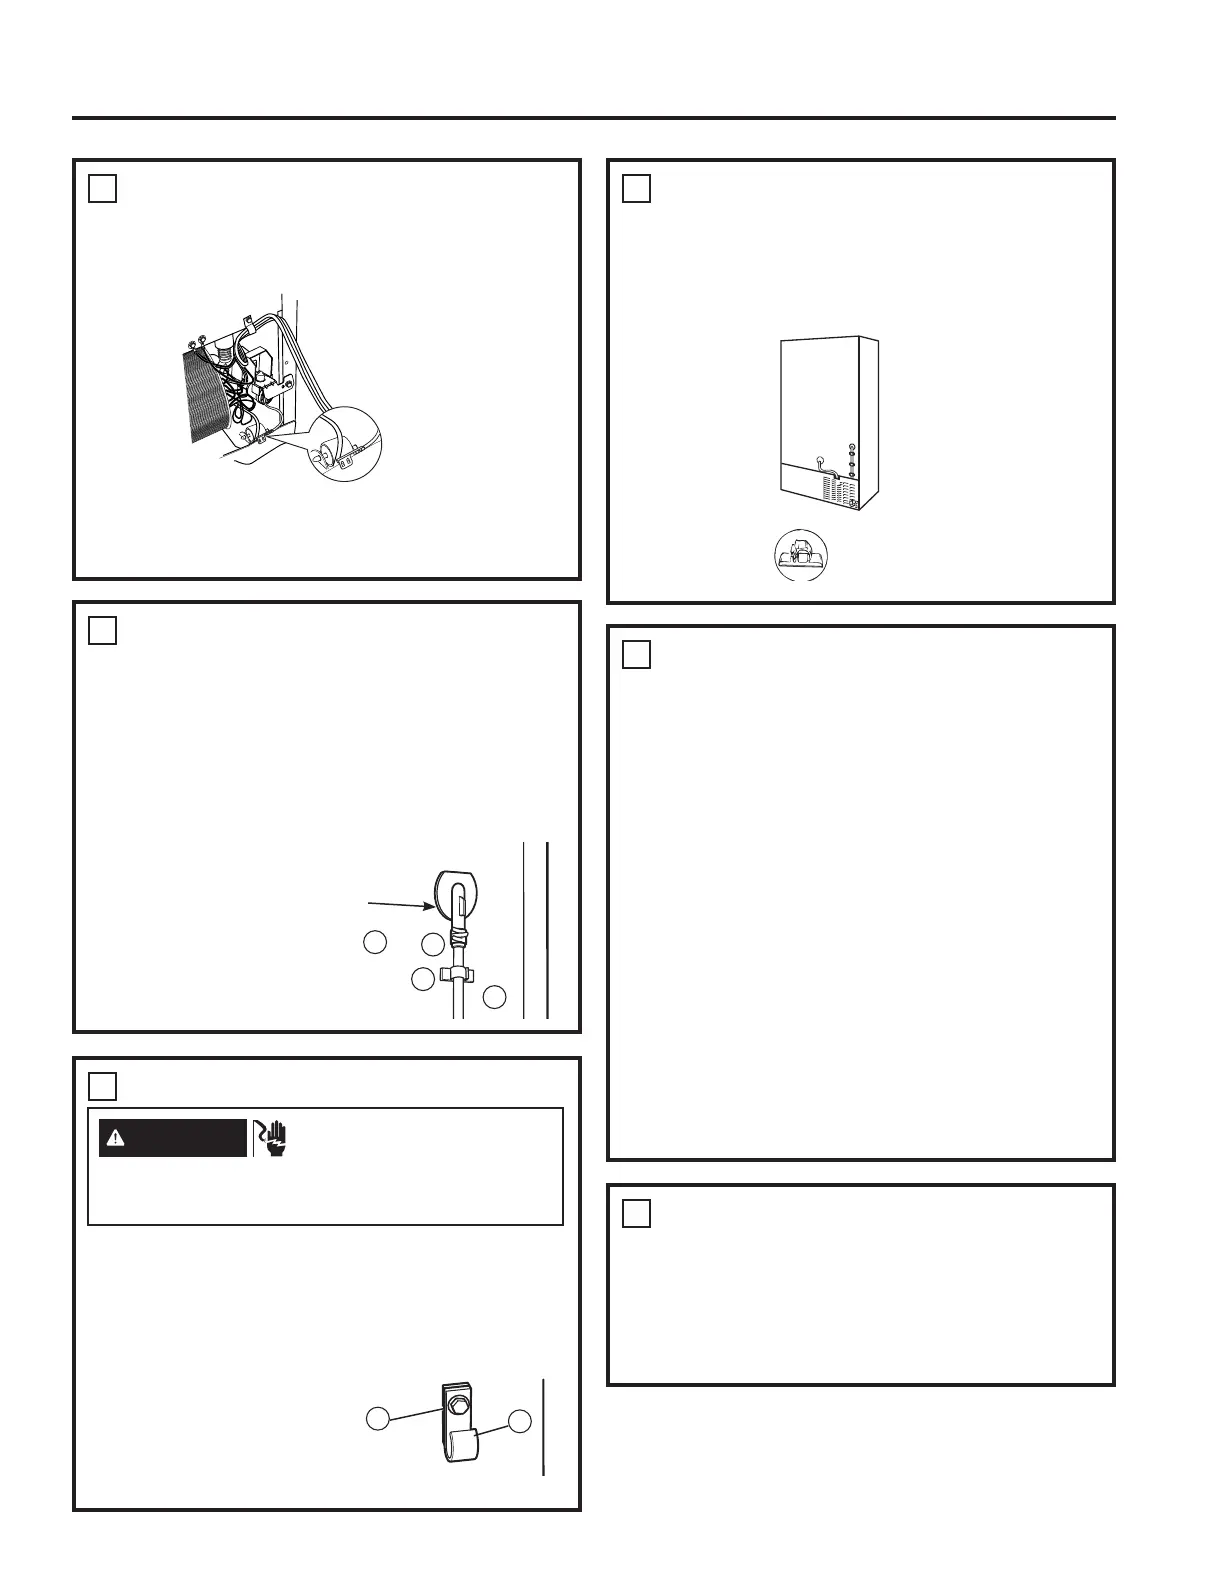
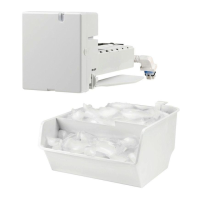
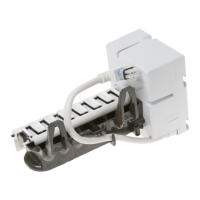
ATTACH THE WATER VALVE
(Cont.)
Ŷ Clip the end of the ground wire to the refrigerator
cabinet.
IMPORTANT: To ensure a proper ground, the
end of the ground wire MUST be secured to the
refrigerator cabinet.
6
ROUTE AND ATTACH THE WATER
LINE
Ŷ Fasten the plastic water tube to the back of the
refrigerator with three of the adhesive-backed
fasteners VSDFLQJWKHIDVWHQHUVDVVKRZQ
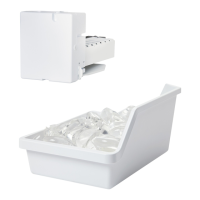
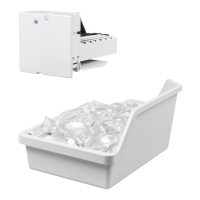
7
WATER VALVE INSTALLED
Ŷ 5HIHUWRWKH:DWHU/LQH,QVWDOODWLRQ,QVWUXFWLRQVIRU
connection to the home water supply. After water
line installation is completed, set the icemaker
power switch to ON.
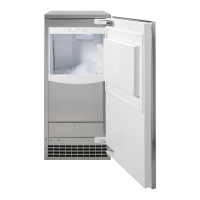
Ŷ Even when the icemaker power switch is in
the ON position, power to the icemaker will be
LQWHUUXSWHGZKHQWKHIUHH]HUGRRUGUDZHULVRSHQ
This prevents ice ejecting from the icemaker
from missing the ice bucket and dropping into the
back of the freezer. To make sure the icemaker
is working properly, press the freezer light switch
located on
the upper right side of the freezer compartment.
The power light on the icemaker will come on.
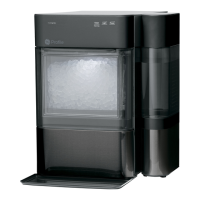
NOTE: After installing the icemaker, do not open
WKHGRRUGUDZHUIRUDSSUR[LPDWHO\KRXUV7KLV
will allow the freezer to reach the correct operating
temperature for making ice, and will prevent water
from spilling out of the icemaker mold.
5
INSTALL WATER LINE CLAMP
Ŷ $WWDFKWKHZDWHUOLQHFODPSVWUDLQUHOLHIIURP
the kit to the refrigerator. With the clamp directly in
OLQHZLWKWKHZDWHUYDOYHGULYHWKHVFUHZIURP
WKHNLWWKURXJKWKHFODPSDWWKHLQGHQWLQWRWKH
back of the cabinet.
Ŷ 7KHPHWDOFODPSLVIRUWKHKRXVHZDWHUOLQHVHH
:DWHU/LQH,QVWDOODWLRQ
,QVWUXFWLRQV,WLVQRWWR
be used for the water
tube from the water valve
up to the inlet.
4
CONNECT THE WATER LINE
Ŷ 6TXHH]HWKHHQGVRIWKHKRVHFODPSRUIURP
the kit with pliers and slide the clamp over the inlet,
located on the right side of the refrigerator.
Ŷ :KLOHVWLOOVTXHH]LQJWKHFODPSLQVHUWWKHIUHHHQG
RIWKHZDWHUWXEHLQWRWKHLQOHWDVIDUDVLWZLOOJR
Ŷ Then slide the clamp downward to capture the
water tube in place.
Ŷ Using one of the
adhesive-backed
IDVWHQHUVVHFXUH
the water tube to the
back of the refrigerator
DERXWEHORZWKH
inlet.
8
REINSTALL THE COVER
Ŷ Reinstall the compressor compartment access
FRYHU7KLVUHTXLUHVXVLQJWKHVFUHZV\RX
removed previously to reattach the cover to
the back of the refrigerator case. This must be
reinstalled for your refrigerator to function properly.
3
5
,QOHW
4
or
6
17
7
Adhesive-
backed fasteners
for water tube
WARNING
ELECTRIC SHOCK
HAZARD
Attach tubing clamp using existing hole only. DO
NOT drill into the refrigerator.