34 49-60704-2
Installation Instructions
INSTALLATION INSTRUCTIONS
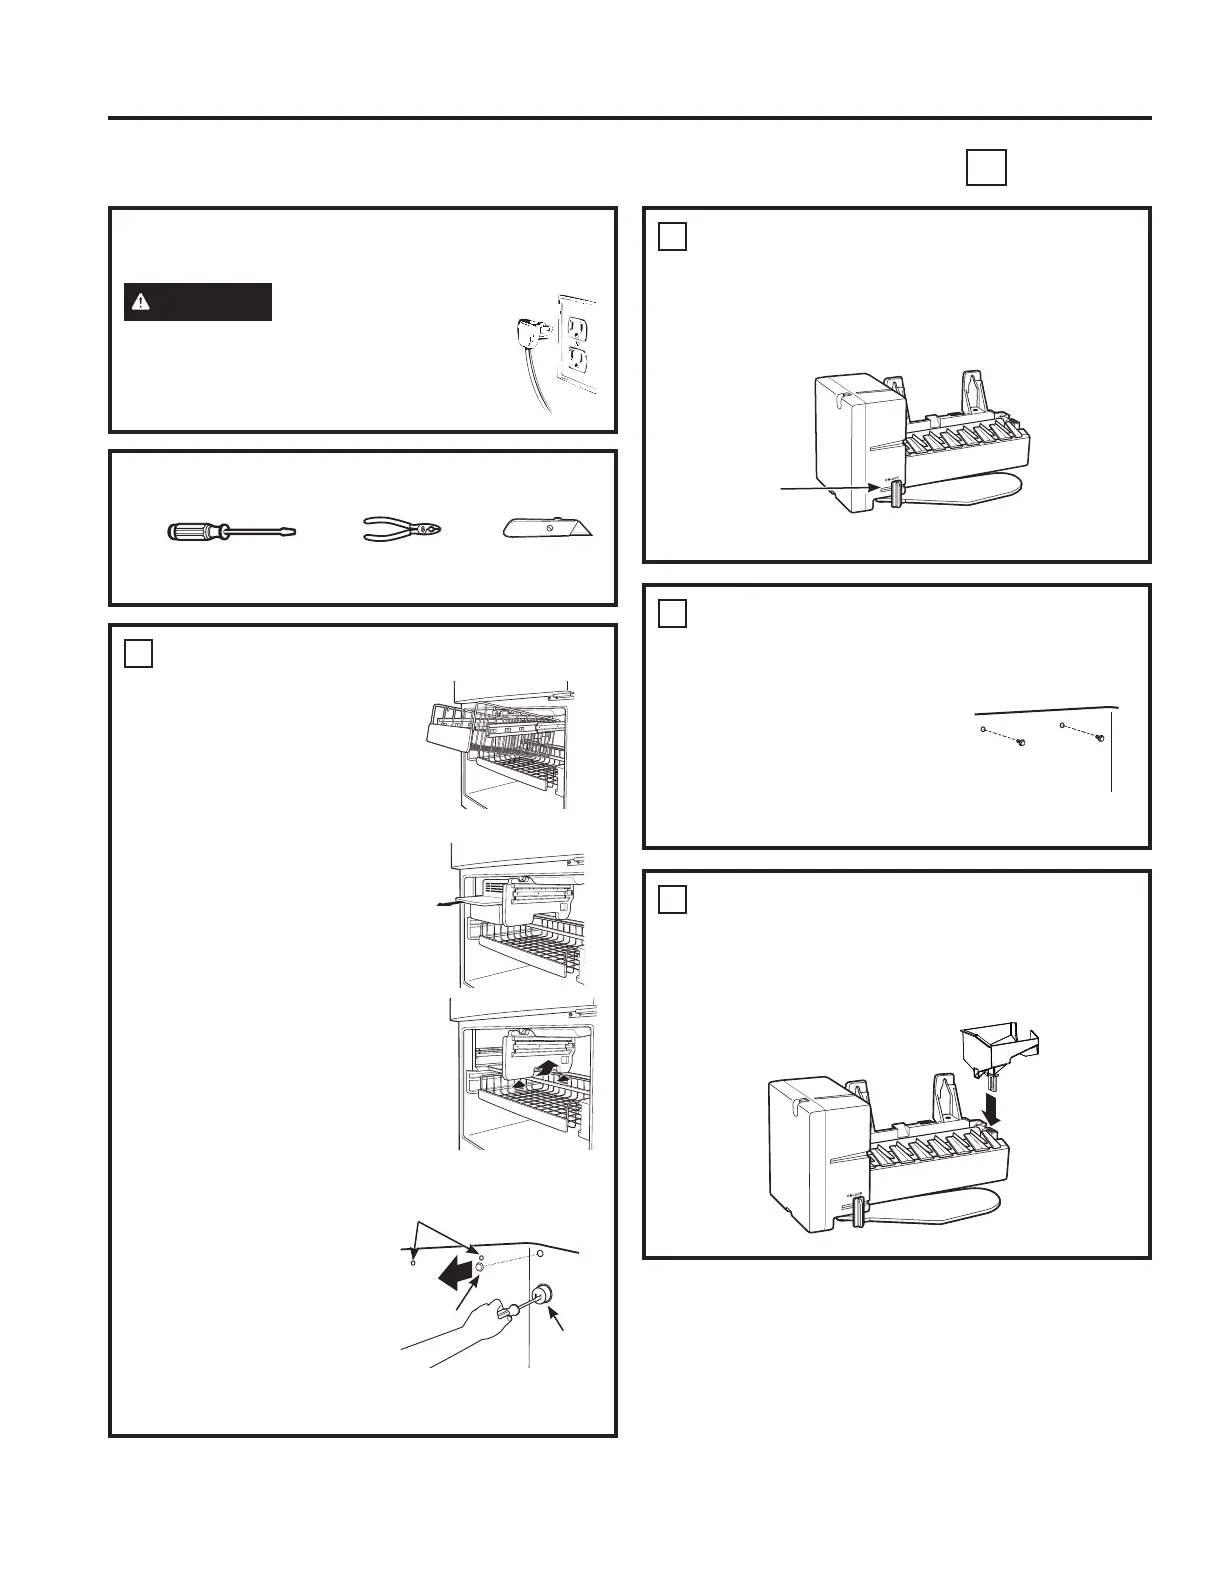
BEFORE YOU BEGIN
Read these instructions completely and carefully.
WARNING
To reduce the risk of
electric shock or injury during installation,
you must first unplug the refrigerator
before proceeding. Failure to follow these
instructions can result in electrical shock.
TOOLS YOU WILL NEED
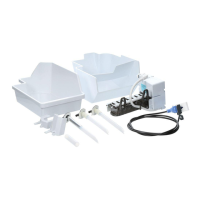
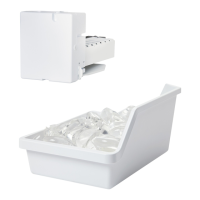
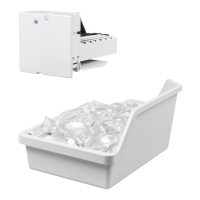
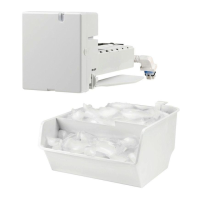
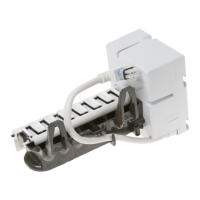
ICEMAKER INSTALLATION INSTRUCTIONS
T
Flat blade and Phillips
screwdrivers
Pliers
Sharp knife
1
PREPARE FOR INSTALLATION
Ŷ Remove the storage
EDVNHWRQVRPHPRGHOV
by pulling it out to the stop
position and lifting it up
and out.
NOTE: After removing the
basket, push the extension
arms back into the freezer
compartment.
Ŷ Remove the chiller shelf
RQVRPHPRGHOVE\
pulling it straight out.
Ŷ Remove the center vertical
VKHOIVXSSRUWRQVRPH
models) by lifting it and
rotating its bottom to the
right.
Ŷ ,QVLGHWKHIUHH]HUUHPRYH
the two small white plug
EXWWRQVRQVRPHPRGHOV
IURPWKHVLGHZDOO,I
screws are present
instead of plugs, leave
them in place.)
Ŷ Remove and discard the
large white plug from the
rear freezer wall.
Ŷ Remove the outlet cover
with a flat-blade screwdriver.
2
SET POWER SWITCH TO OFF
Ŷ Set the icemaker power switch to OFF. Leave
the power switch in the OFF position until the
refrigerator is connected to the water supply to
prevent premature operation.
Power
Switch
$SSHDUDQFHPD\YDU\
Outlet
cover
Remove side wall
plug buttons or leave
screws in place
Rear wall
plug button
3
INSTALL THE MOUNTING SCREWS
Ŷ Skip to Step 4 if screws are already in place in the
freezer side wall.
Ŷ ,QVWDOOWZRVHOIWDSSLQJPhillips
head screws IURPWKH
kit in the holes in the side
wall. The screw heads should
H[WHQGDERXWPP
from the side wall.
4
INSTALL THE ICEMAKER FILL CUP
Ŷ ,QVWDOOWKHLFHPDNHUILOOFXSHQGPRXQWHG
that came with your unit into the icemaker as
VKRZQ,IWKHILOOFXSKDVEHHQPLVSODFHGFDOO
1.800.626.2002 and order part WR29X10092.