40 49-60704-2
Installation Instructions
INSTALLATION INSTRUCTIONS
ICEMAKER INSTALLATION INSTRUCTIONS
U
,
V
or
W
(Cont.)
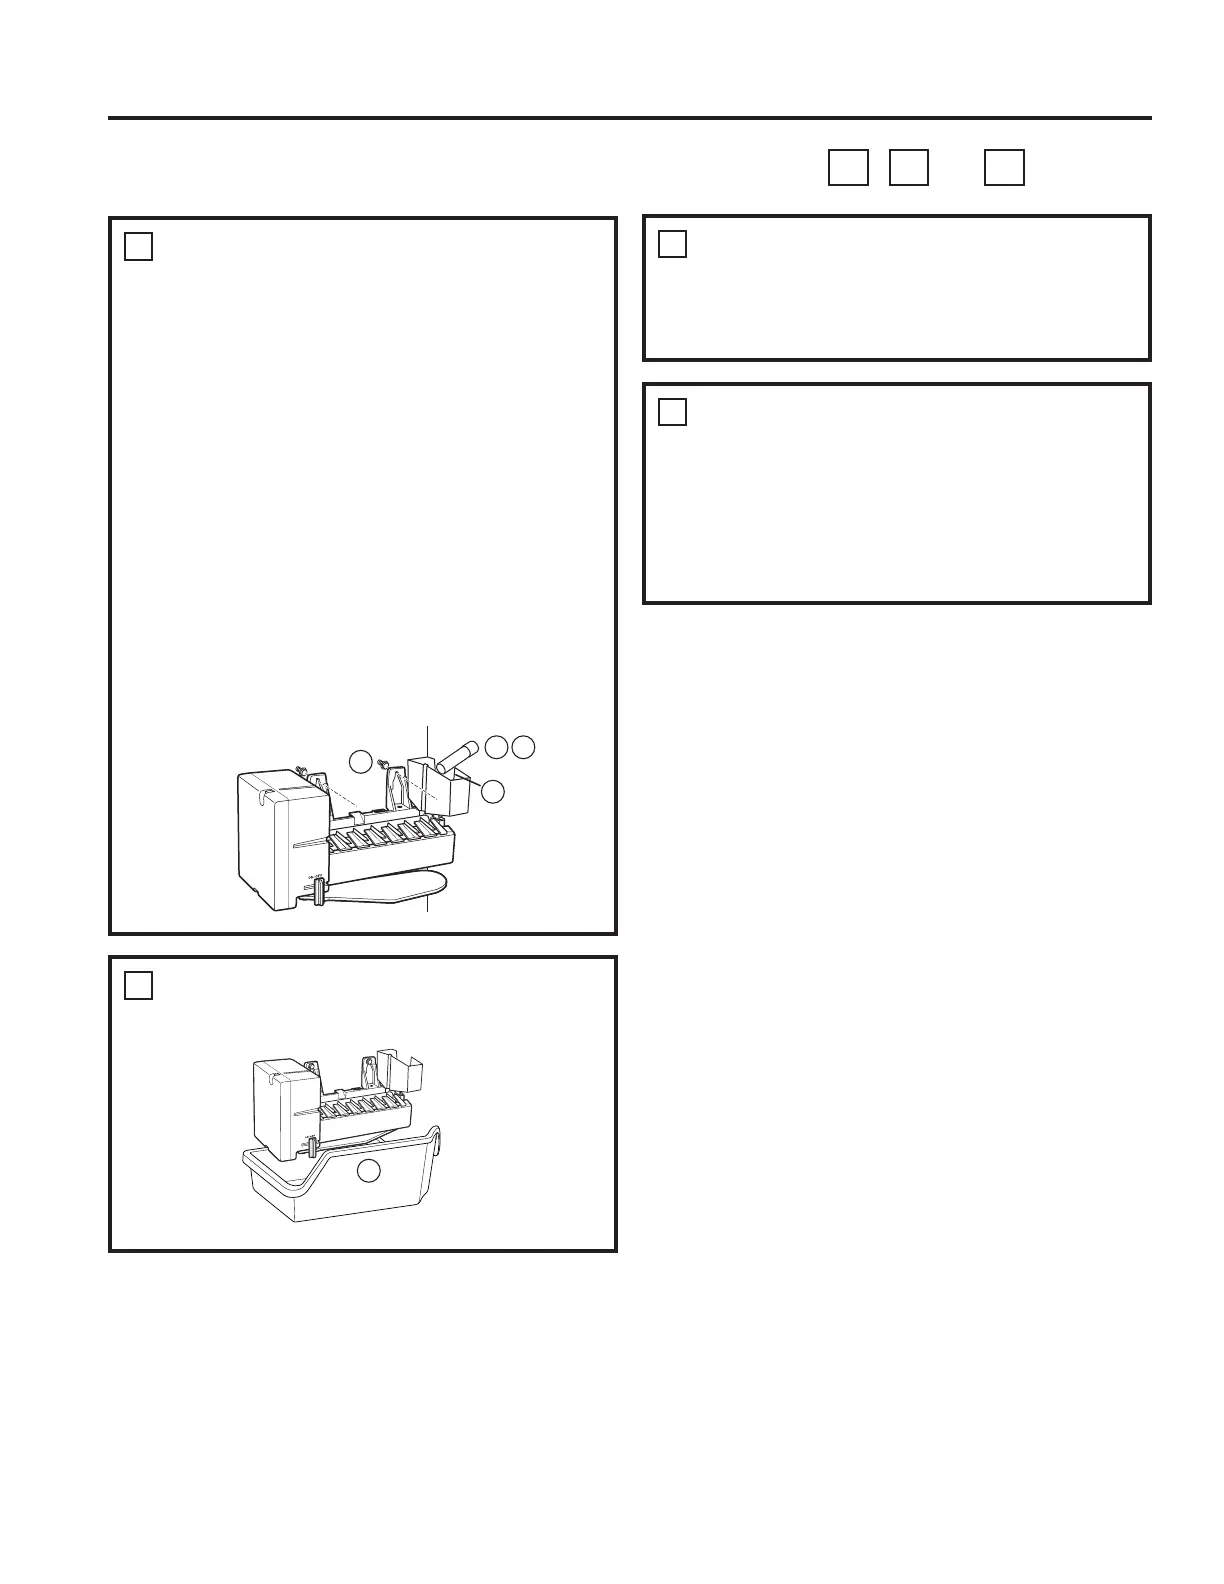
9
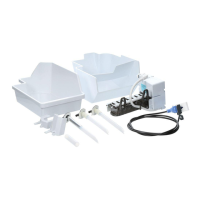
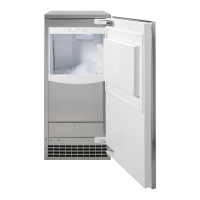
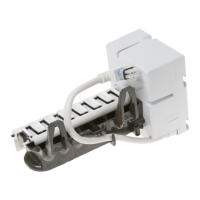
MOUNT THE ICEMAKER
Ŷ /LIWWKHLFHPDNHUVRWKHfill tube assembly
or 12 depending on model) fits in the fill cup
opening'+DQJWKHLFHPDNHURQWKHtwo
mounting screws%
Make sure:
Ŷ 7KHSRZHUFRUGLVVWLOOILUPO\LQWKHVRFNHW
Ŷ 7KHfill tube assemblyRUGHSHQGLQJRQ
model) extends into the fill cup opening at the
EDFNRIWKHLFHPDNHU&KHFNWKHUHDURIWKH
refrigerator to make sure the fill tube has not been
pushed out of the back of the refrigerator).
Ŷ 7KHLFHPDNHUPRXQWLQJVFUHZVDUHORFDWHGLQWKH
uppermost position
Ŷ 7KHLFHPDNHULVOHYHO
Ŷ 7KHLFHPDNHUSRZHUVZLWFKLVVHWWROFF.
THEN SECURELY TIGHTEN THE ICEMAKER
MOUNTING SCREWS.
12
KEEP THIS MANUAL
Ŷ The warranty for the icemaker is printed in
this manual. Keep this manual with your
Refrigerator Owner’s Manual.
Ŷ The icemaker installation inside the freezer is now
complete. Continue to the Water Valve Assembly
section.
11
ATTACH WARRANTY LABEL
Ŷ A labelLVSURYLGHGZLWKWKLVNLWWRUHFRUGWKH
date of installation for warranty purposes. Apply it
to the back of the refrigerator.
10
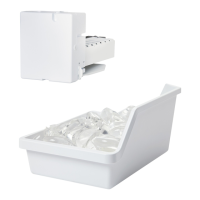
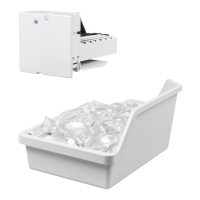
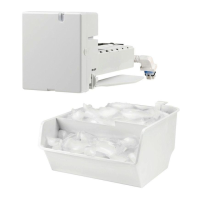
INSTALL THE ICE BUCKET
Ŷ Place the ice bucket XQGHUWKHLFHPDNHU
11 12
D
B
8
 Loading...