B
Bridget TylerAug 6, 2025
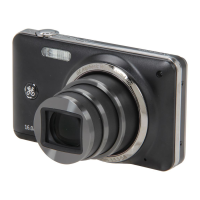
Why my GE J1050 Digital Camera does not turn on?
- JJacob CampbellAug 7, 2025
If your GE Digital Camera isn't turning on, it could be due to: 1. A drained battery. Charge it or replace it with a fully charged one. 2. Incorrect battery insertion. Re-insert the battery, ensuring correct polarity.