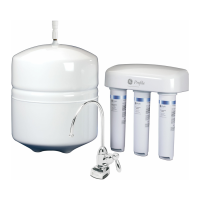
10 THE BASIC REVERSE OSMOSIS SYSTEM
Rev J
REQUIRED TOOLS AND MATERIALS
• Adjustable wrench, and larger adjustable jaw pliers or pipe wrench to fit sink
drain
• Saw for cutting drain pipe
• Slotted and Phillips head screwdrivers
• Tubing cutters
• Electric drill and bits for cutting the faucet mounting hole
Note that some sinks will have a pre-drilled hole with a plug for the faucet.
INSTALLATION
STEP 1: Install cold water supply valve
STEP 2: Install drain adapter
STEP 3: Install faucet
STEP 4: Make tubing connections
STEP 5: Install RO assembly
STEP 6: Put system into operation
STEP 1: INSTALL COLD WATER SUPPLY VALVE
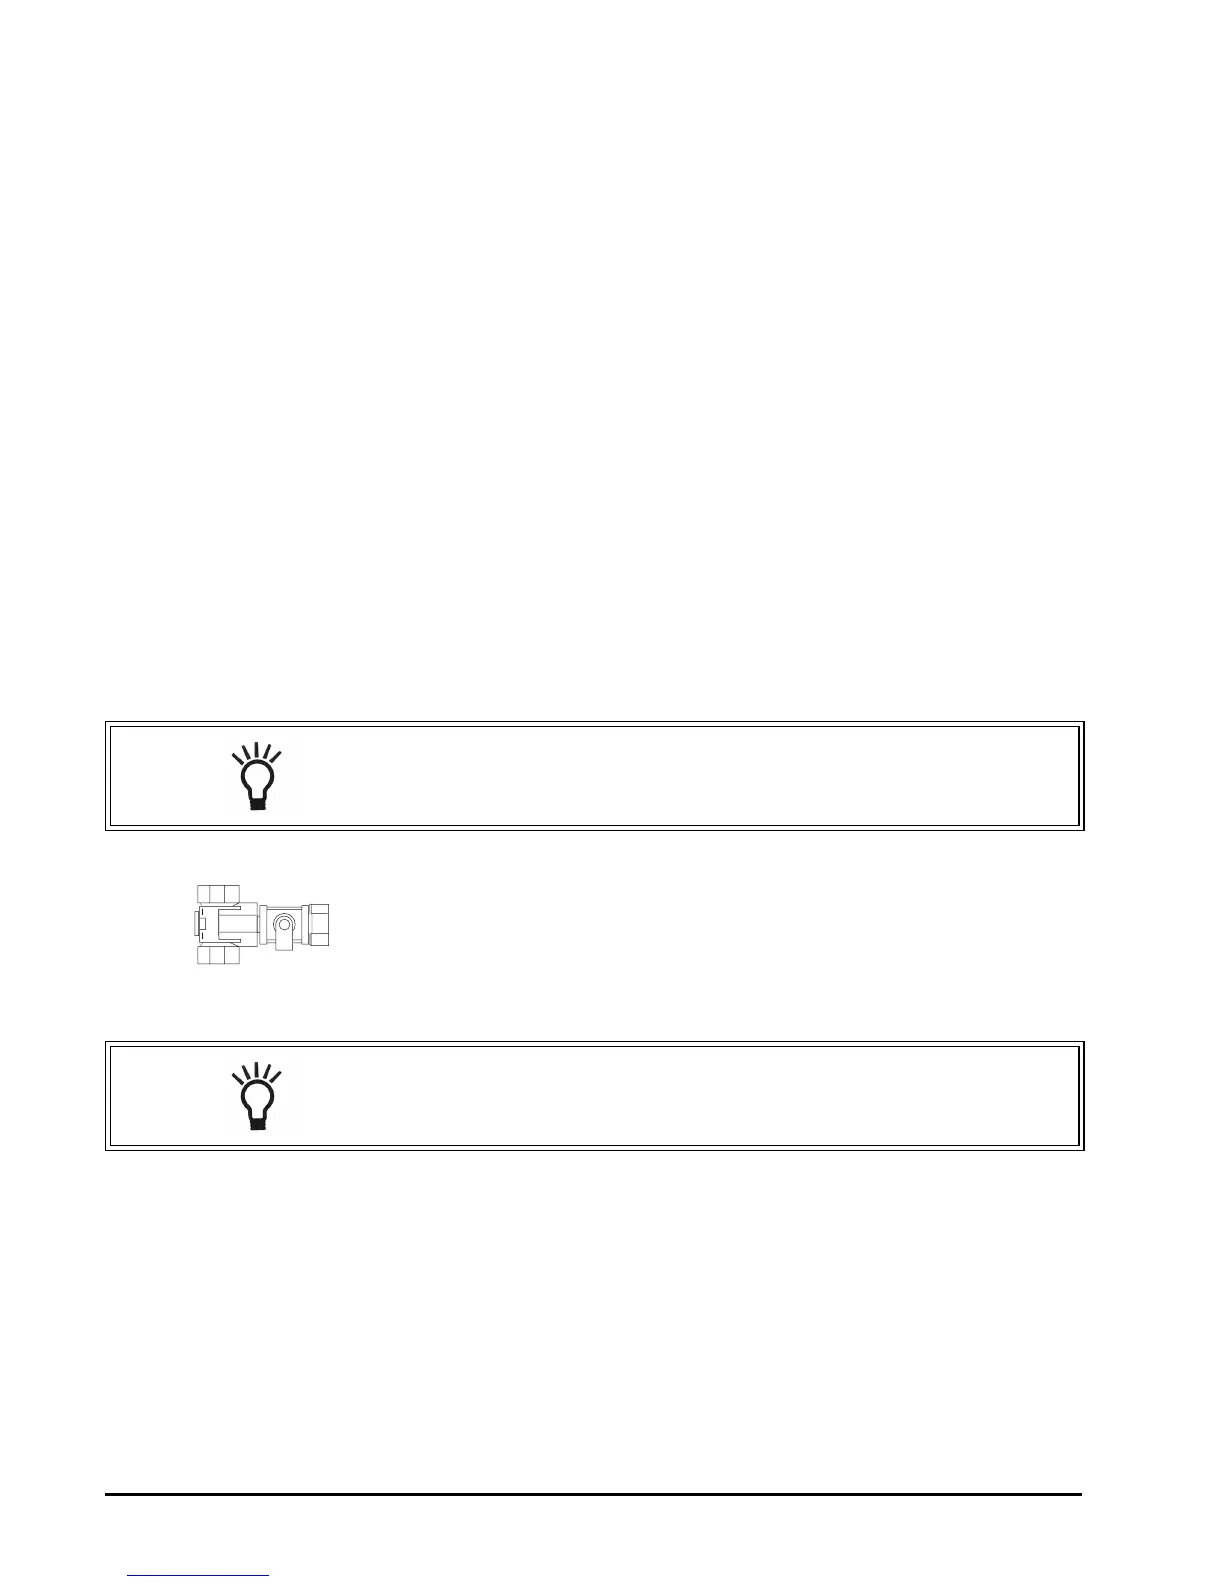
Comply with local plumbing codes. A typical connection using a water supply
valve is shown.
Water Supply Valve
Cold water pipes vary in size and style. The installer will determine type of valve
that will be used. Install a valve on the cold water supply pipe to adapt 1/2-inch
OD tubing. If threaded fittings are used, be sure to use pipe joint compound or
Teflon tape on outside threads.
Turn the valve off.
NOTE: Consult a licensed plumber if you are not familiar with plumbing
procedures.
NOTE: Be sure to turn off the water supply and open a low faucet to
drain the pipe.
 Loading...