24 2049809-001 Rev B © 2010 by General Electric Company. All rights reserved.
Chapter 4: Installation and Setup
Performing a Functional Checkout
Initial Conditions
Step Instructions
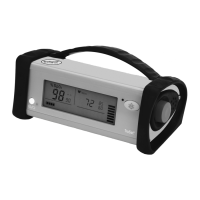
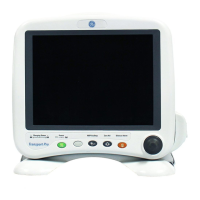
Connect the receiver to the monitor as described in
“Connecting the Receiver and Monitor” section earlier
in this chapter.
Turn on the transmitter, receiver and monitor attached
to the receiver.
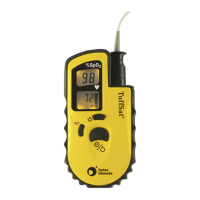
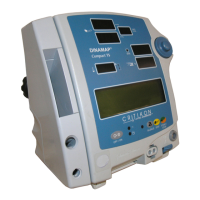
Testing the Radio Frequency
Perform the following steps to test the radio frequency.
Step Instructions
Instructions to Test the Radio Frequency:
1. Check the status of the Signal indicator on
the receiver:
• Continuous Green: Indicates that the receiver
is accepting the radio frequency signals from
the transmitter and the signal strength is
good.
• Flashing Green: Indicates the signal strength
is weak or marginal.
2. Check the status of the Battery indicator on
the receiver:
• O : The transmitter battery is adequately
charged.
• Blinking/Continuous Red: The transmitter
battery is low and should be recharged before
further patient use.