CHAPTER 3: INSTALLING THE 8 SERIES RELAY MOUNTING THE 889 RETROFIT KIT
MULTILIN 489 TO 889 RETROFIT KIT – INSTRUCTION MANUAL 15
3.2 Mounting the 889 Retrofit Kit
With the retrofit kit, the draw-out and insertion mechanism remains the same. The depth
of the new terminal blocks is a close match to the depth of the 489 terminal blocks due to
the depth reduction collar included in the Retrofit Kit. There is no need to push or pull wires.
Note
The 8 Series Retrofit kit model shown may differ slightly from the Multilin 489 to 889
Retrofit Kit. The installation steps remain the same.
The 889 Retrofit Kit can be mounted using the following steps.
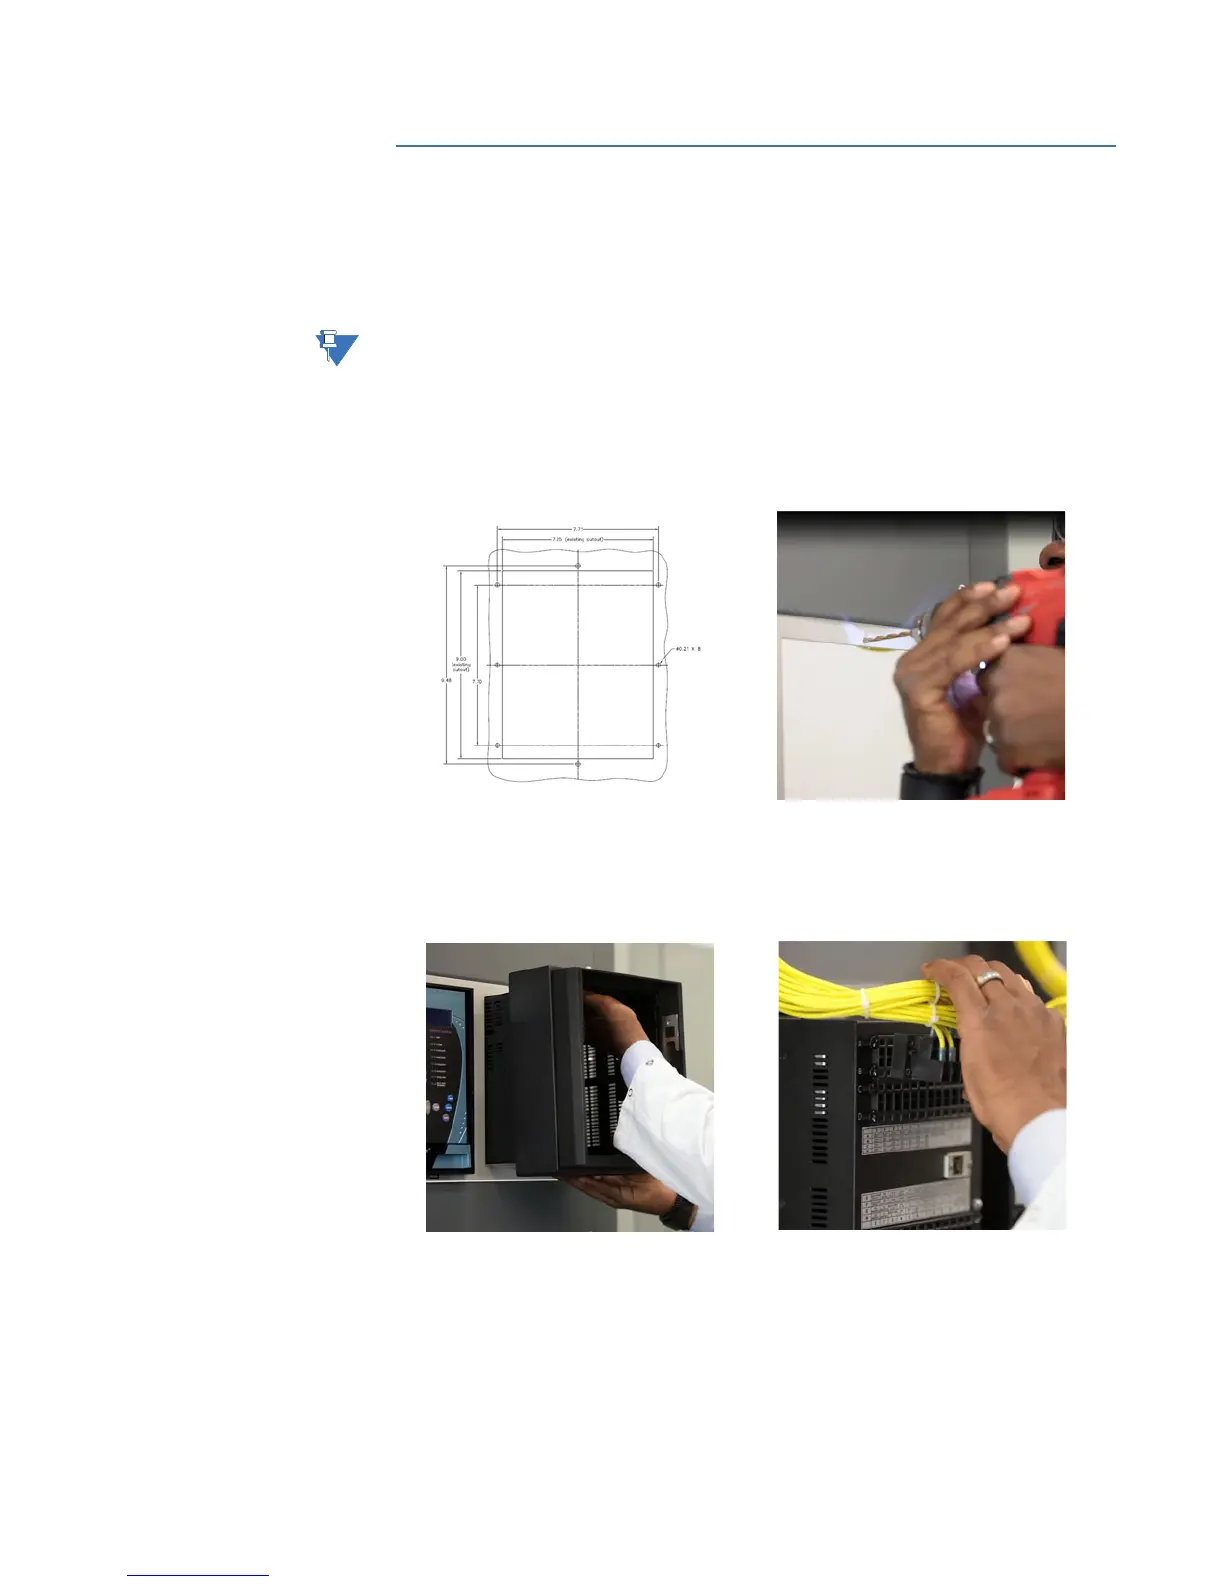
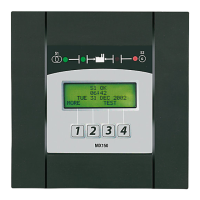
1. Use the template to mark holes for mounting the retrofit kit.
2. Drill or punch eight 0.21" diameter holes around the cutout border as shown in the drill
guide template.
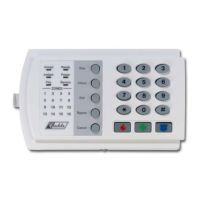
3. Insert the retrofit kit in the cutout and secure it with the screws provided.
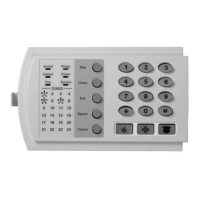
4. Insert the wired existing terminal blocks of 489 back on to the female terminal blocks
at the back of the retrofit kit case.
5. Secure the terminal blocks by screwing into place.