3-60 F650 Digital Bay Controller GEK-113000T
3.2 HUMAN MACHINE INTERFACE (HMI) 3 HUMAN INTERFACES. SETTINGS & ACTUAL VALUES
3
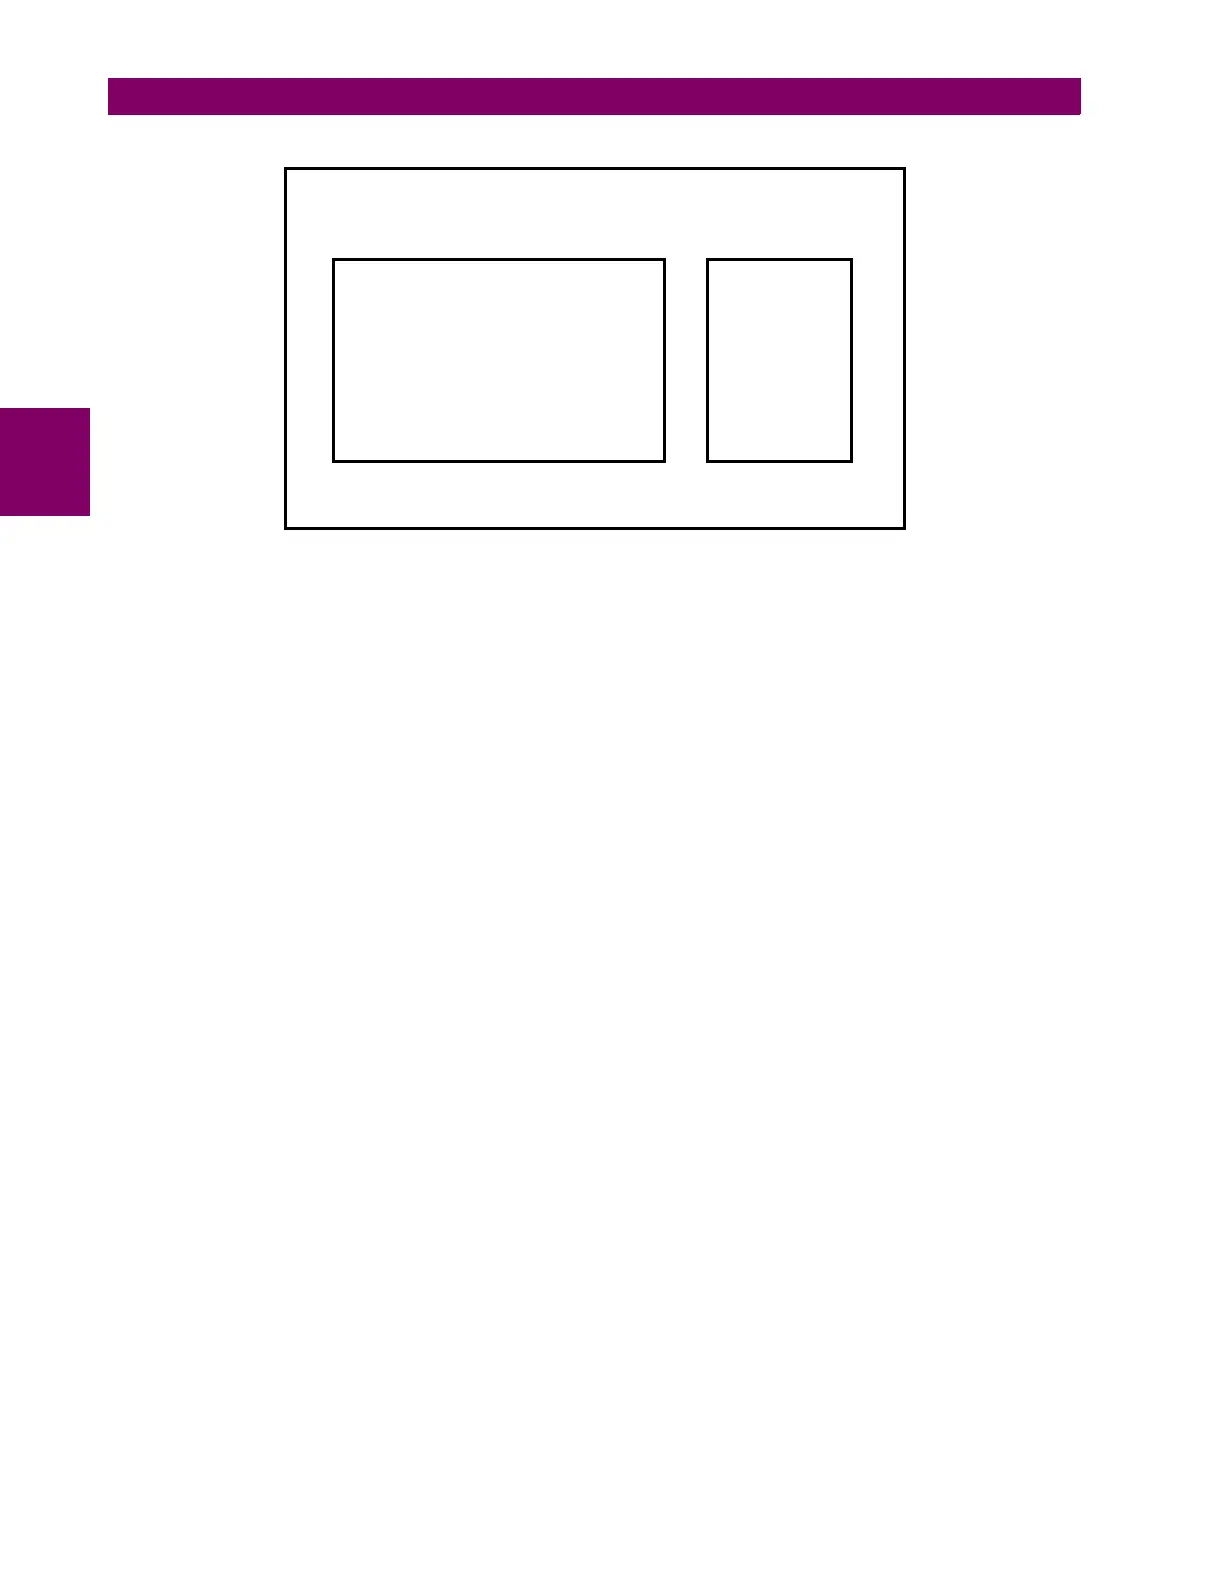
Figure 3–33: INPUT/OUTPUT VIEWING SCREEN
<NEXT>
This option brings the system back to the one-line diagram.
<VIEW>
This option shows the real status of all inputs and outputs in the selected board. Depending on the type of board, with
or without supervision, the screen will vary to get adapted to the characteristics of each board.
The first line of this screen shows the slot where the board is located, F, G, H or J, and the type of board. The view
menu differentiates inputs and outputs; the active status (ON) is represented by the lighting of the corresponding input
or output.
The legend at the bottom of the screen indicates how to navigate:
Esc: Prev. Intro: Menu. L-R: Chg Card
Esc: Prev.
Returns to the general I/O screen
Intro: Menu.
Provides access to the I/O menu (next, view, test input, test output).
L-R: Chg Card
Moving the shuttle key to the left or right provides access to the status of inputs/outputs for the different boards
available in the relay.
<TEST INPUT>
This option allows testing the input activation (in emulation mode). The displayed screen is similar to the viewing
screen, but in this case the user can operate the different relay inputs.
This screen shows the Input name lit up, showing that this is an Input emulation mode.
The first relay input will appear blinking and between brackets; the user can select a different input by rotating the
shuttle key. When the shuttle key is pressed, the selected input will be activated. Navigation through this screen is
indicated by the following legend:
Esc: Exit Text. Intro: Chg Input.
IO Card F. Type: 2, # IN 8, # OUT 8
Input (ON OFF) Output
next >VIEW< test in
ut test out
ut
0 CC1 8 Va COIL1
1 CC2 9 Vb COIL1
2 CC3 10 Va COIL2
3 CC4 11 Vb COIL2
4 CC5 12 Isense1
5 CC6 13 Isense1
6 CC7 14 SUP21
7 CC8 15 SUP22
0 OUT1 ōŌ
1 OUT2 ōŌ
2 OUT3 ōŌ
3 OUT4 ōŌ
4 OUT5 ōŌ
5 OUT6 ōŌ
6 OUT7 ōŌ
7 OUT8 ōŌ
 Loading...