– 26 –
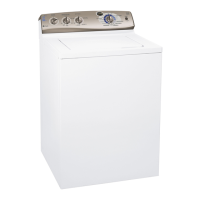
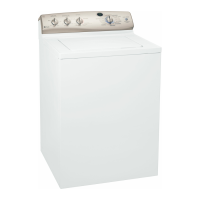
Lid Lock Assembly
The lid lock assembly is secured to the underside
of the washer top with 2 Phillips-head screws. The
assembly includes the interconnect cable and plug.
It connects to a six-pin connector on the power
board at the plug shown below.
4. Disconnect the cable from the power board at
the 6-pin white connector. (See
Circuit Board
Connector Locator View.)
5. Carefully place the shield and the control panel
aside.
6. Place the top cover in the service position. (See
Top Cover, service position.)
7. Remove the lid lock wire harness tie from the
left hinge and from retainers on the bleach
dispenser tank.
8. Remove the 2 Phillips-head screws that attach
the lid lock to the underside of the top cover.
Lid Lock Assembly
To remove the lid lock assembly:
1. Place the control panel in the service position.
(See Control Panel.)
2. Pull out and disengage the control cover from 4
tabs on the bottom of the control board.
3. Lift and remove the control cover from the
control board.
2
5
1
4
6
3
Pin Location Unlocked Locked
Volts Ohms Volts Ohms
3 to 4 5 VDC Open 0 VDC 0
6 to 4 0 VDC 0 5 VDC Open
1 to 2
12 VDC Momentarily
Locking or Unlocking
Door Lock Power Board WH6
WH
1
1
2
2
4
3
3
4
5
5
6
6
DOOR
LOCK
BK
BN RD GN
BL
WH
 Loading...