GE HEALTHCARERAFT VOLUSON E8 / VOLUSON E6
D
IRECTION KTD102576, REVISION 7 DRAFT (AUGUST 23, 2012) SERVICE MANUAL
4-10 Section 4-4 - Functional Checks
7
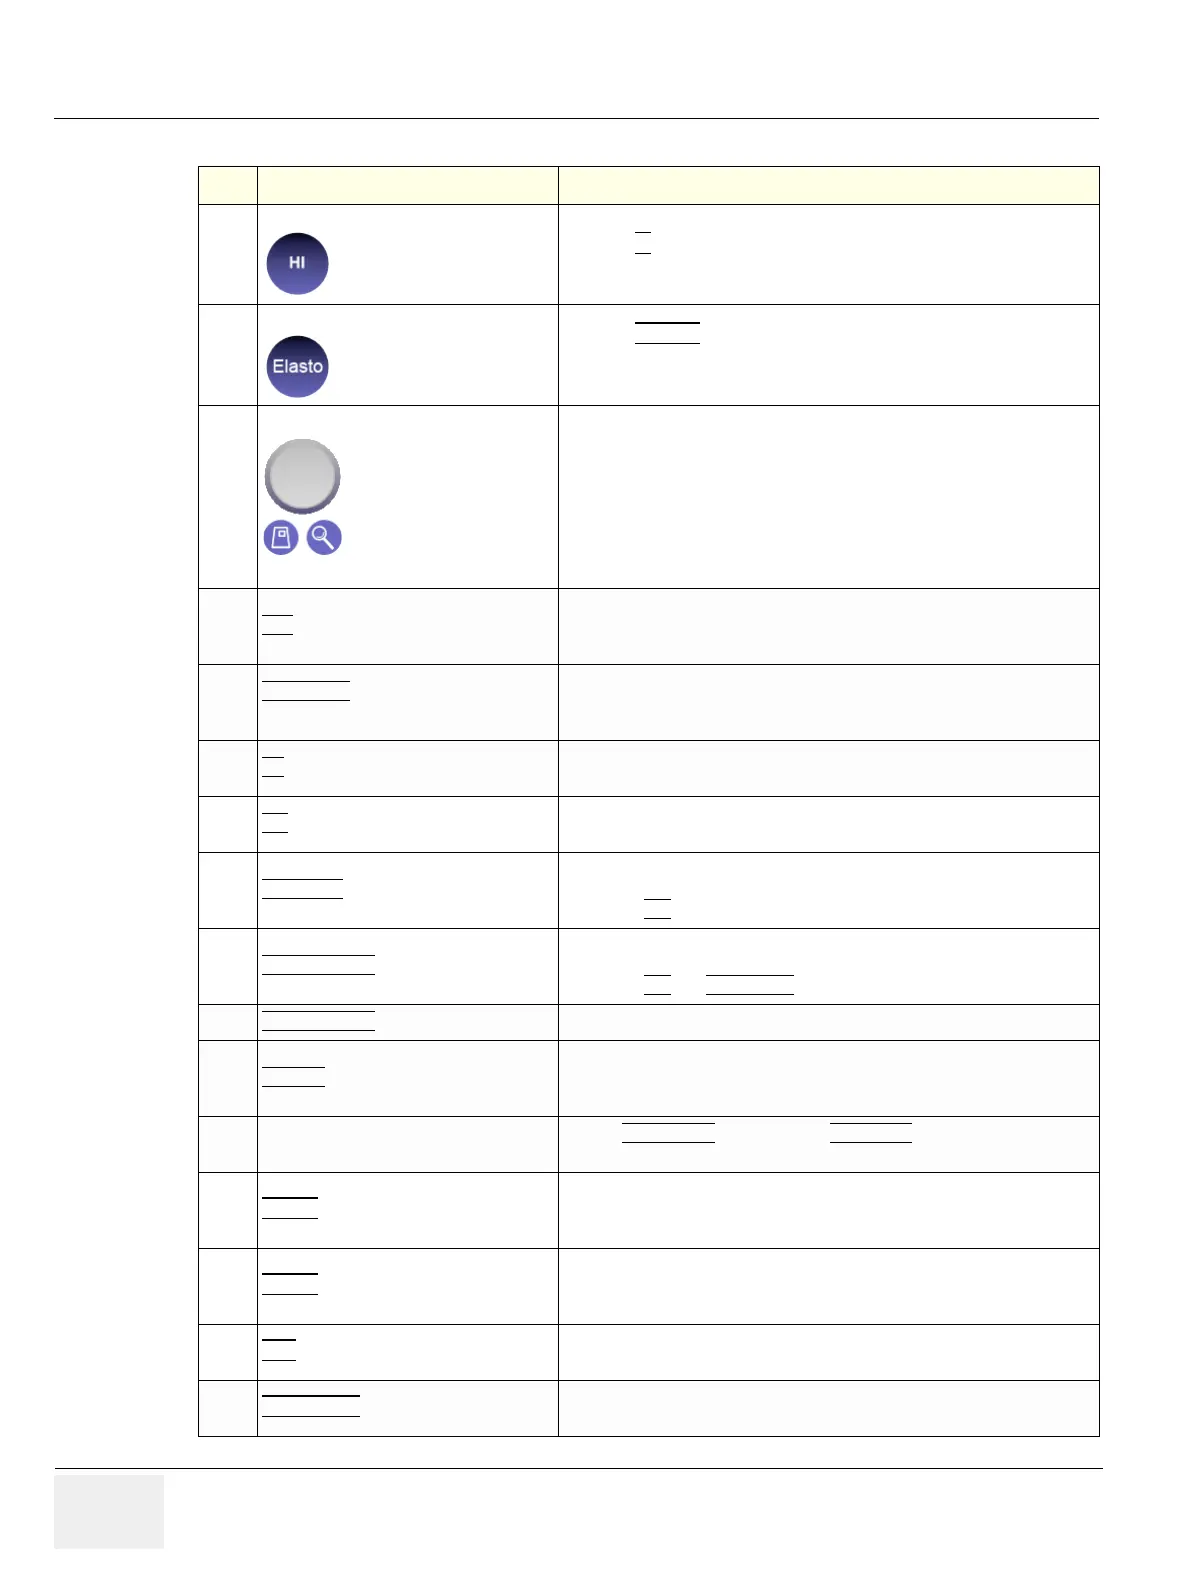
Harmonic Imaging
Press the HI
key on the control panel to switch on/off the Coded Harmonic
Imaging function in 2D Mode provided the active probe allows this function.
8
Elastography
Press the ELASTO
key on the control panel to switch on/off the
Elastography function in 2D Mode provided the active probe allows this
function.
9
HR Zoom &
Image Magnification
HR Zoom
Image magnification of selected image area.
push/dial Toggle control
Image Magnification:
Image Magnification of complete image in read and write mode.
10
FFC (Focus and Frequency Composite)
FFC combines a low frequency to increase the penetration and higher
frequency to keep a high resolution.
It reduces speckle and artifacts in the 2D image.
11
XBEAM CRI (CrossBeam
Compound Resolution Imaging)
Pulses are transmitted not only perpendicularly to the acoustic window, but
also in oblique directions. The advantages of XBeam CRI are enhanced
contrast resolution with better tissue differentiation and clear organ borders.
12
CE (Coded Excitation)
Coded Excitation improves image resolution and penetration in the far field.
This allows to use a higher frequency on technically difficult patients.
13
SRI
(Speckle Reduction Imaging)
Speckle Reduction Imaging is a smoothing type filter to reduce speckle in the
ultrasound image.
14
2D+2D/SRI
Changes the Single image display to two simultaneous half images. The left
frame shows only the 2D Mode image. The right frame shows the 2D Mode
image with SRI
information.
15
2D+2D/SRI CRI
Changes the Single image display to two simultaneous half images. The left
frame shows only the 2D Mode image. The right frame shows the 2D Mode
image with SRI
and XBEAM CRI information.
16
WIDE SECTOR Extends the field of view of curved array probes by means of beam steering.
17
TRAPEZ
Advantage of the Trapezoid Mode (button is highlighted):
The scan area is very increased in relation to the linear display by steering
the ultrasound lines in the border of the probe.
18
Image Orientation
Use the LEFT/RIGHT respectively the UP/DOWN keys on the Touch Panel
to alternate the image orientation.
19
ANGLE
Use this control to select a part of interest of the 2D image. The advantage
of the decreased field-of-view is an increased 2D frame rate due to the
smaller sector width.
20
ß-VIEW
This function allows the adjustment of the Volume O-Axis position of 3D
probes in 2D Mode. The green line in the displayed symbol indicates the
position of the acoustic block.
21
DYN
Dynamic Range controls how echo intensities are converted to shades of
gray, thereby increasing the adjustable range of contrast.
22
FOC. ZONES
Increases the number of transmit focal zone, so that you can tighten up the
beam for a specific area.
Table 4-2 2D Mode Functions
Step Task Expected Results