8 RADIUS Home
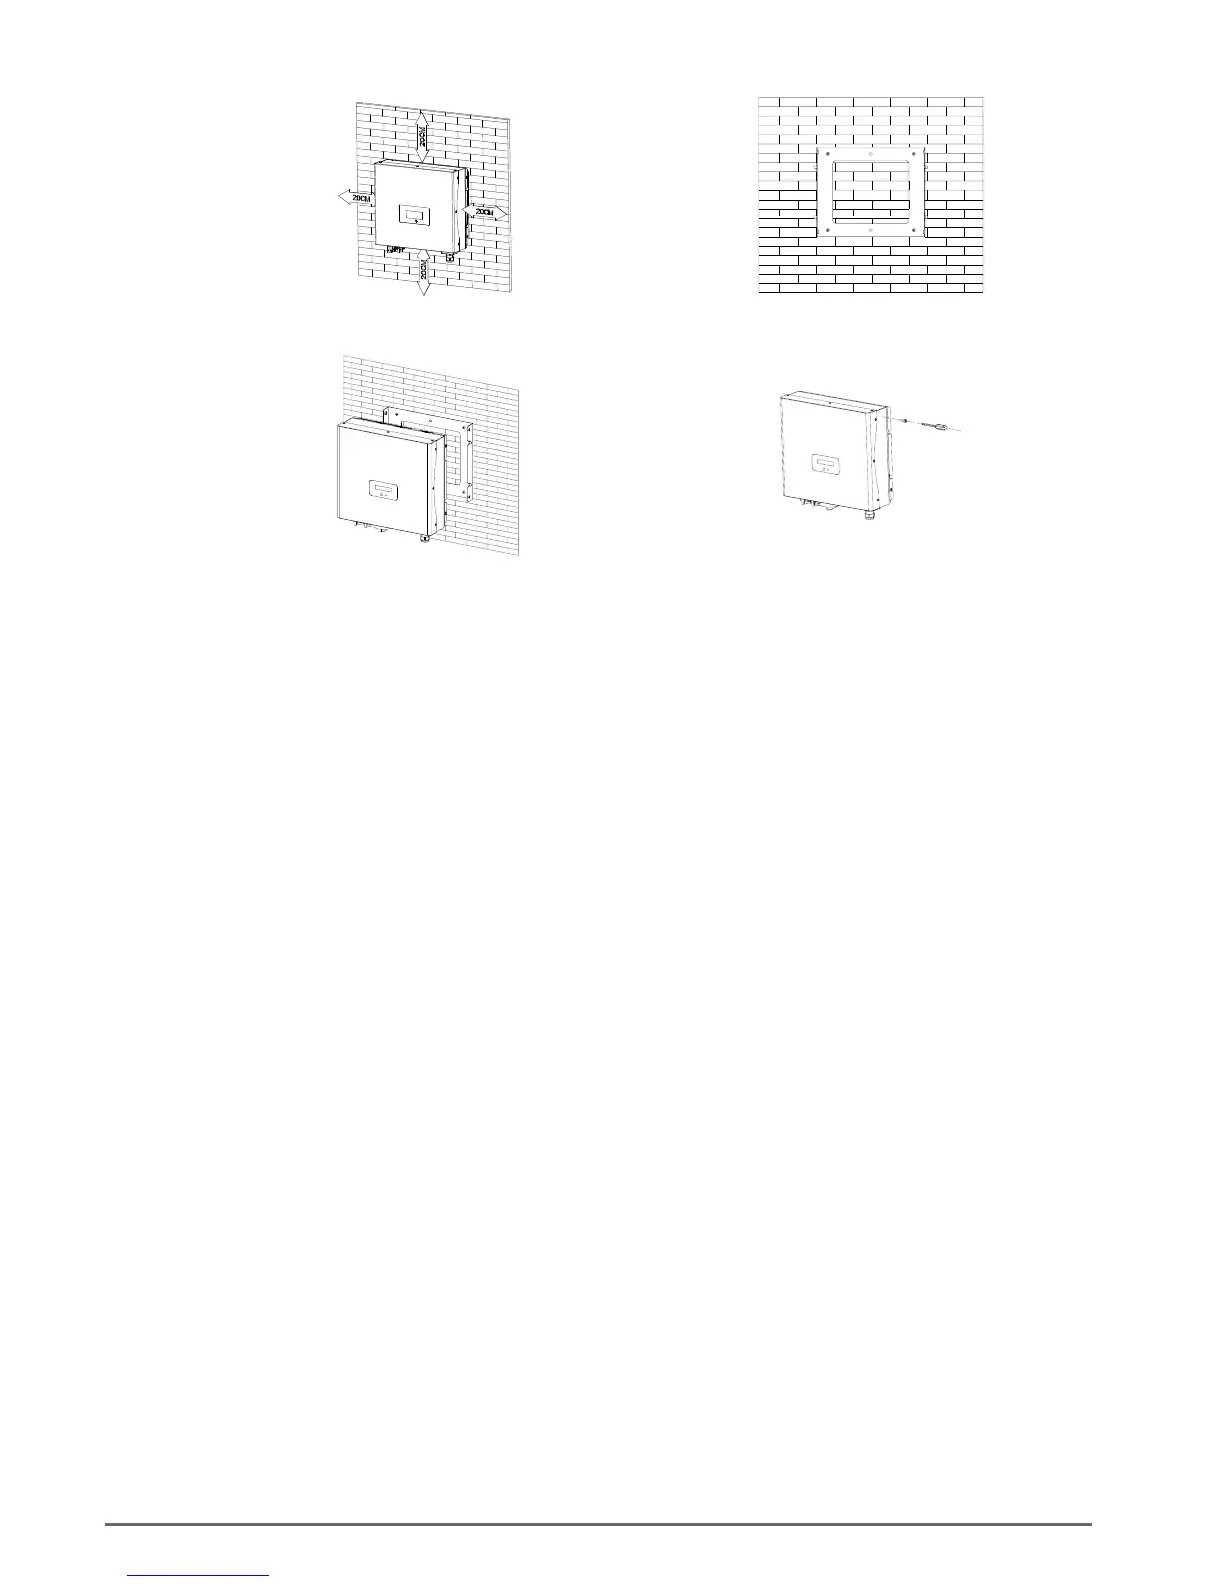
Figure 1 Figure 2
Figure 3 Figure 4
A) Select a wall or solid vertical surface that can support the PV-Inverter.
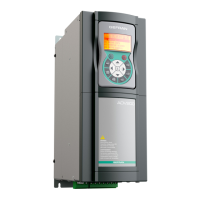
B) Inverter requires adequate cooling space. Allow at least 20cm space above and below the inverter (see
gure 1).
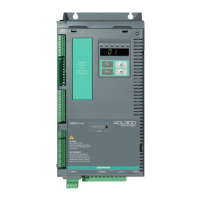
C) Using the mounting frame as a template, drill 4 holes as shown in gure 2.
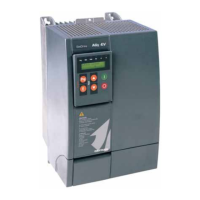
D) Fix the mounting frame as shown in the gure 3. Do not tighten the screws so that they are ush to the
wall. Leave 2 to 4mm exposed.
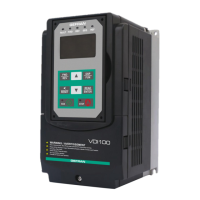
E) Hang the inverter on the mounting frame (gure 4).
F) Check the installation conditions
• Do not install the PV-Inverter on a slanted surface.
• Check the upper straps of PV-Inverter and ensure that it ts on the frame.
• Insert safety-lock screws through the bottom section of the frame to secure the inverter (diagram 3).
• Check that the PV inverter is mounted securely by trying to raise it from the bottom. The PV-Inverter
should remain rmly attached.
• Select the installation location so that the status display can be easily viewed.
• Choose a strong mounting wall to prevent vibrations while inverter is operating.
 Loading...