1 SafeNet Luna Network HSM Hardware Installation
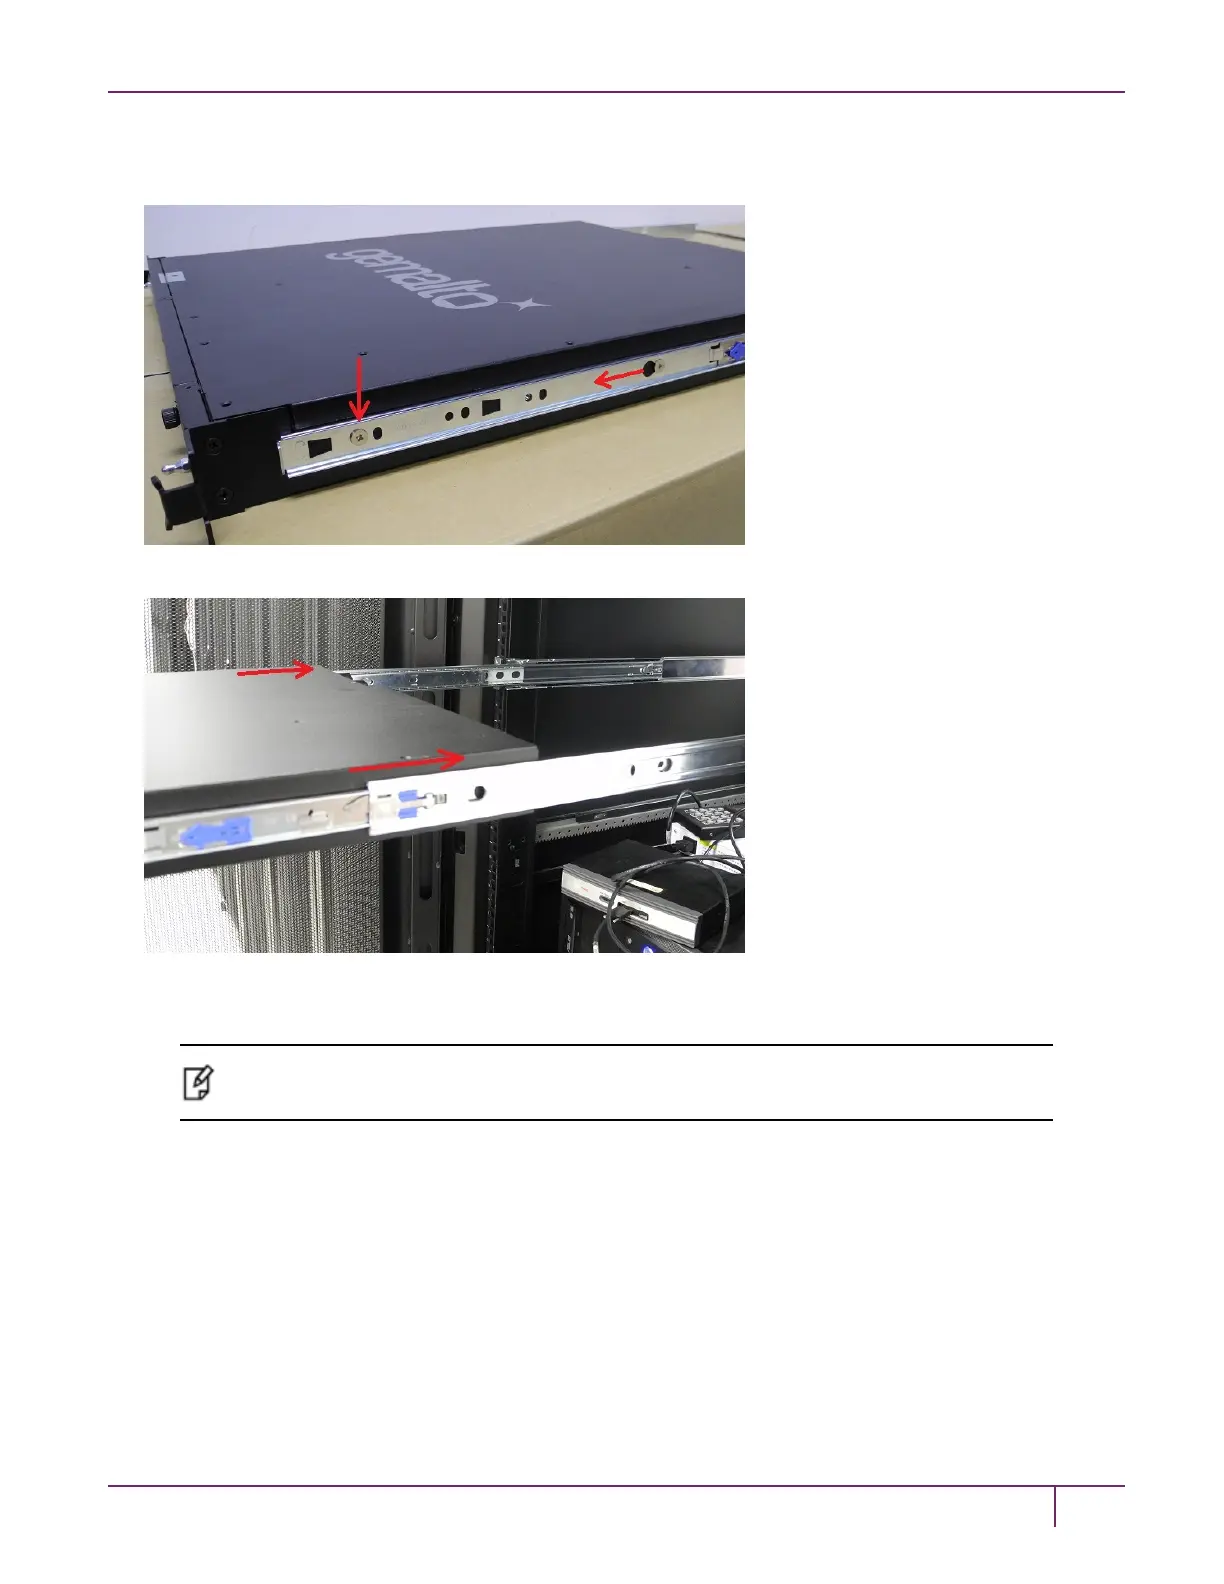
each sliding rail over the screw heads and slide it forward into place before tightening the screws. Fasten each
sliding rail with a third screw where it lines up with the hole in the HSM chassis.
6. Fit the sliding rails onto the rack mounts until they lock into place.
7. The HSM should now move smoothly and securely on the rails. Push the HSM all the way back and secure it to the
transformer bracket with the four rounded screws.
Note: Use only the screws included with the SafeNet Luna Network HSM. Screws that are too
large can prevent the locking bezel from fitting to the faceplate.
SafeNet Luna Network HSM Installation Guide
Release 7.0 007-013576-002 Rev. A June 2017 Copyright 2001-2017 GemaltoAll rights reserved.
21
 Loading...