selection. This will cause the value above hour in the lower left readout to
begin flashing. As before, use the and buttons to change the value
to that of the current hour (in 24-hour format), and then press the button
to save your selection. Repeat this procedure to set and save the hour and
seconds values in the right readout. Use the and arrows to skip over
any fields that do not need changing, or to go back and change any field
that you may have missed or set incorrectly. When you are finished setting
the day and clock, remember to press the button to save your selections.
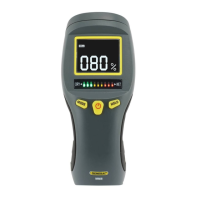
To begin logging data at the selected sampling time, press and hold the MEM
button for at least 3 seconds. Three things will happen in the following order:
1) All three readouts will flash; 2) The term SD iNit will appear on the lower
right readout to confirm that the MicroSD card is installed and ready to accept
data; and 3) A small M will appear at the left of the lower left readout.
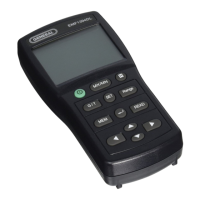
While the meter is data logging, all front-panel buttons except , MEM and
are disabled. To stop data logging and return to normal display mode, press
the MEM or button.
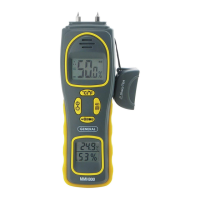
You have two options for reading the data logs stored on the MicroSD card:
• Connect the meter to a PC by inserting the mini-USB plug at one end of the
included cable into the mini-USB jack of the meter (Callout 11) and the full-
size USB plug at the other end of the cable into a USB port of the PC.
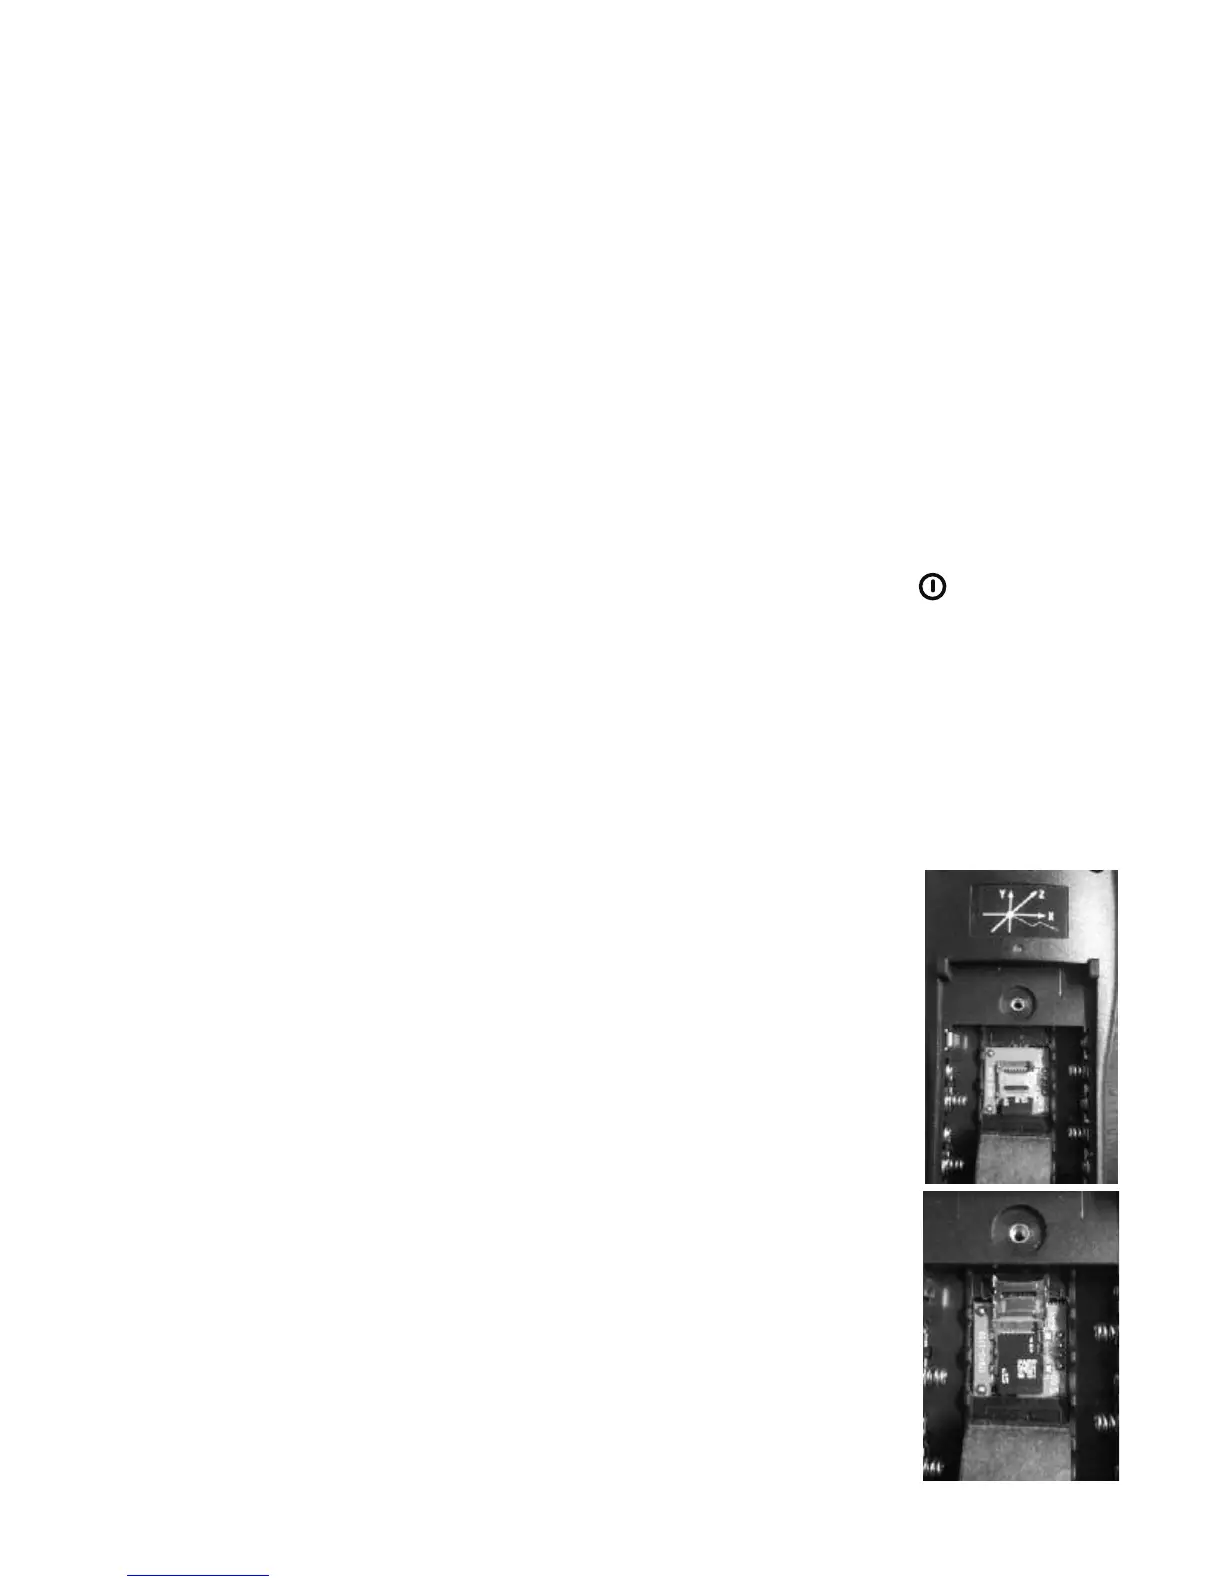
• Remove the MicroSD card from the meter, plug it into an
SD card adapter with a USB plug, and then plug the
adapter into a USB port of a PC. Before you can remove
the MicroSD card, you must gain access to it by removing
the meter’s flip-up stand and batteries, as explained in
the Setup Instructions on pages 5 and 6.
Removing the card requires extracting it from the tiny,
hinged metal bracket that holds it in place under the
batteries (see upper photo at right).
To begin, use your fingernail or a tweezers to slide the
bracket toward the top of the meter to unlock it, and then
swing the bracket up and toward the top of the meter to
expose the MicroSD card (see lower photo at right).