Genius Scanner
22
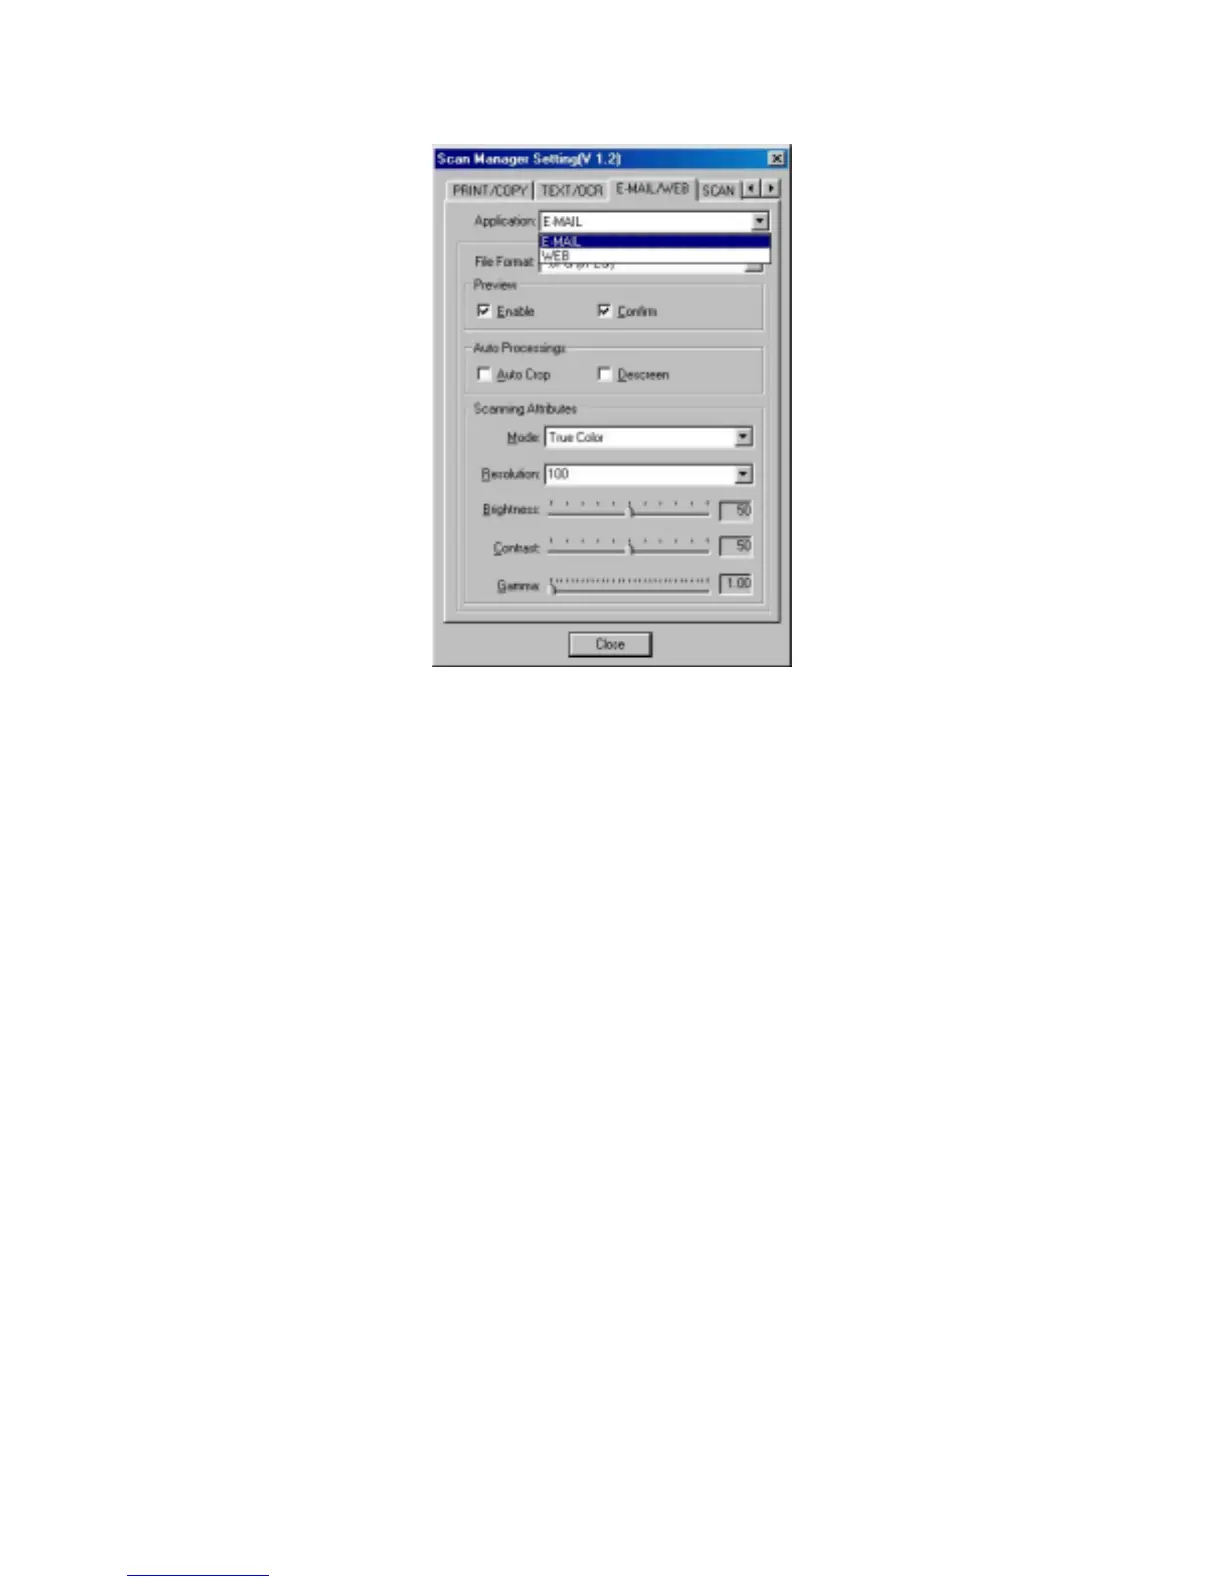
To Use the " E-MAIL/WEB " Button
As “Scan to E-mail” Function
1. Place a document or picture face down on the scanning glass.
2. Press the “E-MAIL/WEB” Button on the scanner.
Note: Skip to step 5, if you did not have “Enable” and “Confirm” checked under
“Preview” in Scan Manager.
3. The scanner will start prescanning automatically.
4. Click on the “Mail” button in the “PRESCAN” window to start scanning.
5. Click on “Yes” button to continue scanning the next page.
6. Click on “No” button when you finish scanning. At the meanwhile, your mail system will be
opened, and the scanned images will be transferred as attachments of a new mail.
As “Scan to Web” Function
1. Place a document or picture face down on the scanning glass.
2. Press the “E-MAIL/WEB” Button on the scanner.
Note: Skip to step 5, if you did not have “Enable” and “Confirm” checked under
“Preview” in Scan Manager.
3. The scanner will start prescanning automatically.
4. Click on the “Scan to Web” button in the “PRESCAN” window to start scanning.
5. Click on “Yes” button to continue scanning the next page.
6. Click on “No” button when you finish scanning. At the meanwhile, the scanned image files
will be transferred into “Page abc” Web Editing software.



 To Next Page