GHL Doser Resource Guide
Release 07/2018
49
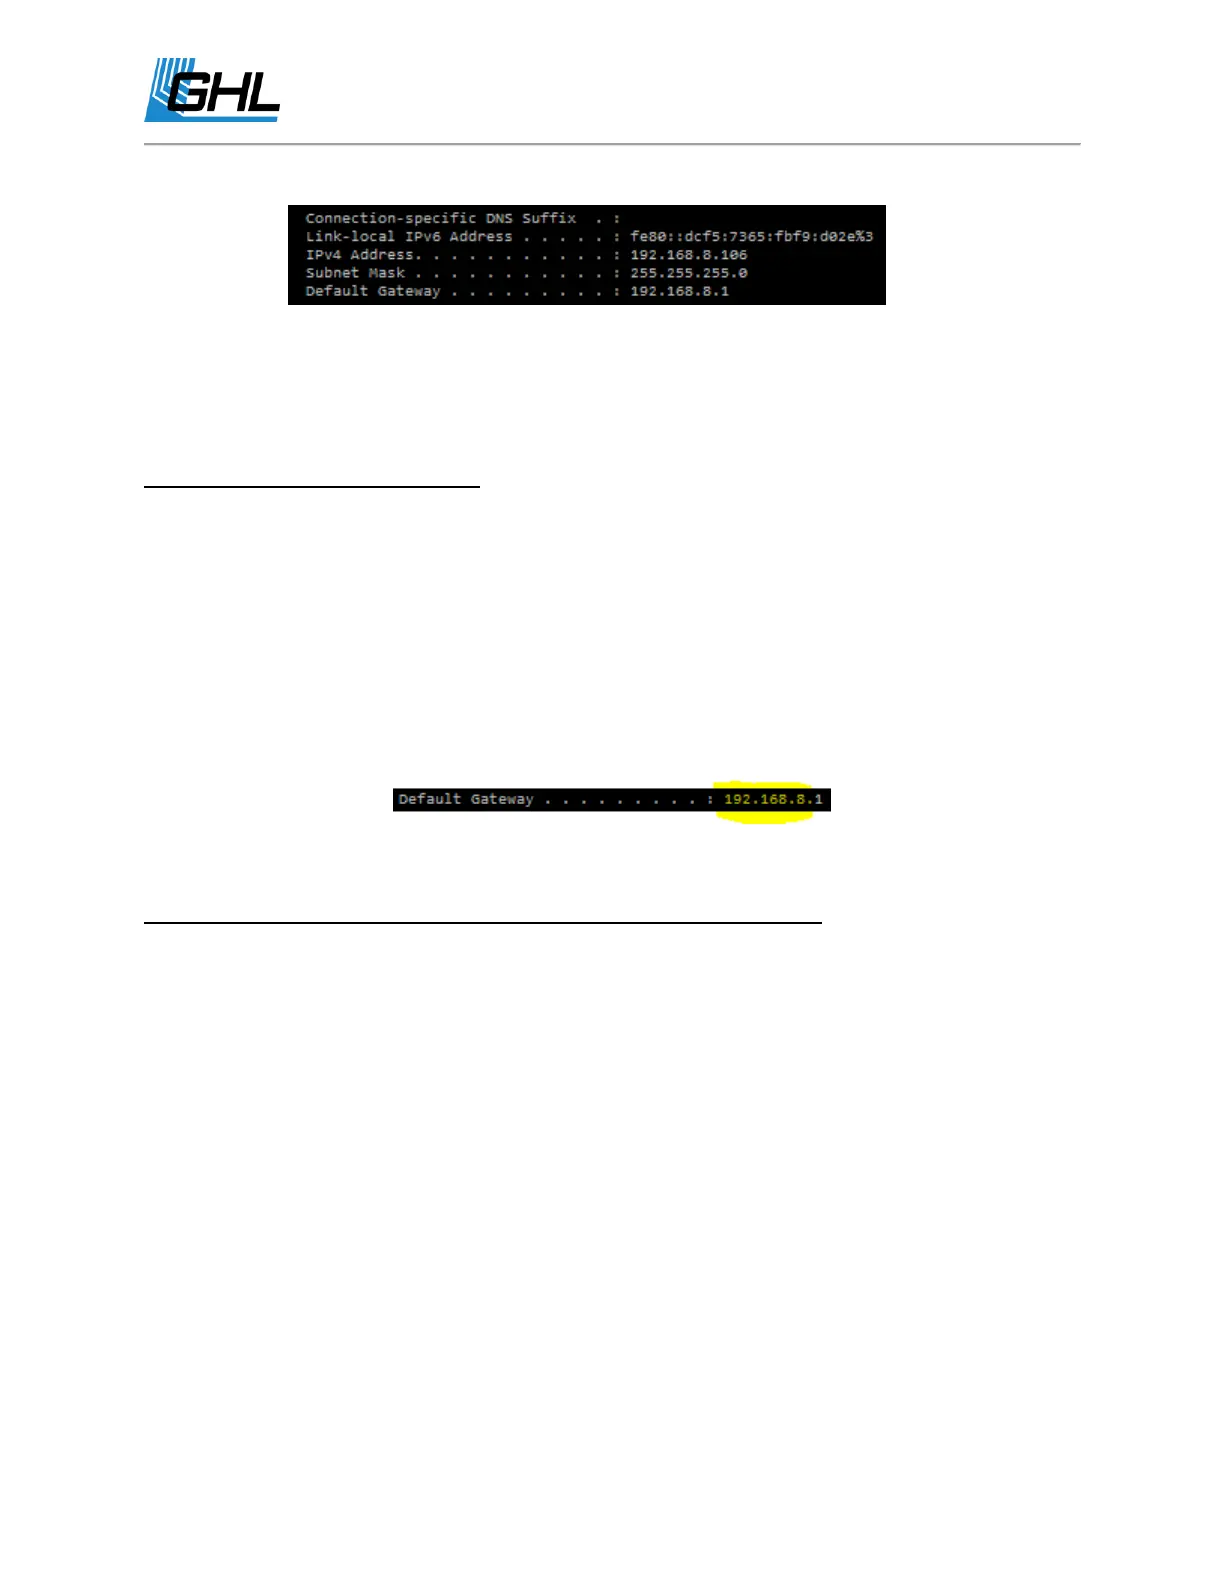
a. This is what you should be looking for:
b. The image above is for illustration purposes ONLY. Each network has its own
unique data.
4. Confirm that these two fields are typed into the Doser’s Wi-Fi settings EXACTLY as it is
shown in your command prompt Wi-Fi data result.
Assigning a correct IP address
During Standard Wi-Fi connection setup, when you are asked to select an IP address, make
sure you select a number within your network’s DHCP range. This range is commonly provided
by GCC during the setup steps.
● If you decide to not use the IP settings setup wizard, make sure that the first 3 IP
address fields are the same as your Default Gateway. For example, if your Default
Gateway is 192.168.1.1, you MUST fill in the first 3 fields into the assigned doser IP
address, 192.168.1.xxx - The last field can be a number that is not assigned by another
device on your Wi-Fi network.
Confirming doser connection to your network via LAN or WiFi
1. Type into your windows search bar,
cmd
and select windows command prompt.
2. Type in “Ping (YOUR DOSER’S IP ADDRESS GOES HERE)”, press enter.
○ For example, if your doser’s IP address is 192.168.1.150, to ping it, type in
“Ping 192.168.1.150”
3. Successful communication to your network will result in the outcome below.
4. If this does not show, you may want to assign a new IP address to your GHL Doser 2.1.
 Loading...