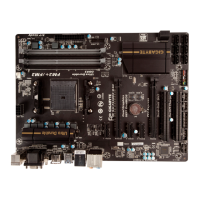
- 62 -
3-2 Installing the SATA RAID/AHCI Driver and Operating System
With the correct BIOS settings, you are ready to install the operating system.
A. Installing Windows 8.1/8/7
(ThefollowinginstructionsuseWindows8astheexampleoperatingsystem.)
Step 1:
You need to install the SATA RAID/AHCI driver during the OS installation. Use an alternative system to copy
theSATARAID/AHCIdriverfromthemotherboarddriverdisktoaUSBashdrive.CopytheHw8_A88 folder
under BootDrv in the driver disk.
Step 2:
Boot from the Windows 8 setup disk and perform standard OS installation steps. When the screen requesting
you to load the driver appears, select Browse.
Step 3:
ThenbrowsetotheUSBashdriveandselectthelocationofthedriver.Thelocationsofthedriversareasfollows:
RAIDdriverforWindows832-bit:Hw8_A88\RAID\x86
RAIDdriverforWindows864-bit:Hw8_A88\RAID\x64
AHCIdriverforWindows832-bit:Hw8_A88\AHCI\W8
AHCIdriverforWindows864-bit:Hw8_A88\AHCI\W864A
For Windows 7, browse to the Hw7_A88 folder.
Step 4:
When a screen as shown in Figure 1 appears, select AMD-RAID Controller and click Next to load the driver
and continue the OS installation.
Figure 1
 Loading...