- 14 -
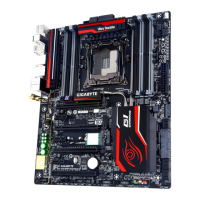
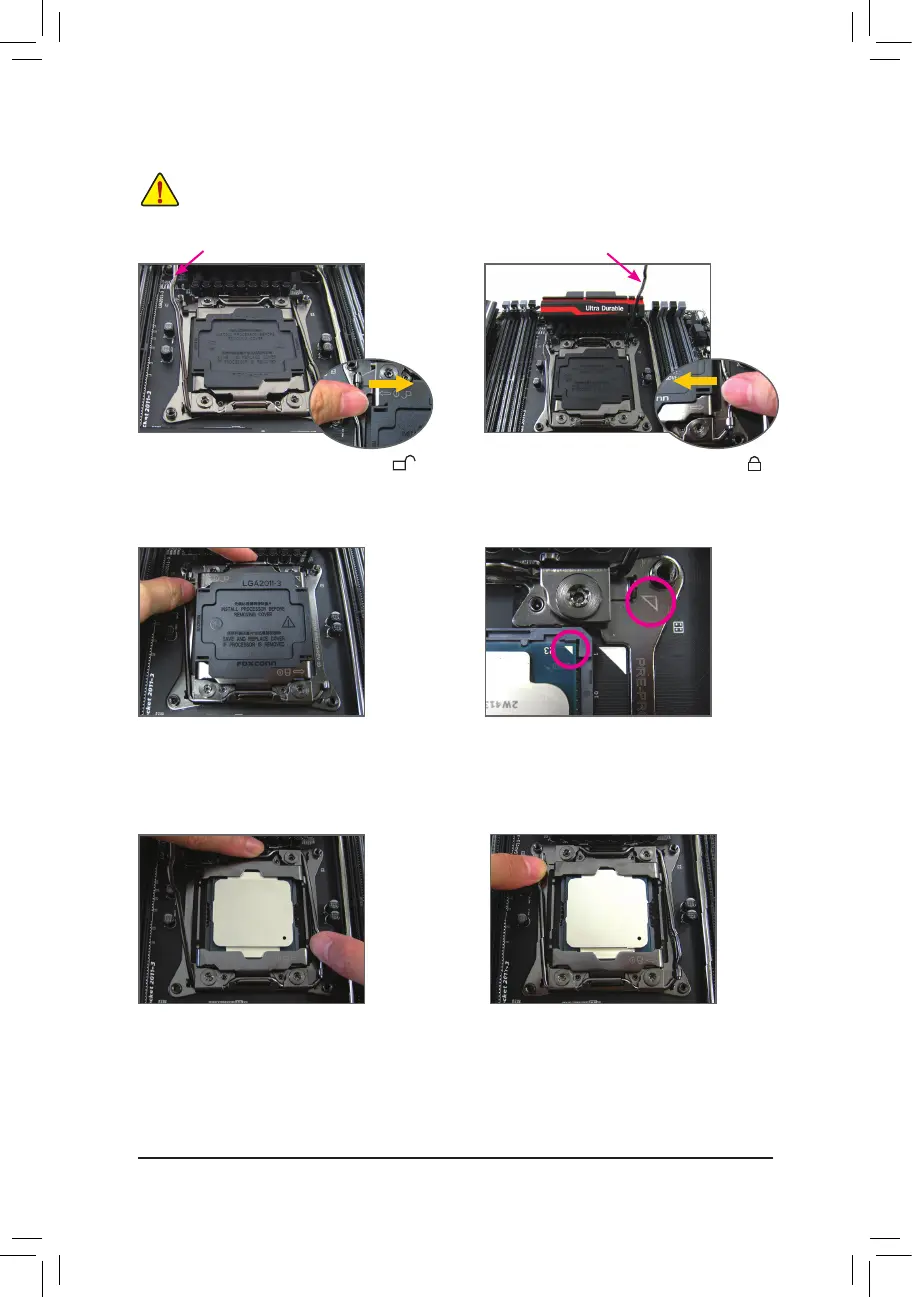
B. Follow the steps below to correctly install the CPU into the motherboard CPU socket.
• Before installing the CPU, make sure to turn off the computer and unplug the power cord from
the power outlet to prevent damage to the CPU.
• To protect the socket contacts, do not remove the protective plastic cover unless the CPU is
inserted into the CPU socket. Save the cover properly and replace it if the CPU is removed.
Step 1:
Push the lever closest to the "unlock" mark " "
(belowreferredasleverA)downandawayfromthe
socket to release it.
Step 4:
HoldtheCPUwithyourthumbandindexngers.
Alignthe CPU pinone mark (triangle) with the
triangle mark on metal socket frame and carefully
insert the CPU into the socket vertically.
Step 6:
Finally, secure lever A under its retention tab to
complete the installation of the CPU. Then carefully
remove the plastic cover. Save it properly and
always replace it when the CPU is not installed.
Step 5:
Once the CPU is properly inserted, carefully
replace the load plate. Then secure lever B under
its retention tab.
Step 3:
Gently press lever A to allow the load plate to
rise. Open the load plate. Note: DO NOT touch
the socket contacts after the load plate is opened.
Step 2:
Push the lever closest to the "lock" mark " "
(belowreferredasleverB)downandawayfrom
the socket. Then lift the lever.
Lever A Lever B
 Loading...