21
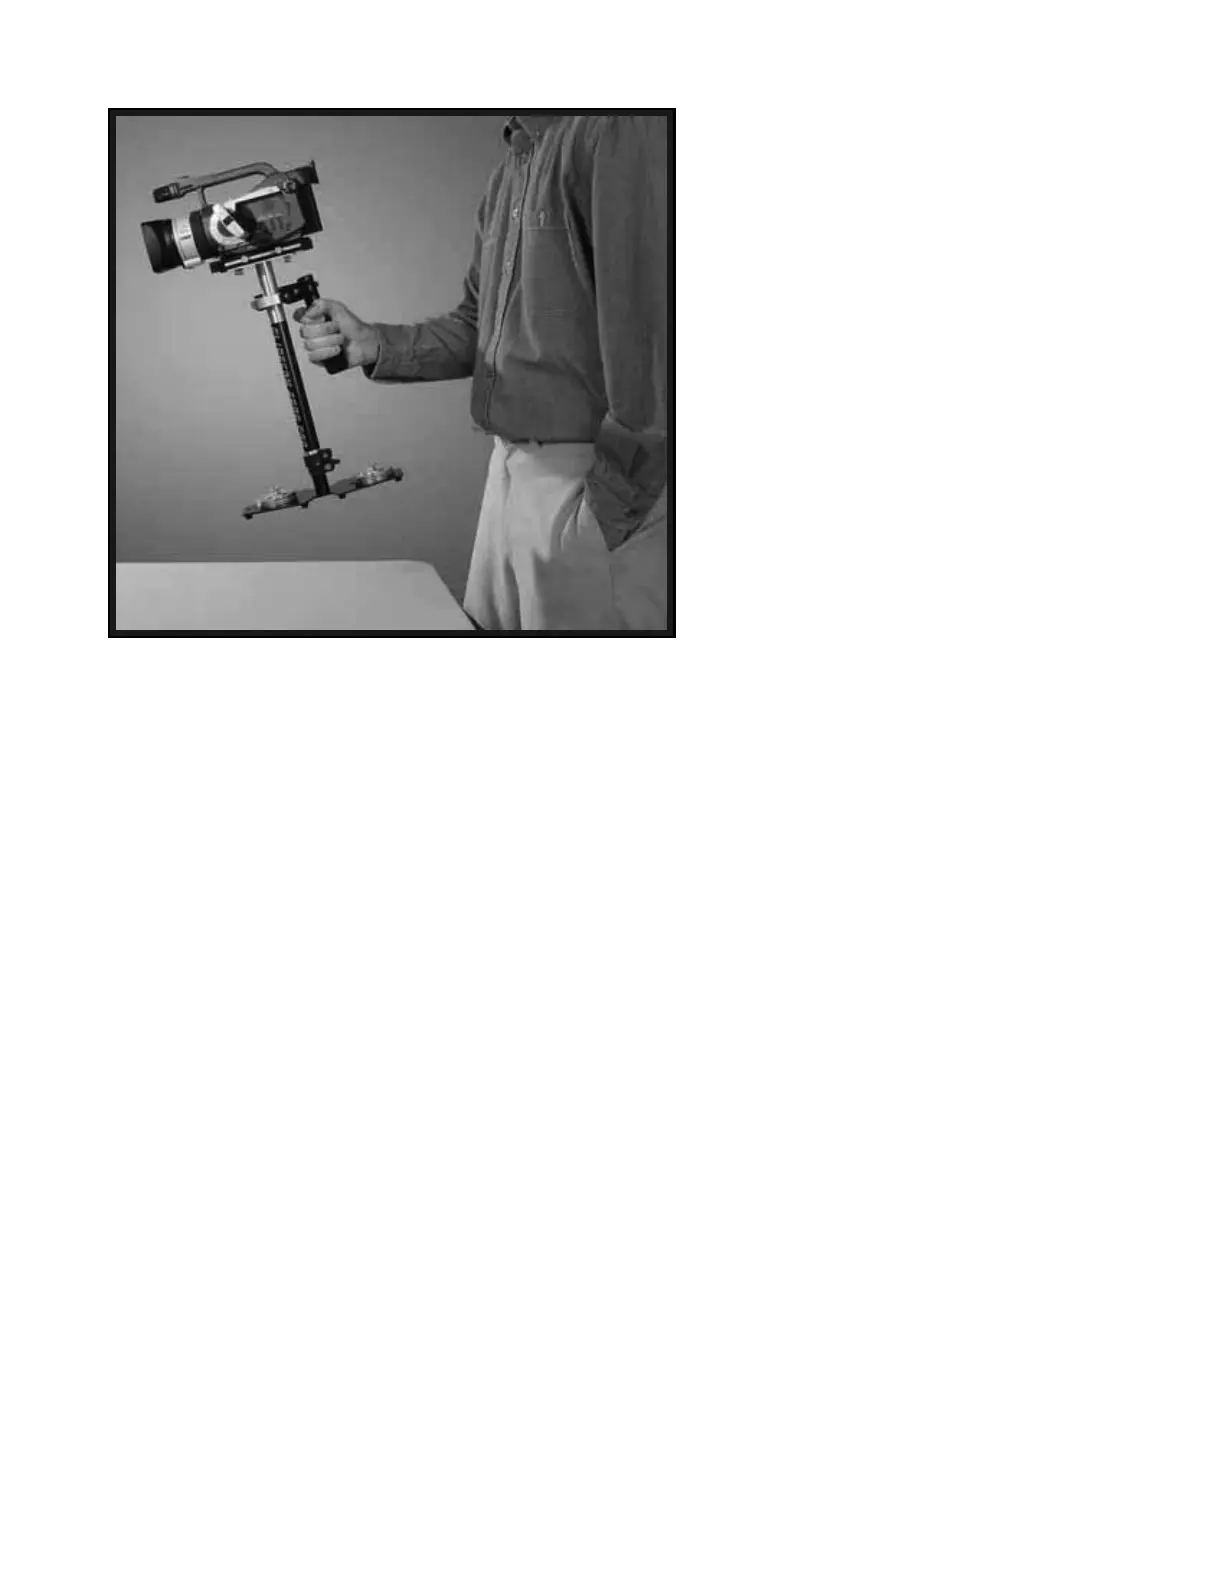
When testing for correct horizontal
balance you need to make sure that you
pick up your 2000 Pro from a flat and level
surface (a table for example) and that you
let the 2000 Pro hang freely as you hold it
as shown in Photo #43. If the 2000 Pro is
balanced correctly on its horizontal axis,
then it will be level and upright, with the
CENTRAL POST in a virtually perfect
vertical position, as pictured in photo #43.
Most likely your 2000 Pro will not look like
it does in Photo # 43, and so you will have
to adjust it until it does.
WARNING: If you do not have enough
COUNTER WEIGHT DISKS on the BASE
PLATFORM at this time, the entire Glidecam
will completely flip upside down. If this
happens, add more COUNTER WEIGHT
DISKS below until during this test the
Glidecam remains right side up.
The best way of adjusting the horizontal
balance is to move the center of gravity of
the Camera. This can be accomplished by
either #1) rebolting the Camera to a different
area of the HEAD PLATE, or by #2) adjusting
the position of the HEAD PLATE and MID
PLATE, either front to back or side to side
with the Camera on it. Method #2 is the
preferred method.
If the 2000 Pro tilts to the front as it does in
Photo # 44, then you will have to loosen the
BRASS THUMB SCREWS on the sides of
the HEAD PLATE and gently slide the HEAD
PLATE back a bit. If the 2000 Pro still tilts
to the front, then move the HEAD PLATE
more to the back. If the 2000 Pro is tilting to
the back, then move the HEAD PLATE to
the front. Always secure the BRASS
THUMB SCREWS after any adjustments. If
you cannot get the front to back axis balanced
with this method then try remounting your
Camera to a different hole on the HEAD
PLATE. Once you achieve correct horizontal
balance for the front to back axis, tighten the
BRASS THUMB SCREWS that control this
movement of the HEAD PLATE.
44