20
#5 ñ Balancing
your Glidecam
2000 Pro
Before you begin the balancing process
check for the following:
1) Camera is securely attached to
HEAD PLATE.
2) Lens cap has been removed and
secured.
3) Camera Battery and Video Tape are
installed.
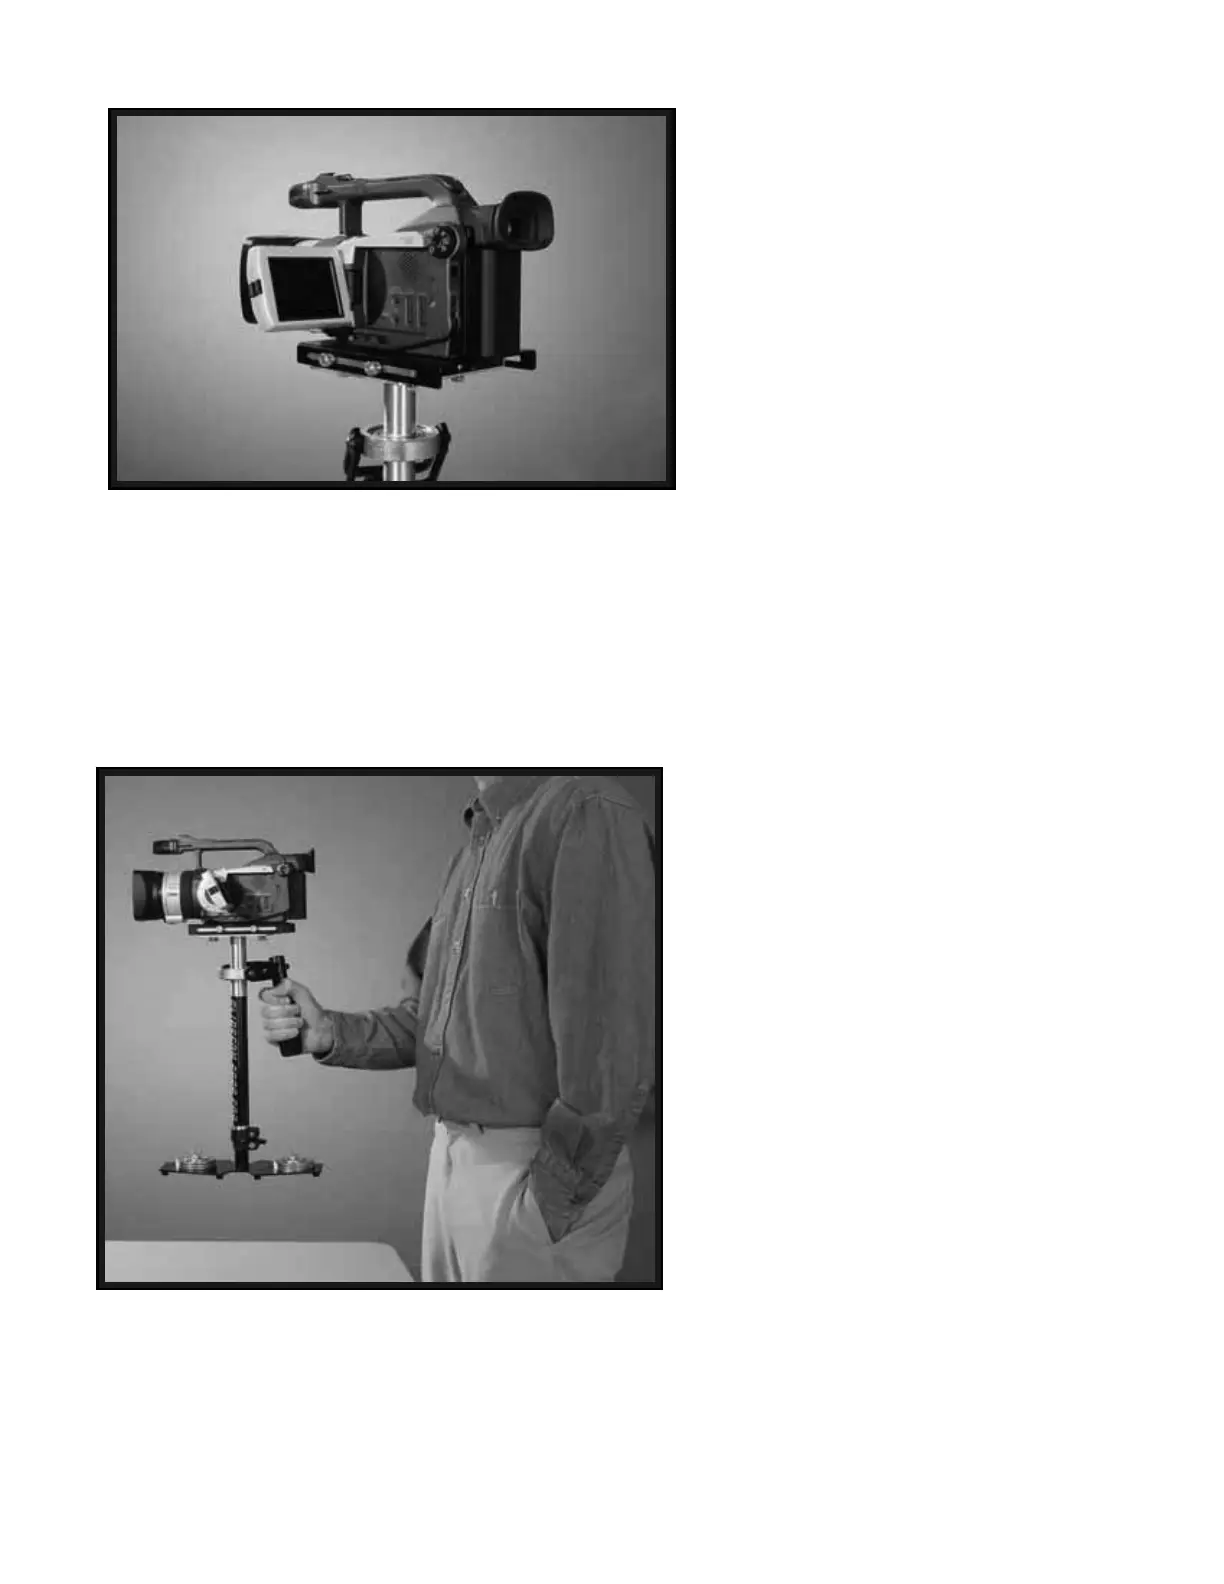
4) Flip out LCD is in it’s operating
position (if applicable as in Photo 42).
5) Telescoping clamp has been
tightened, weight disks added etc.
6) All 8 BRASS THUMBSCREWS in
place and secure.
BALANCING THE HORIZONTAL
AXIS
Now that your Glidecam 2000 Pro is setup
and assembled properly, you can test and
setup the horizontal balance of the system.
The objective in obtaining correct
horizontal balance for the 2000 Pro is to
allow the Camera to remain level during
operation, given you are not applying
either a pan, tilt, or roll type of hand
pressure to the 2000 Pro. In other words,
if the 2000 Pro is horizontally balanced
correctly, then the Camera will remain
level, and the CENTRAL POST will
remain vertical unless you intentionally
position the 2000 Pro otherwise. Also, if
the 2000 Pro is horizontally balanced
correctly it will always return to a level
and vertical position after you release any
pan, tilt, or roll pressure on the CENTRAL
POST as shown in Photo # 43.
42
43