23
NOTE: LATER AFTER YOU ADJUST
THE VERTICAL BALANCE OF THE
2000 PRO YOU WILL HAVE TO GO
BACK AND READJUST THE
HORIZONTAL BALANCE AGAIN IN
ORDER TO OBTAIN A TRUE FINE
BALANCE OF THE WHOLE SYSTEM.
BALANCING THE VERTICAL
AXIS
Now that your 2000 Pro is horizontally
balanced, it’s vertical axis can now be
tested and properly balanced. The
objective in obtaining correct vertical
balance of the 2000 Pro is to allow the
Camera and 2000 Pro to remain level
during operation, given you are not
applying either a pan, tilt, or roll type of
hand pressure to the 2000 Pro, and most
importantly that the 2000 Pro’s
CENTRAL POST remains vertical even
if you are walking, running, or turning
while the 2000 Pro is in operation. In
other words, if the 2000 Pro is vertically
balanced correctly, then the Camera will
remain level, and the CENTRAL POST
will remain vertical unless you
intentionally position the 2000 Pro
otherwise. If the 2000 Pro is not vertically
balanced properly, then it will swing about
and pendulum when you walk, run or turn.
Again, if the vertical balance is set correctly
you will be able to move about quickly, as
well as start or stop moving suddenly, and
still have the central support post remain
vertical. To adjust the 2000 Pro’s vertical
balance you can
either add, or subtract
COUNTER WEIGHT DISKS from the
BASE PLATFORM, or
telescope the BASE
PLATFORM in or out. After you have
approximately the right amount of WEIGHT
on the BASE, you can then fine tune the
VERTICAL BALANCE by using the
TELESCOPING POST.
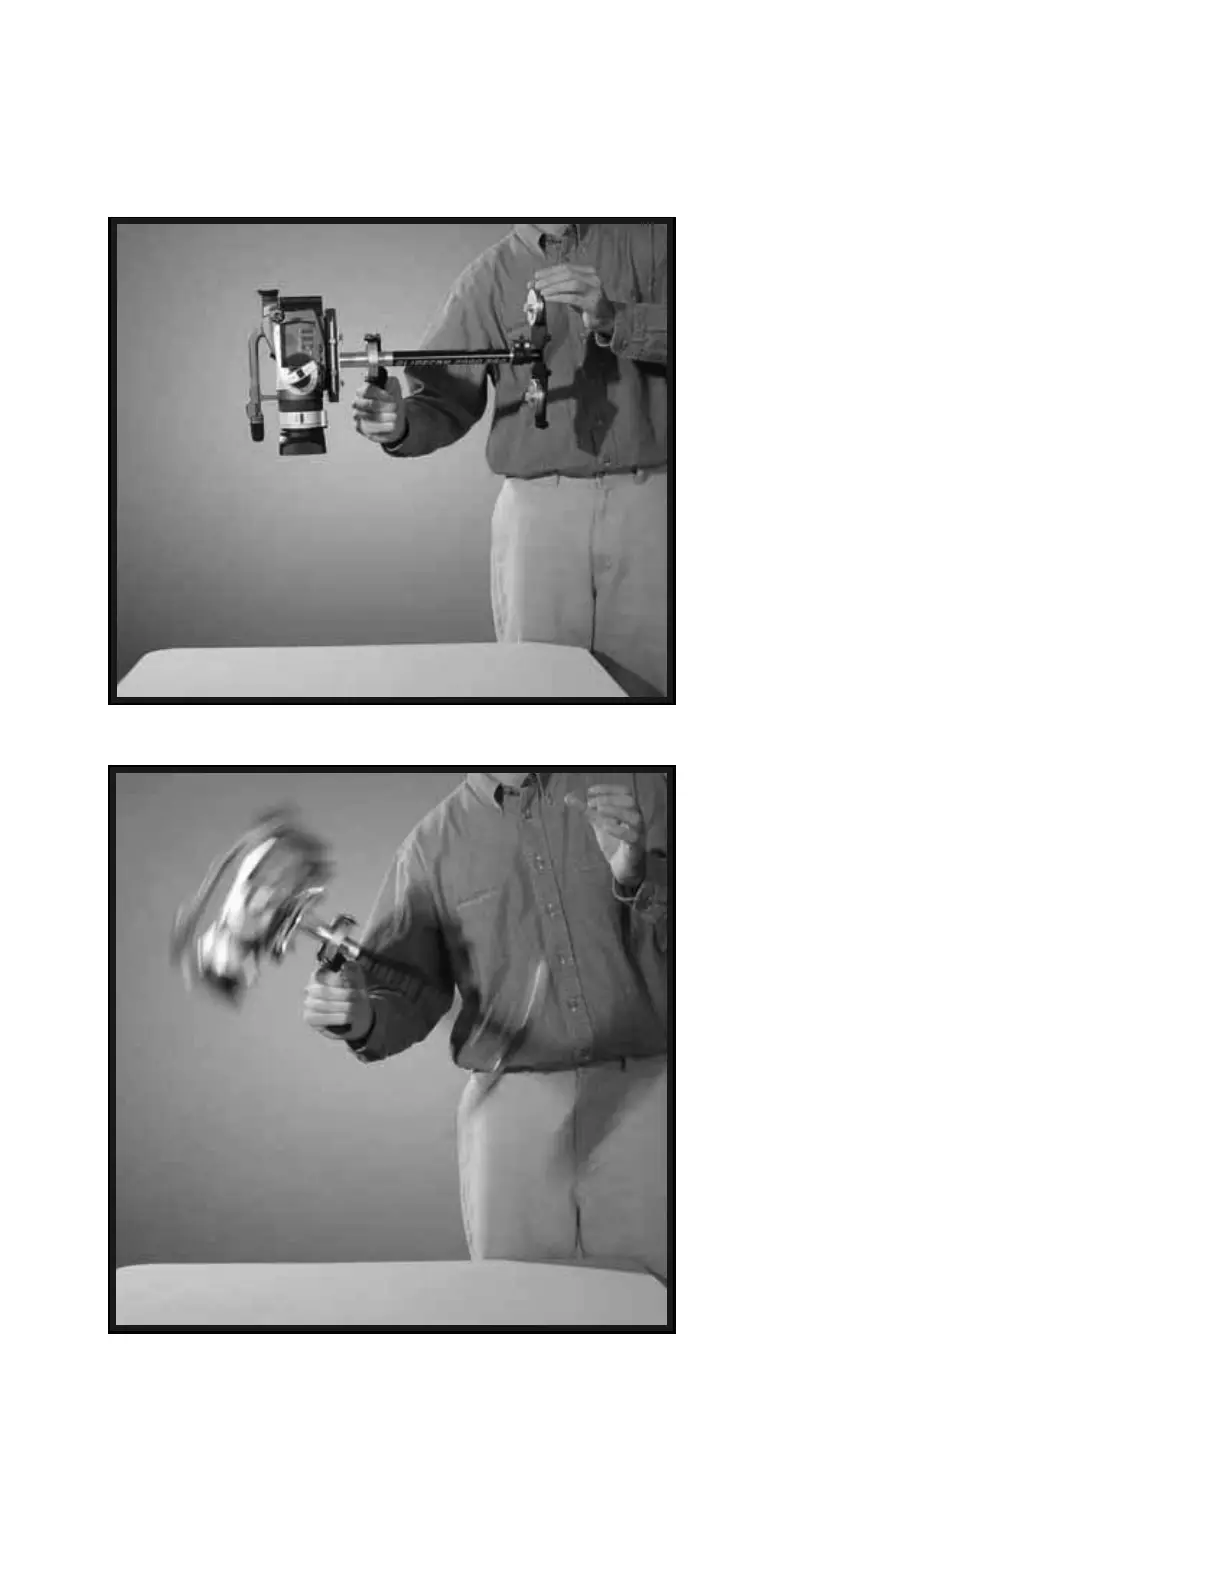
47
48
Photo # 48 shows the Glidecam 2000 Pro swinging
between horizontal and vertical during the “Sled Arc
Test” (see next page).