Section 5 Operating Instructions
5-8
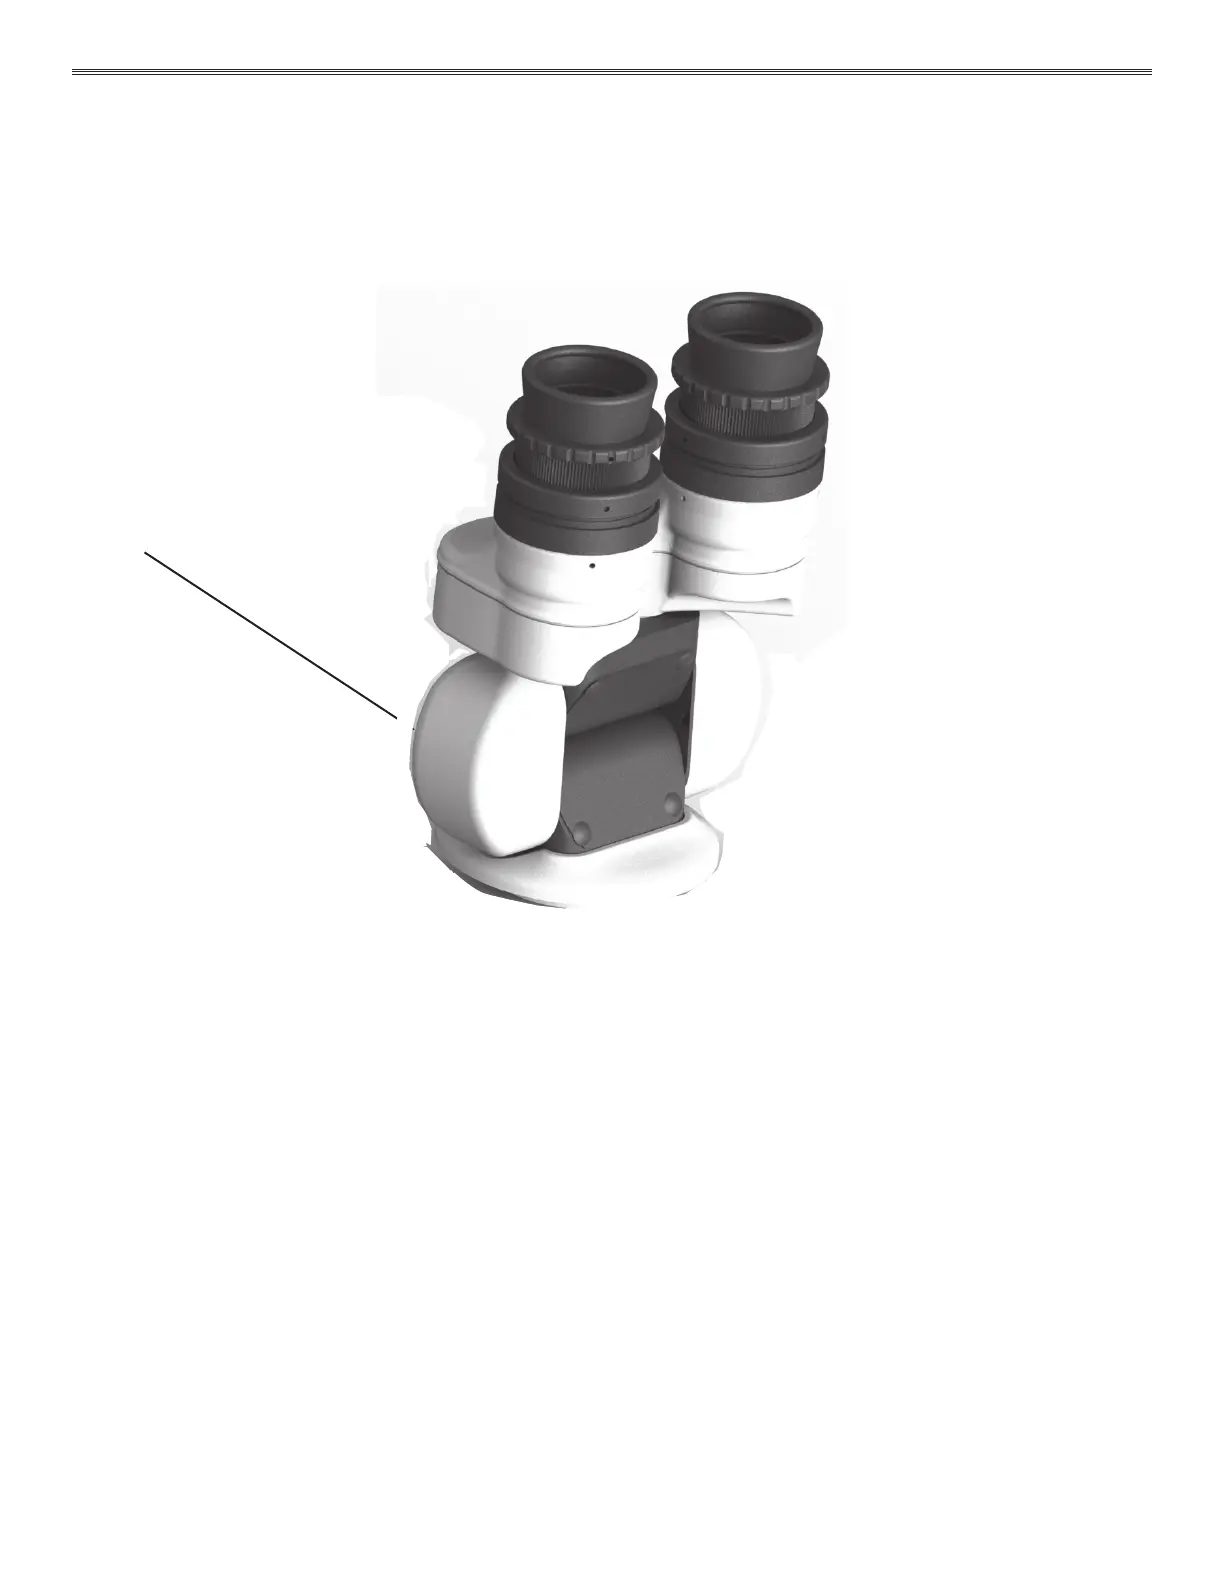
5.16 Binocular Adjustment
The distance between the user’s eyes is called the inter-pupillary distance. The inter-pupillary distance of the
binocular must be adjusted to match the user’s eyes in order to maintain proper stereoscopic vision. To adjust
the binocular, the user should look into both eyepieces, grasp the binocular by the side and spread the
eyepieces apart or move them closer together until a single image forms. A grid of the inter-pupillary distance
in millimeters is engraved on the binocular for reference.
5.17 Eyepieces
The eyepieces used on A-Series Microscopes are high eye point eyepieces. This means that a full-sized image
is formed approximately one inch (25 mm) above the eyepiece to assist users who wear glasses.
Eyecups are used to position the user’s head at the correct distance from the eyepiece without the user
becoming fatigued. The eyecups on the A-Series M A1003, M A1004, M A1006 Microscopes are adjustable
to provide maximum comfort for the user. To lower the eyecup, grasp the rubber eyecup and turn it clockwise.
Turning it counterclockwise will raise the eyecup. The eyecups are properly adjusted when the user’s eyes
(or glasses) are touching the eyecups with the image through the microscope in full view. Reference lines are
provided on the outside surface of the eyecups to verify that both are adjusted to the same height.
5.18 Diopter Adjustment
Each binocular eyepiece is equipped with a diopter adjustment ring which is marked in plus(+) or minus(-)
one diopter increments. To adjust the diopter setting, rmly grasp the diopter adjustment ring and adjust the
settings until the image is clear and sharp.
The diopter adjustment corrects for the user’s vision prescription, providing relaxed 20/20 vision with or without
glasses or contact lenses. The diopter adjustment has a correction range of +5 diopters to -5 diopters. Users
with natural correction outside this range must wear additional corrective lenses to achieve relaxed 20/20
vision.
Grasp the binocular by the side and
spread the eyepieces apart or move
them closer together until a single
image forms
 Loading...