Page 18
BE ALERT. The next steps will expose the knife.
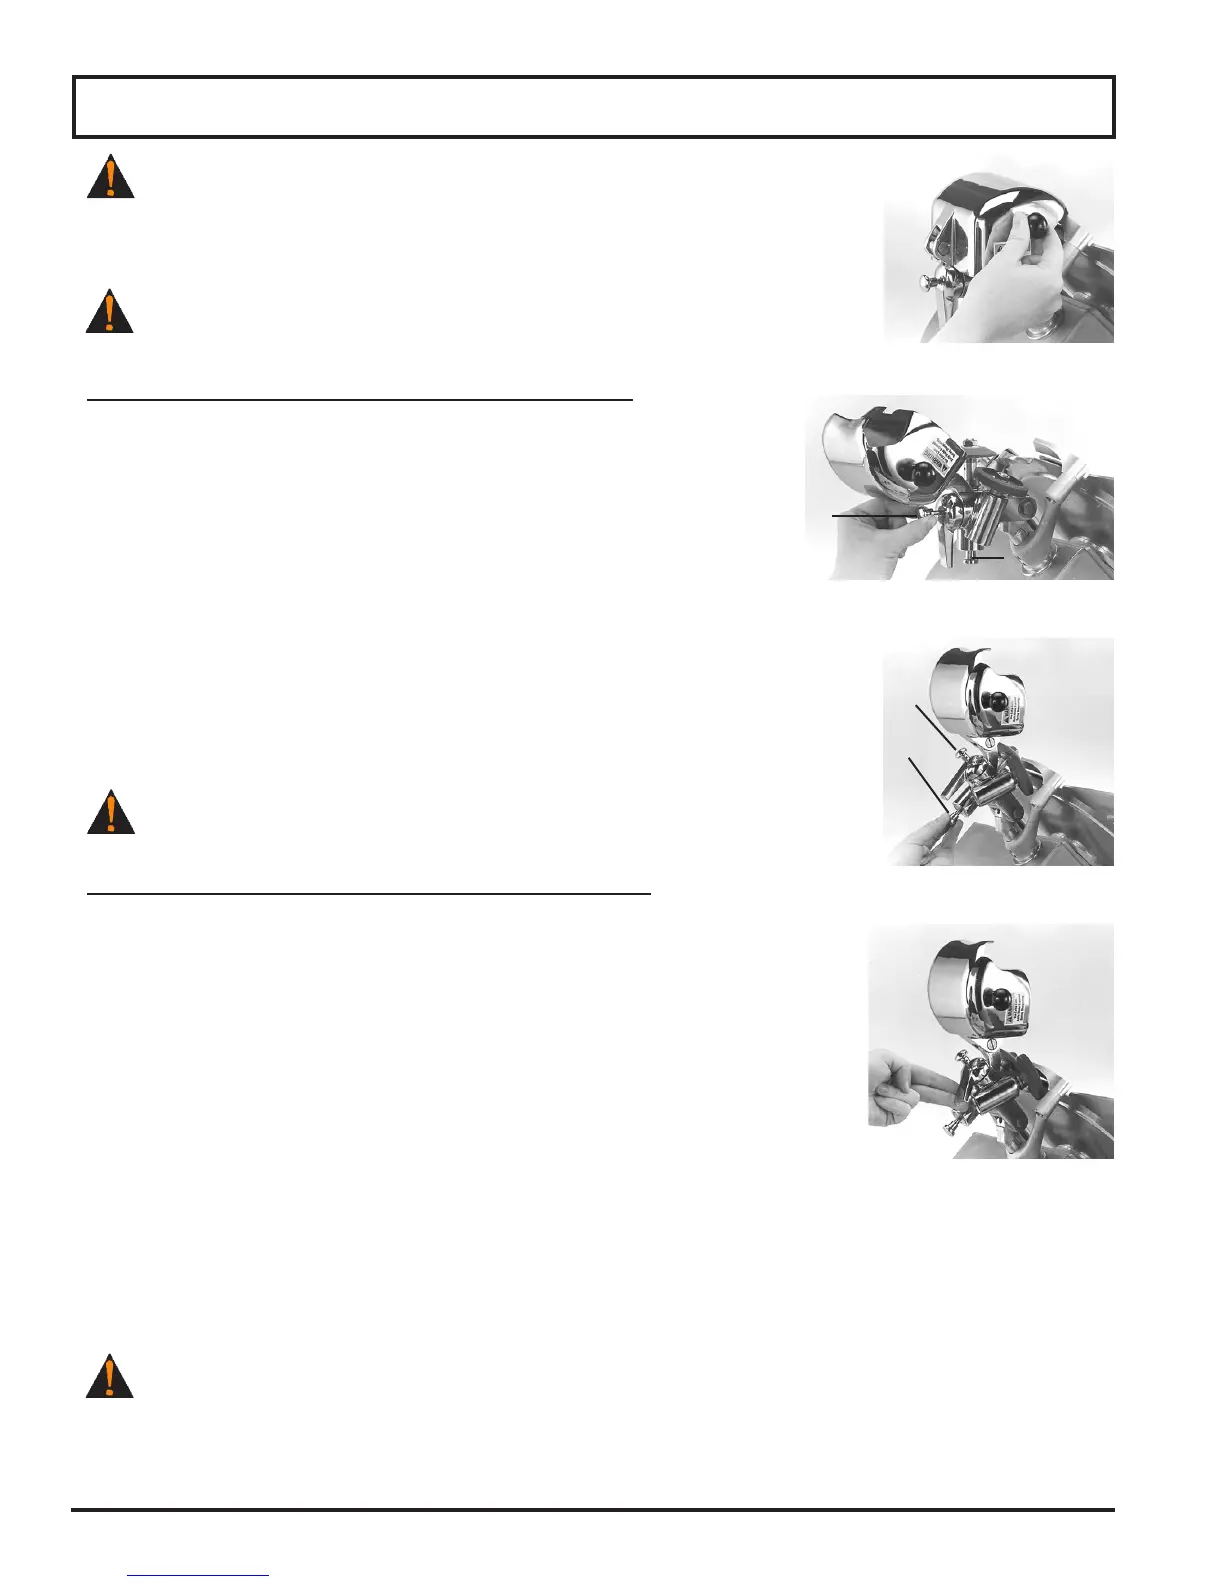
4. Lift the sharpener cover to expose sharpening stones (Fig. 18-1). Stones should be
clean and dry.
ALWAYS keep hands and arms away from exposed knife.
SHARPENING THE KNIFE - (Regular Procedure)
NOTE: Sharpening of the blade does NOT apply to frozen PF model slicers.
The knife should be sharpened every few days for 5-10 seconds.
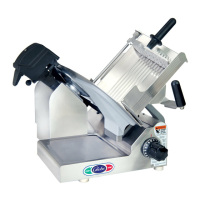
1. Pull on knob #1 (Fig. 18-2) keeping it extended and swinging sharpener up
into position. Release knob, and sharpener will lock into the sharpening
position.
2. Pull out knob #2 (Fig. 18-3).
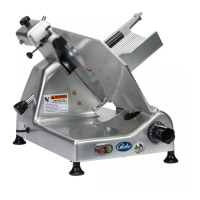
3. Turn knife motor on by pressing the start button (automatic slicers only) or by
pulling the on/off tab towards you. Pull the lever counterclockwise to bring
stones into contact with the knife (Fig. 18-4). Maintain pressure on the lever
for 5-10 seconds. Be sure both stones are in contact with the knife.
TURN SLICER OFF before inspecting.
SHARPENING THE KNIFE - (Extended Procedure)
NOTE: Sharpening of the blade does NOT apply to frozen PF model slicers.
NOTE: Use the extended procedure if the regular sharpening procedure
does not produce satisfactory results.
1. Pull on knob #1 (Fig. 18-2) keeping it extended and swinging sharpener up
into position. Release knob, and sharpener will lock into the sharpening position.
2. Activate only the bottom stone by pushing in knob #2.
3. Turn the knife motor on by pressing the start button (automatic slicers only) or
by pulling the on/off knob towards you. Pull the lever counterclockwise to bring
the stone into contact with the knife (Fig. 18-4). Maintain pressure on the lever for
30 seconds.
4. Pull out knob #2. Pull the lever counterclockwise to bring both stones into contact
with the blade. Maintain pressure on the lever so both stones rotate for 5 seconds.
TURN SLICER OFF before inspecting.
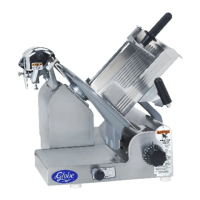
Knife Sharpening
Figure 18-1
Figure 18-2
Figure 18-3
Figure 18-4
#2
#1
#2
#1