18
By selecng the right image preset, you can enhance the video/picture
quality for e.g. cloudy weather or snow.
· Select the sengs menu SET – toggle to IMG:
· Press the buon shortly
· Push the buon quickly and toggle through the available image
presets: Everyday Outdoor (Day), Cloudy (Cld), Snow (Sno), User
Sengs (Usr1 or USR2)
· Press the buon shortly to select desired image preset
· Conrm your choice by pushing the buon shortly – display shows:
User Sengs can be congured through gobandit STUDIO or
gobandit MOBILE. To congure using gobandit STUDIO connect the camera
to your PC/Mac using the USB cable. To congure using gobandit MOBILE
connect the gobandit LIVE camera to your iPhone / Smartphone using
Wi-Fi®.
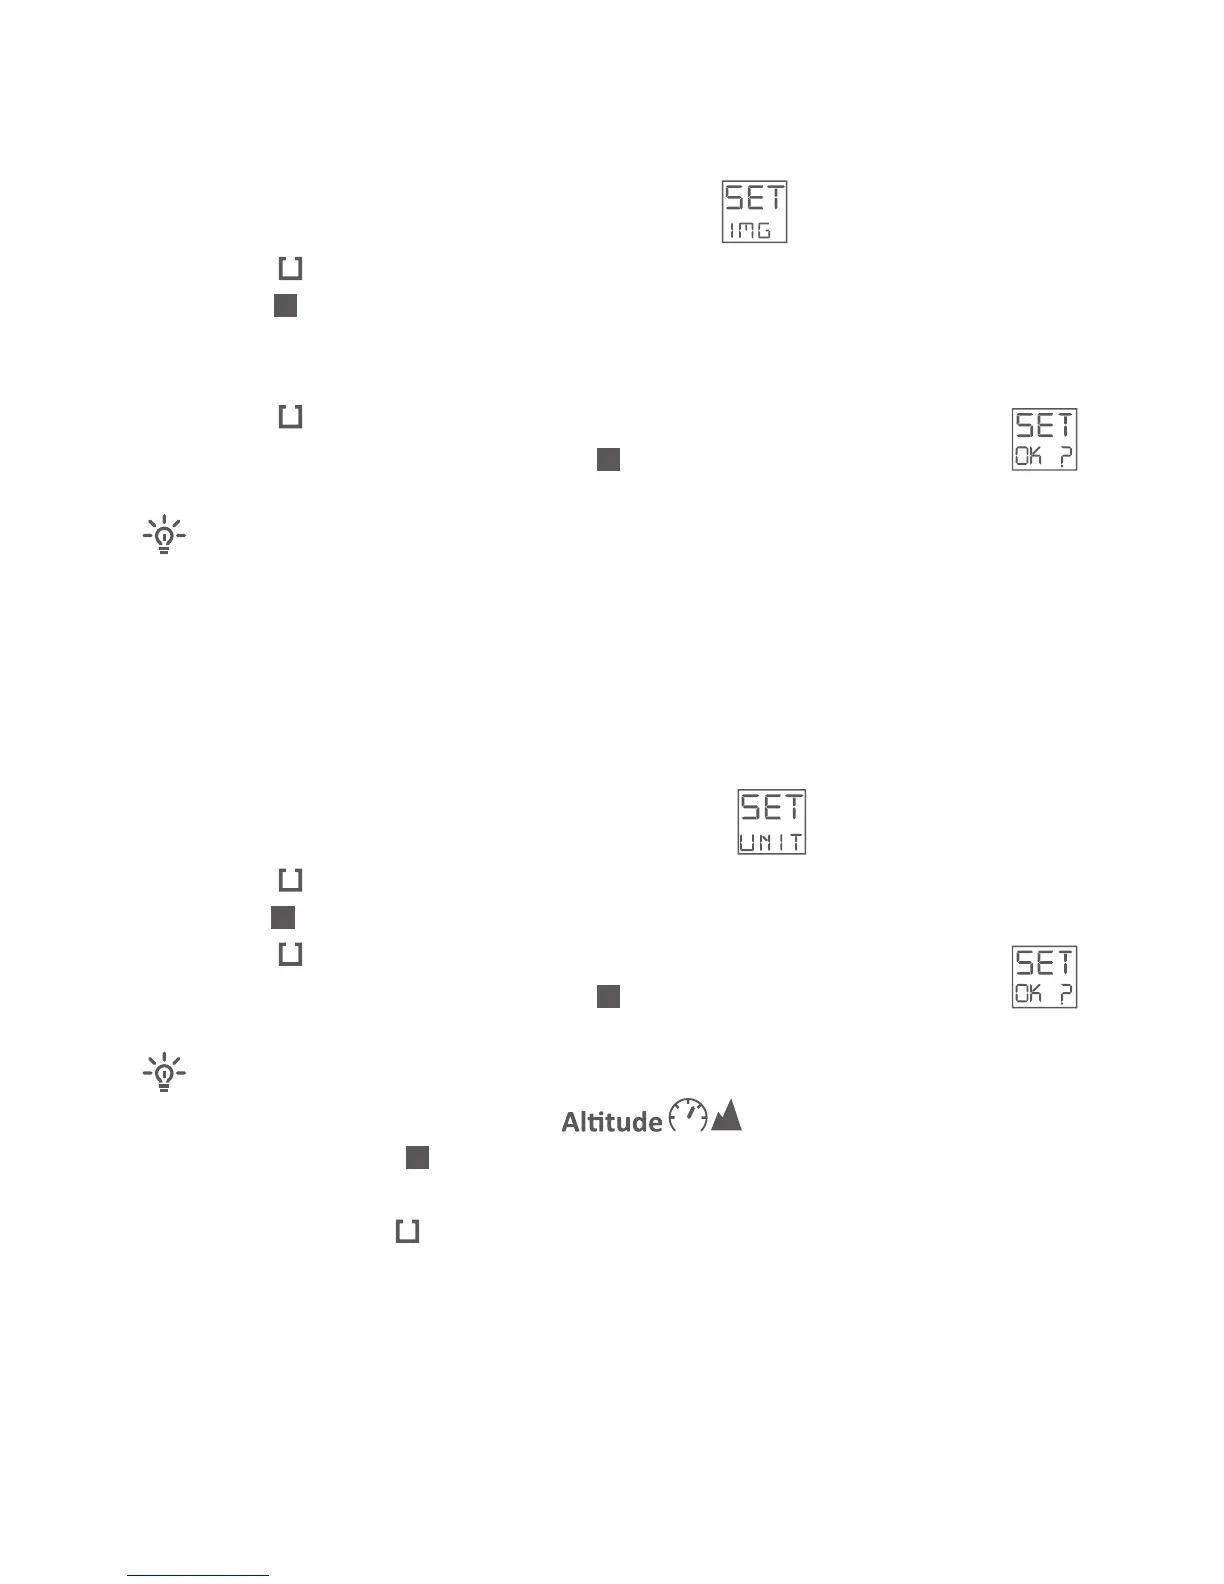
· Select the sengs menu SET – toggle to UNIT:
· Press the buon shortly
· Push the buon quickly and toggle between km/h and m – or mph and
· Press the buon shortly to select desired eld of view
· Conrm your choice by pushing the buon shortly – display shows:
· Make sure display mode shows:
otherwise push the buon shortly and toggle trough the available
display modes
· Press and hold the buon for a minimum of 3 seconds to toggle
between km/h and m – or mph and
Depending on your sports acvity it may be that the default, i.e. maximum
eld of view is too wide – maximum eld of view is, depending on video
resoluon and frame rate, 170° or 150°. To make it more narrow, you can
select 150°, 120° or 90°, depending on video resoluon and frame rate.