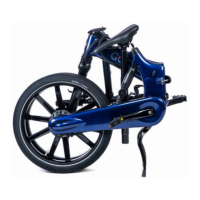
Gocycle
®
Owner’s Manual for GX, April 2019
© Karbon Kinetics Limited. All Rights Reserved. 86
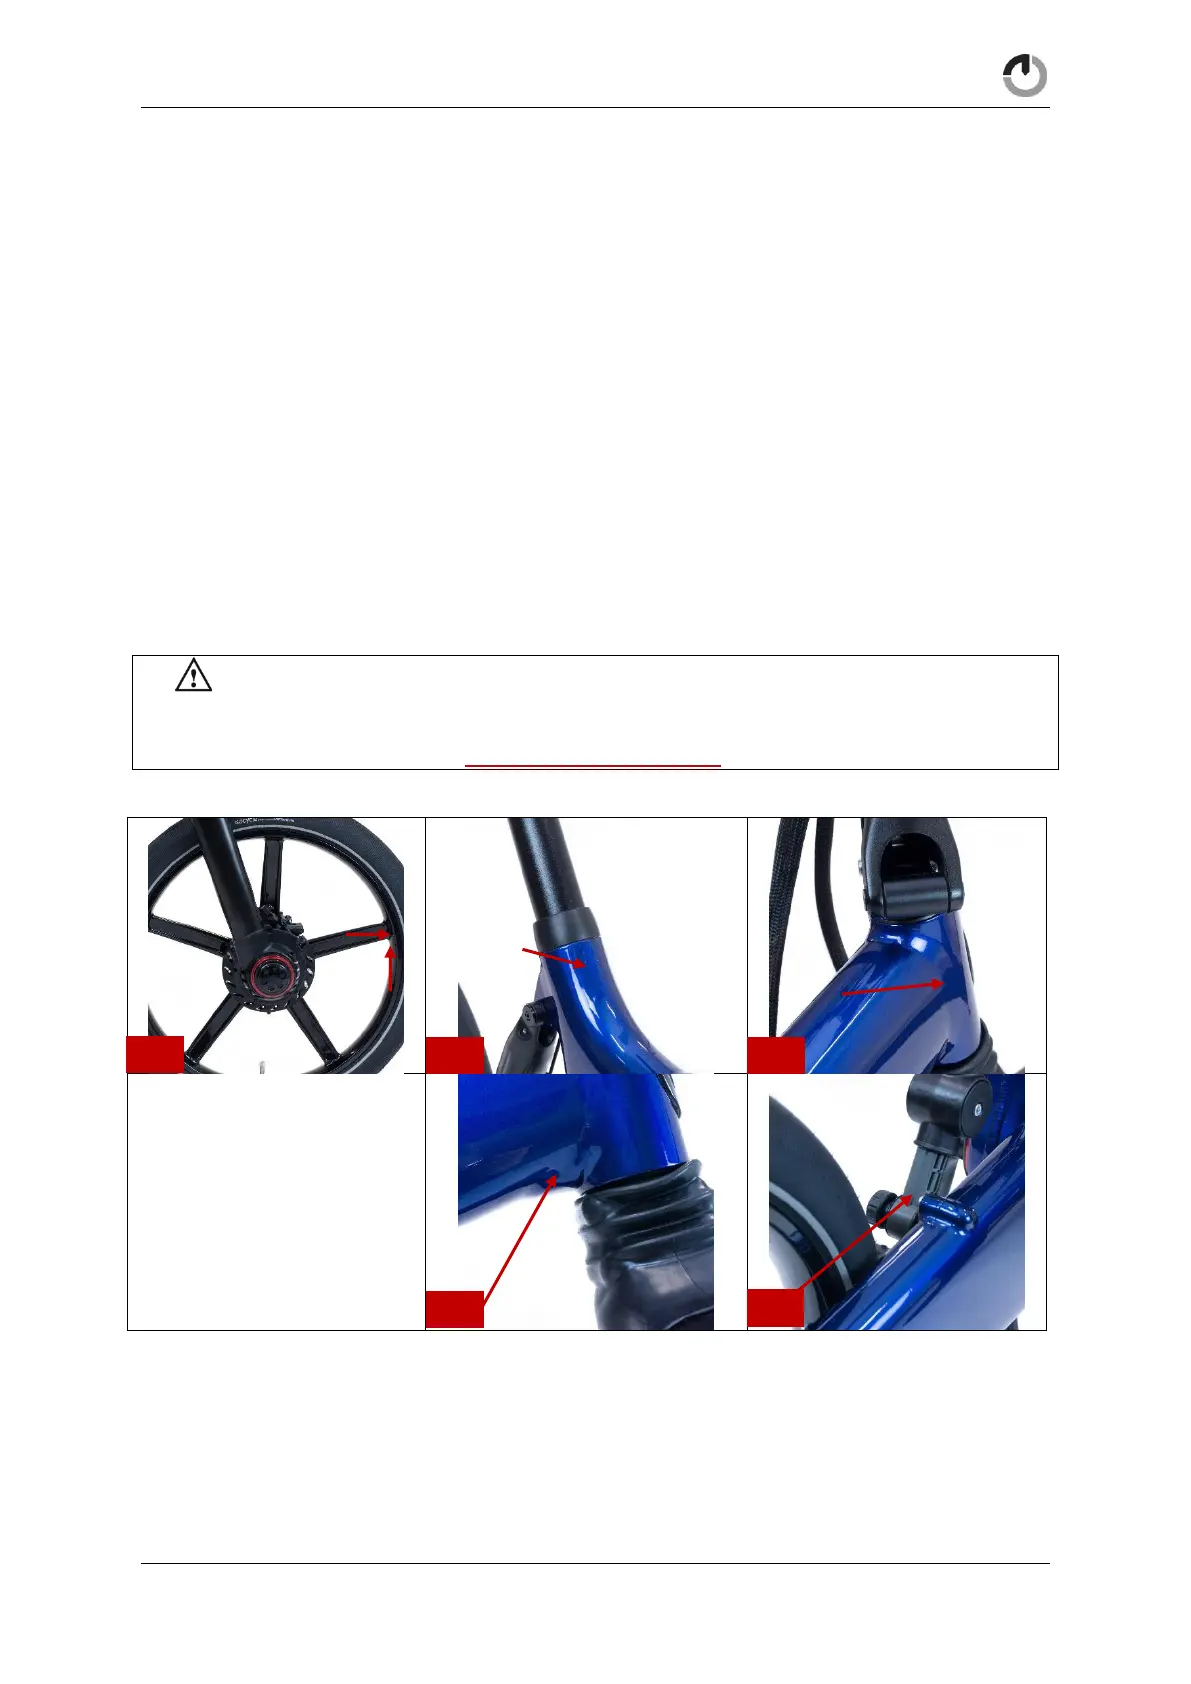
8. Check operation and closing of the stem latch which should start to feel tight between 25mm-
35mm. Check that the red latch lock moves freely on its spring and engages with the stem
when the latch is locked.
9. Check operation and closing of the frame latch which should start to feel tight between 45mm-
55mm. Check that the red latch lock moves freely on its spring and engages with the frame
when the latch is locked.
10. Check the 6x PitstopWheels screws are present and tight, 4-6Nm. Front and Rear.
11. Check stem adjuster bolts and top hats are present and tight, 7-8Nm
12. Check that headset is not loose. (Section 6.12 for adjustment.)
13. Check hub gear for excessive movement – (conducted after confirming all PitstopWheel
screws are tight) (Section 6.14 for adjustment)
14. Check both brakes are operating correctly and levers cannot be pulled to the handlebar.
15. Check the latch lock holes in the frame and the stem (15a and 15b) are not worn and that the
latch lock engages robustly when the latched are fully closed and locked.
16. Check and remove any dust or dirt from the shear pin holes.
17. Ensure the Gocycle firmware is up to date. Go to Settings in your GocycleConnect App and
scroll down to Firmware. Update the firmware is a new version is available.
WARNING! Should you discover a fatigue crack more than 3mm long, or should you
suspect that a component may have received an impact in an unusual way—such as if the
product has been dropped—do not ride your Gocycle and immediately contact
techsupport@gocycle.com.