8
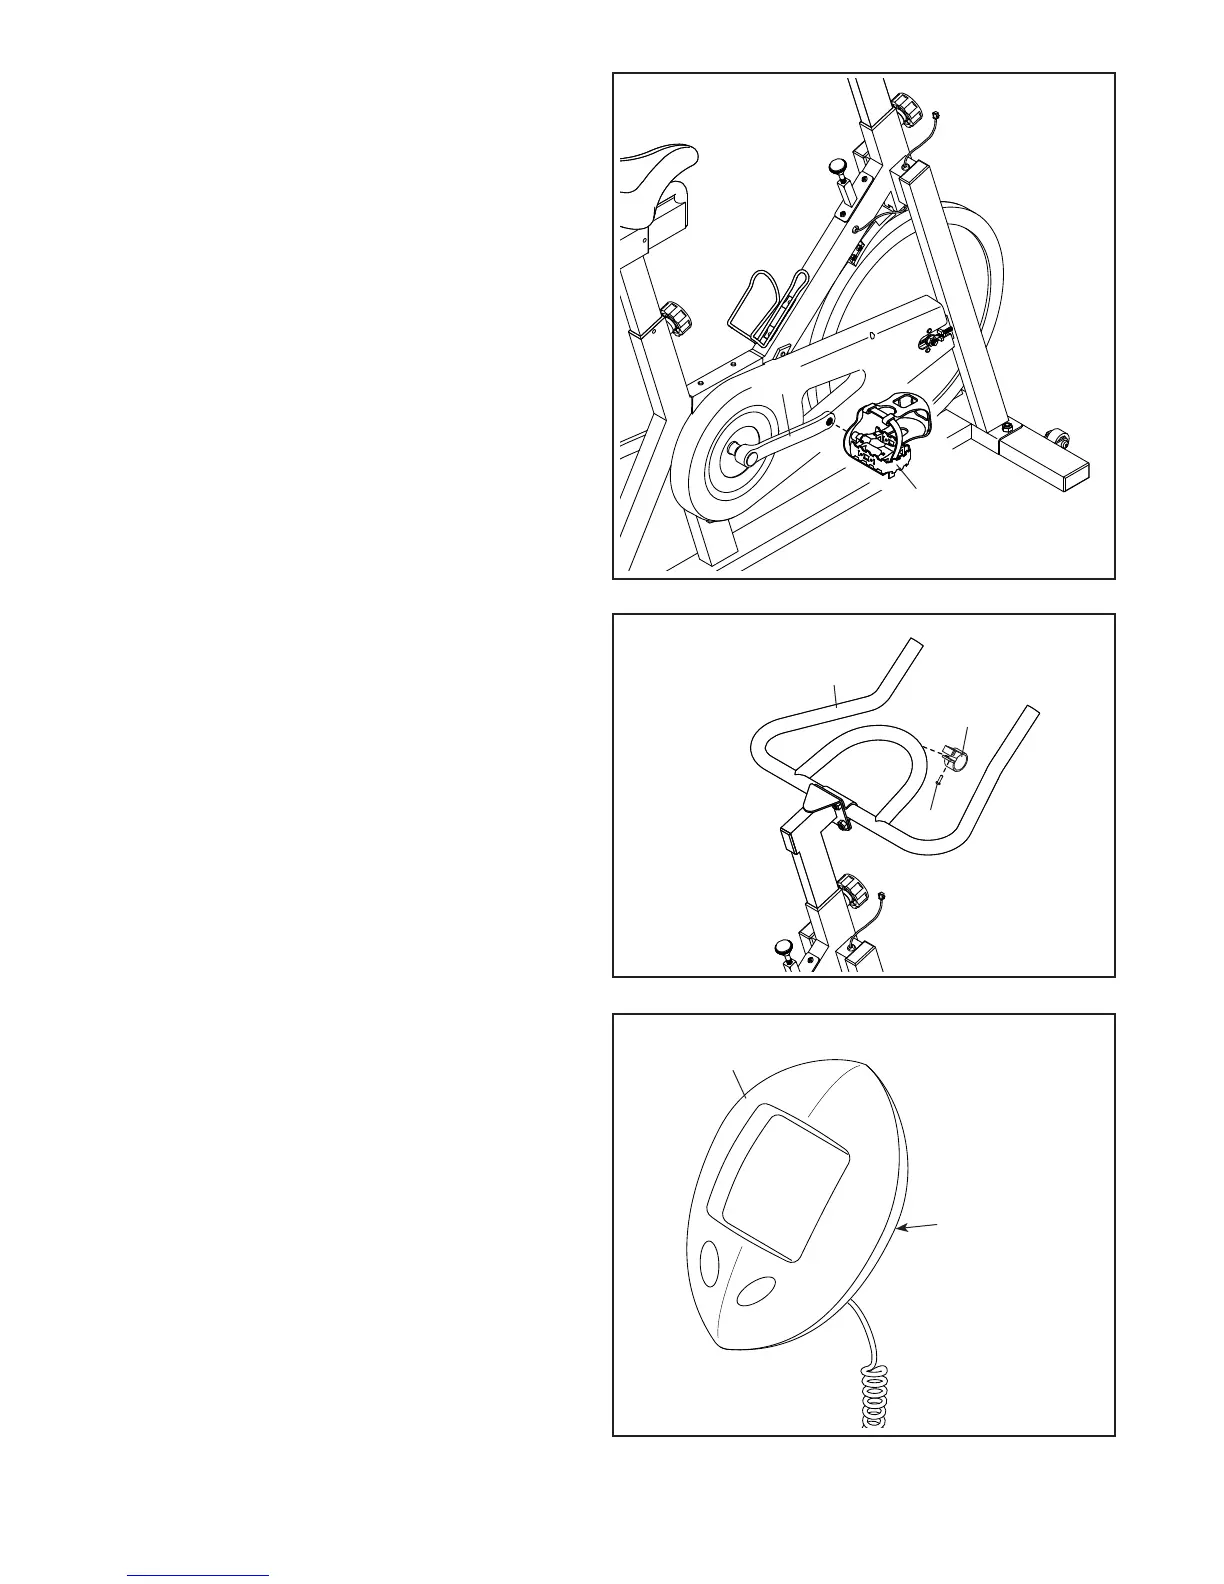
7. Identify the Right Pedal (15), which is marked
with an “R.”
Using an adjustable wrench, firmly tighten the
Right Pedal (15) clockwise into the Right Crank
Arm (14).
Tighten the Left Pedal (not shown) counter-
clockwise into the Left Crank Arm (not shown).
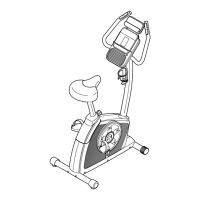
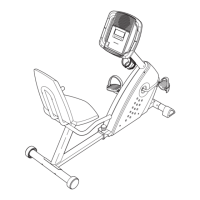
8. Attach the Console Mount (19) to the Handlebar
(6) with an M4 x 25mm Machine Screw (68).
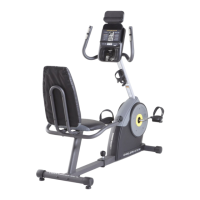
9. The Console (20) can use one AA battery (not
included); an alkaline battery is recommended.
IMPORTANT: If the Console has been
exposed to cold temperatures, allow it to
warm to room temperature before inserting
batteries. Otherwise, you may damage the
console displays or other electronic compo-
nents. Remove the battery cover from the back
of the console, and insert the battery into the
battery compartment. Make sure to orient the
battery as shown by the diagram inside the
battery compartment. Then, reattach the bat-
tery cover.
7
8
9
15
19
68
6
20
14
Battery
Compartment