10
Important: Select a different configuration option for each EL610D module.
Nota: EL632 G2+ SE , c d "32" n P1 "31" n P2.module factory default with the o e i and i
*
( )
Factory .default
2
Dip1
1
3
Dip2
Dip3
Dip4
Dip5
Dip6
Dip7
Dip8
P1
1
21
11
On
Off
Off
Off
Off
On
Off
On
Off
Off
Off
Off
Off
Off
Off
Off
Off
Off
Off
Off
Off
On
On
On
P2 P3 P4 P5 P6 P7
2
22
12
3
23
13
4
24
14
5
25
15
6
26
16
7
27
17
8
28
18
9
29
19
10
30
20
P8 P9 P10
(1)
*
( )
2
Dip1
1
4
6
3
5
7
Dip2
Dip3
Dip4
Dip5
Dip6
Dip7
Dip8
P1
1
11
21
31
6
16
26
On
Off
Off
Off
Off
Off
Off
Off
Off
Off
Off
On
Off
Off
Off
On
Off
Off
Off
Off
Off
Off
Off
Off
Off
Off
On
Off
Off
Off
On
Off
Off
Off
Off
Off
Off
Off
Off
Off
Off
On
Off
Off
Off
On
Off
Off
Off
On
On
On
On
On
On
On
P3 P5 P7 P9
2
12
22
_
7
17
27
3
13
23
8
18
28
4
14
24
9
19
29
5
15
25
10
20
30
(1)
*
( )
_ _ _
P1- P10: Button 1 - button 10
(1)
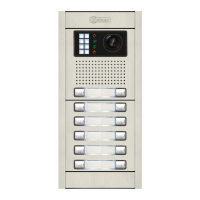
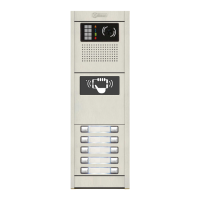
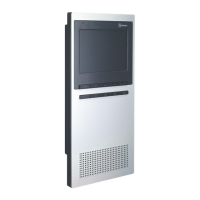
INSTALLATION OF THE DOOR PANEL
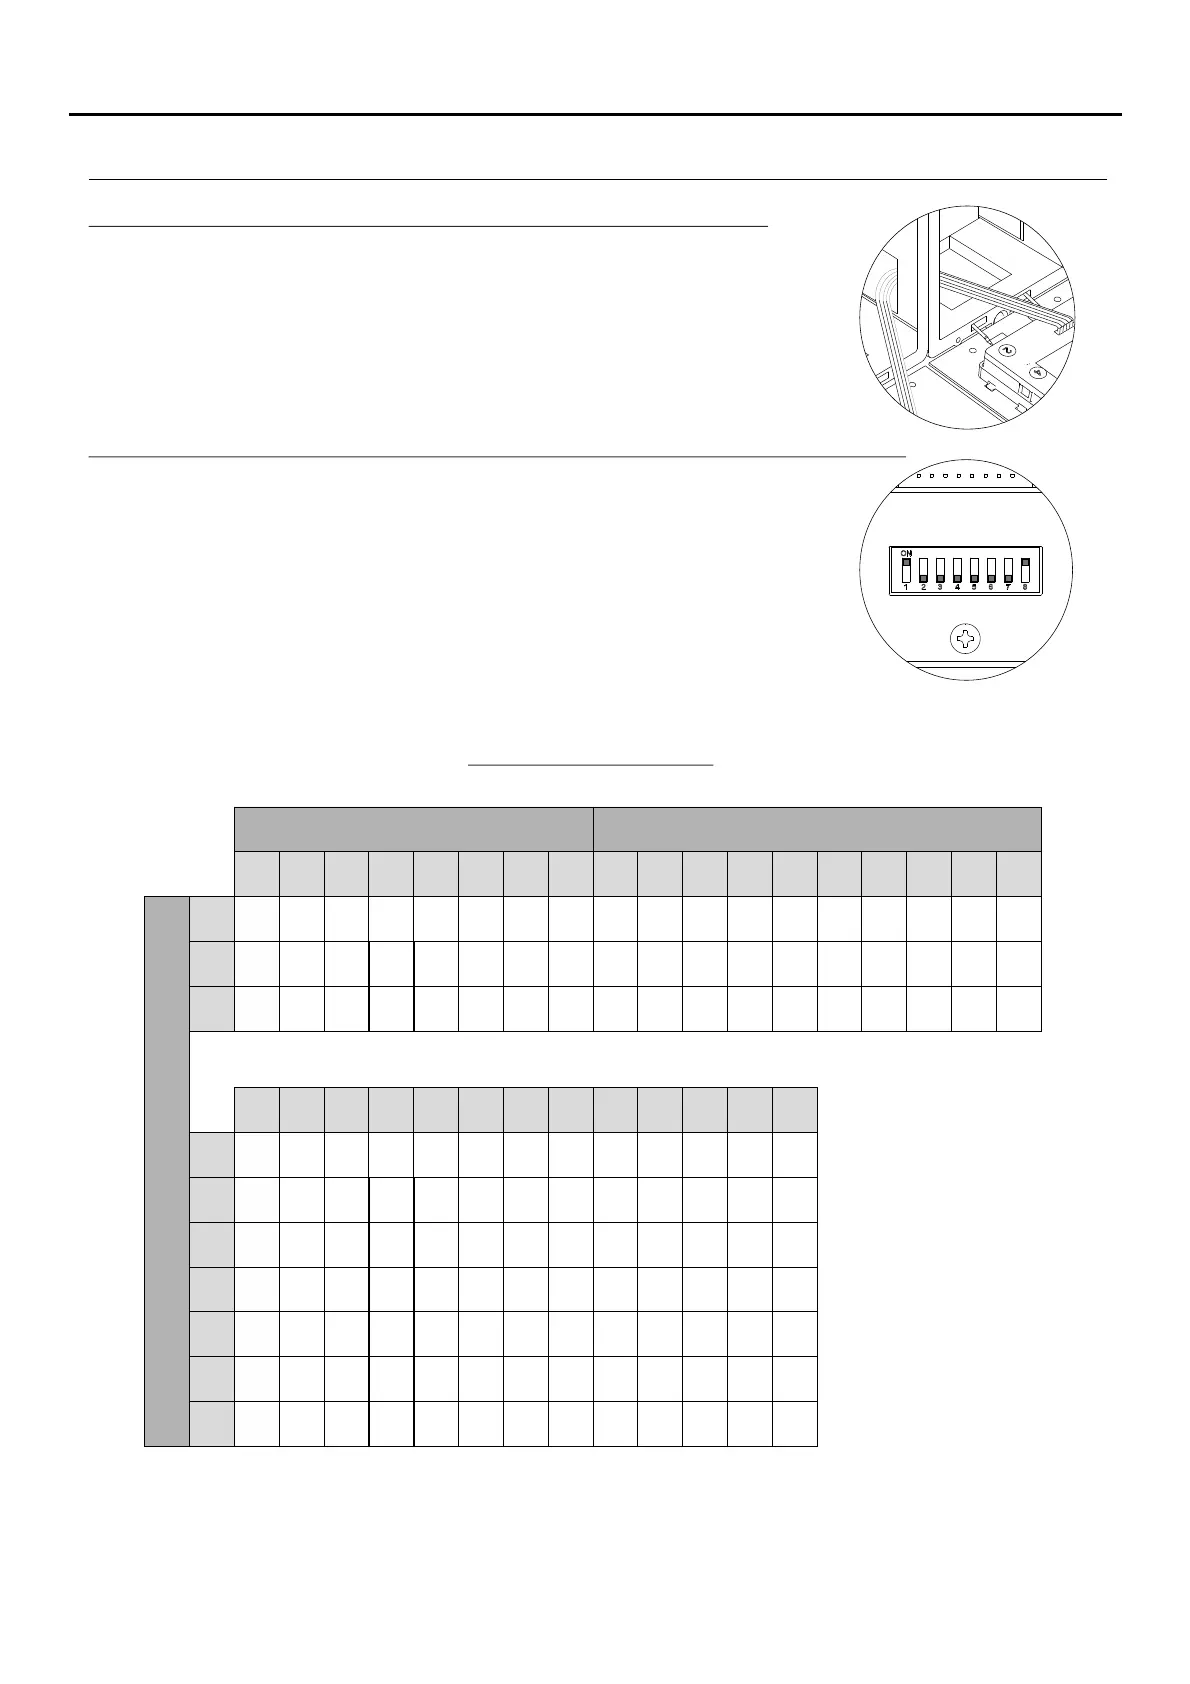
Connecting the buttons to the RAP-610D short connection cable:
Use the RAP-610D connection cable to connect the buttons between the sound
module and the EL610D button module and between EL610D button modules when
the distance between modules to be connected is greater due to the composition of
the door panels.
*
( )
Configuring the button code :(video installation up to 32 monitors/ apartments
The EL610D button module needs to be configured in order to assign
a call code to the buttons. Carry out this configuration with the
DIP switch located at the back of the module.
Depending on the configuration option selected, the buttons will be
assigned with a certain call code.
To configure the call code on the monitors. It is worth noting the call
code of each button, as shown in the table below.
IMPORTANT: Mixed installation with monitors and audio terminals up to 32 elements/apartments.
EL610D button module
Module configuration option
DIP switch Button code
Double button module codes
Single button module codes
NEXA MODULAR G2+ AUDIO AND VIDEO DOOR ENTRY SYSTEM - BUILDING