32
Installing the lock release:
INSTALLATION OF THE LOCK RELEASE
M 4 x 8
3,5 x 25
DIN-7972
DIN-963
- The sound module is supplied with two varistors. If connecting an a.c. lock release to one of the outputs, fit the
varistor supplied directly to the lock release terminals to ensure the device functions correctly.
IMPORTANT:
-
The lock release must be 12V DC orAC (Golmar).
(See pages )49 and 52 s for d.c lock release. 34-45 and 49-52 .for a.c. lock release and page
If the lock release is to be fitted to a metal door, use a Ø3.5mm drill bit and
thread the hole made. For wooden doors, use a Ø3mm drill bit.
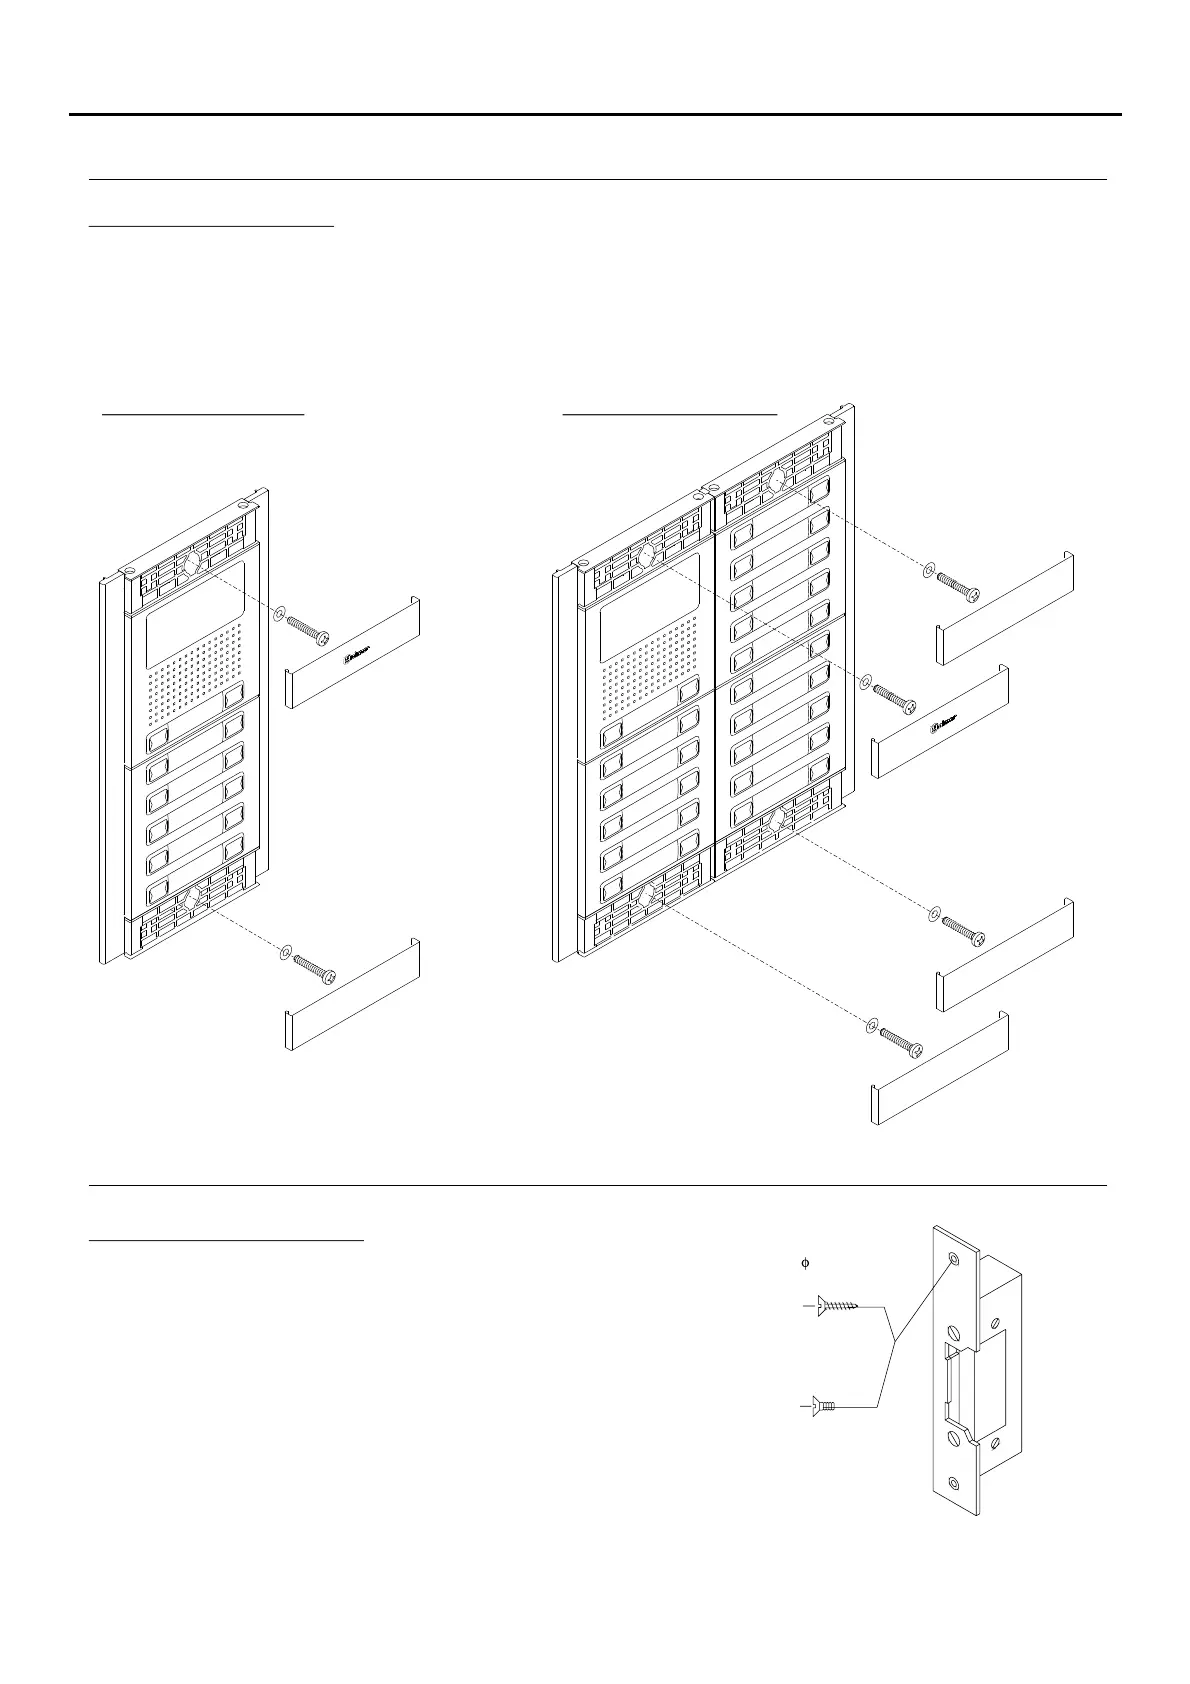
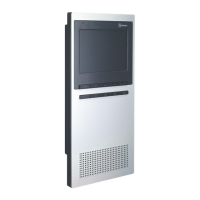
INSTALLATION OF THE DOOR PANEL
Closing the door panel:
Fix the door panel to the embedding box using the screws supplied.
Single door panel:
Double door panel:
To complete the fitting of the panel, attach the clip-on covers by positioning one end and then applying slight
pressure to the other end until they clip into place.
NEXA MODULAR G2+ AUDIO AND VIDEO DOOR ENTRY SYSTEM - BUILDING