3
02 InstallationUser Manual V1.2-2022-10-30
2.3 Preparations
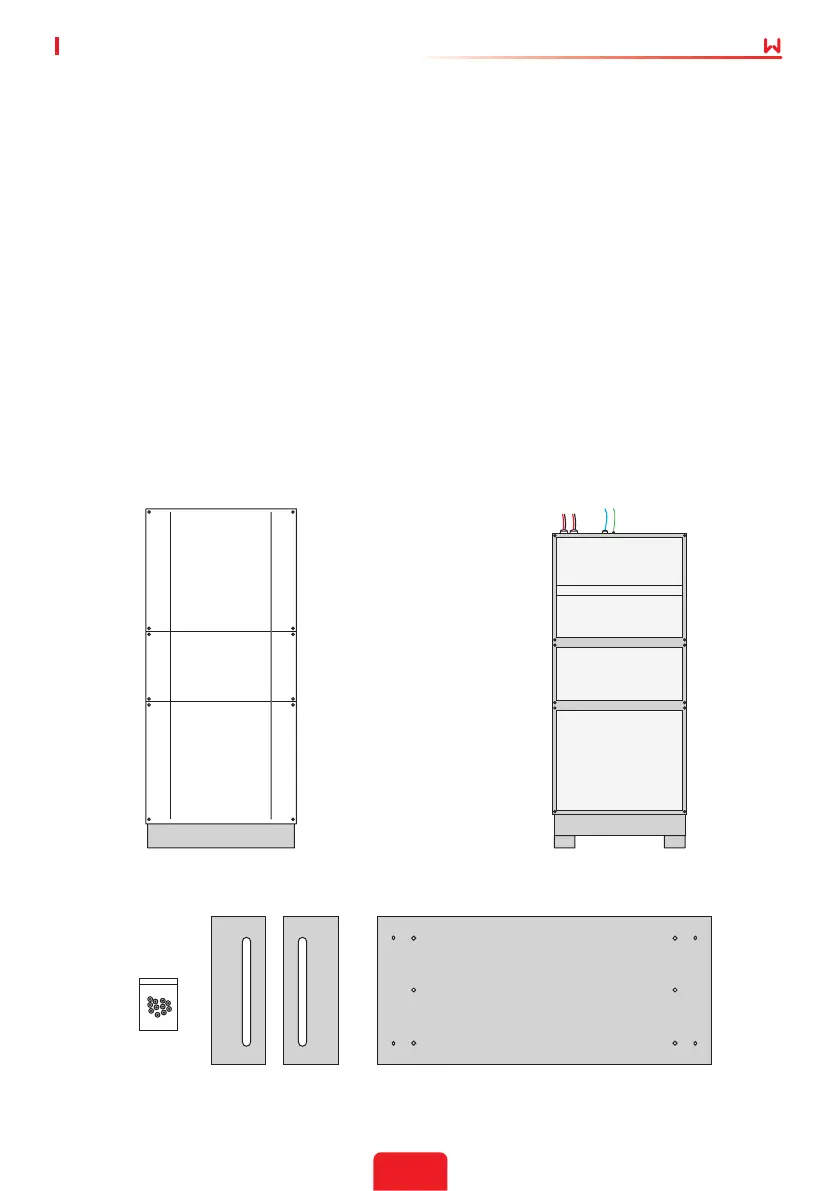
1. In preparation for the installation of the enclosure, take o the three front covers of the
battery enclosure by removing the 12 screws.
2. Screw the two feet to the base of the battery enclosure, using the three screws provided.
3. Once the feet are xed, the battery enclosure is ready for installation as shown in Figure 4.
Figure 2: BCL9600 out of the packing box.
Figure 3: Battery Enclosure feet and mounting screws.
Inside bottom view of Enclosure without feetFeet
Figure 4: Battery Enclosure with the feet
attached and ready for installation.
1. Do not install the equipment in a place near ammable, explosive, or corrosive materials.
2. The equipment is heavy. Install the equipment on a surface that is solid enough to bear the
weight of the equipment.
3. Install the equipment in a well-ventilated place to ensure good dissipation, there should
be ample room (min 150mm) for air circulation. Also, the installation space should be large
enough for operations.
4. The equipment with a high ingress protection rating can be installed indoors or outdoors.
The temperature and humidity at the installation site should be within the appropriate range.
5. Install the equipment in a sheltered place to avoid direct sunlight, rain, and snow. Build a
sunshade if it is needed.
6. Do not install the equipment within children’s reach. High temperature exists when the
equipment is working. Do not touch the surface to avoid burning.
7. Install the equipment in a place that is convenient for operation and maintenance, electrical
connections, and checking indicators and labels.