Installation
308647T 9
The installations shown in FIG. 1 are only a guide for
selecting and installing a circulating or direct system;
they are not actual system designs. Contact your
Graco distributor for assistance in designing a system
to suit your needs.
NOTE: Before you install the regulator, thoroughly flush
the system to remove metal chips and other
contaminants. A fluid filter (D) of 60-mesh or finer
should always be installed upstream of the regulator.
Connections
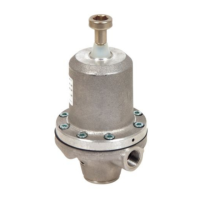
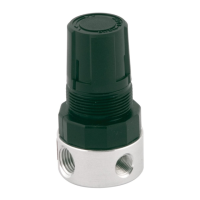
Install the fluid regulator (G) in the spray gun fluid
supply line (F), as shown in the typical installation
drawings on this page. Connect only one spray gun or
dispensing valve to each fluid regulator.
Apply pipe sealant to the male pipe threads, and
connect the fluid supply line (F) to the fluid regulator’s
3/8 npt(f) inlet. Connect the line from the gun (J) to the
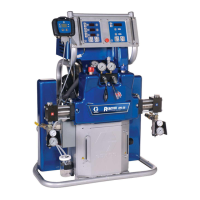
fluid regulator’s 3/8 npt(f) outlet. Install the gauge or
plug into the 1/4 npt(f) gauge port.
Make sure the direction of fluid flow agrees with the IN
and OUT markings on the regulatory body.
Flush the System
The regulator was tested in lightweight oil. Flush the
entire system with a solvent compatible with the fluid
being dispensed. Then test the system.
Mounting Bracket
A Mounting Bracket is available for mounting the
regulator. Order Part 222515 for the bracket and
mounting hardware.
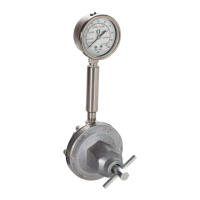
Grounding
Pump: use a ground wire and clamp. Loosen the
grounding lug locknut (W) and washer (X). Insert one
end of a 1.5 mm2 (12 ga) minimum ground wire (Y) into
the slot in lug (Z) and tighten the locknut securely.
Connect the other end of the wire to a true earth
ground. Order Part 237569 Ground Wire and Clamp.
Air and fluid hoses: use only electrically conductive
hoses.
Heaters: if used, see the heater instruction manual.
Air compressor: follow manufacturer’s
recommendations.
Spray gun: ground through connection to a properly
grounded fluid hose and pump.
Fluid supply container: follow your local codes and
regulations.
Object being sprayed: follow your local codes and
regulations.
Solvent pails used when flushing: follow your local
codes and regulations. Use only conductive metal pails,
placed on a grounded surface. Do not place the pail on
a nonconductive surface, such as paper or cardboard,
which interrupts grounding continuity.
To maintain grounding continuity when flushing or
relieving pressure: hold metal part of the spray gun
firmly to the side of a grounded metal pail, then trigger
the gun.
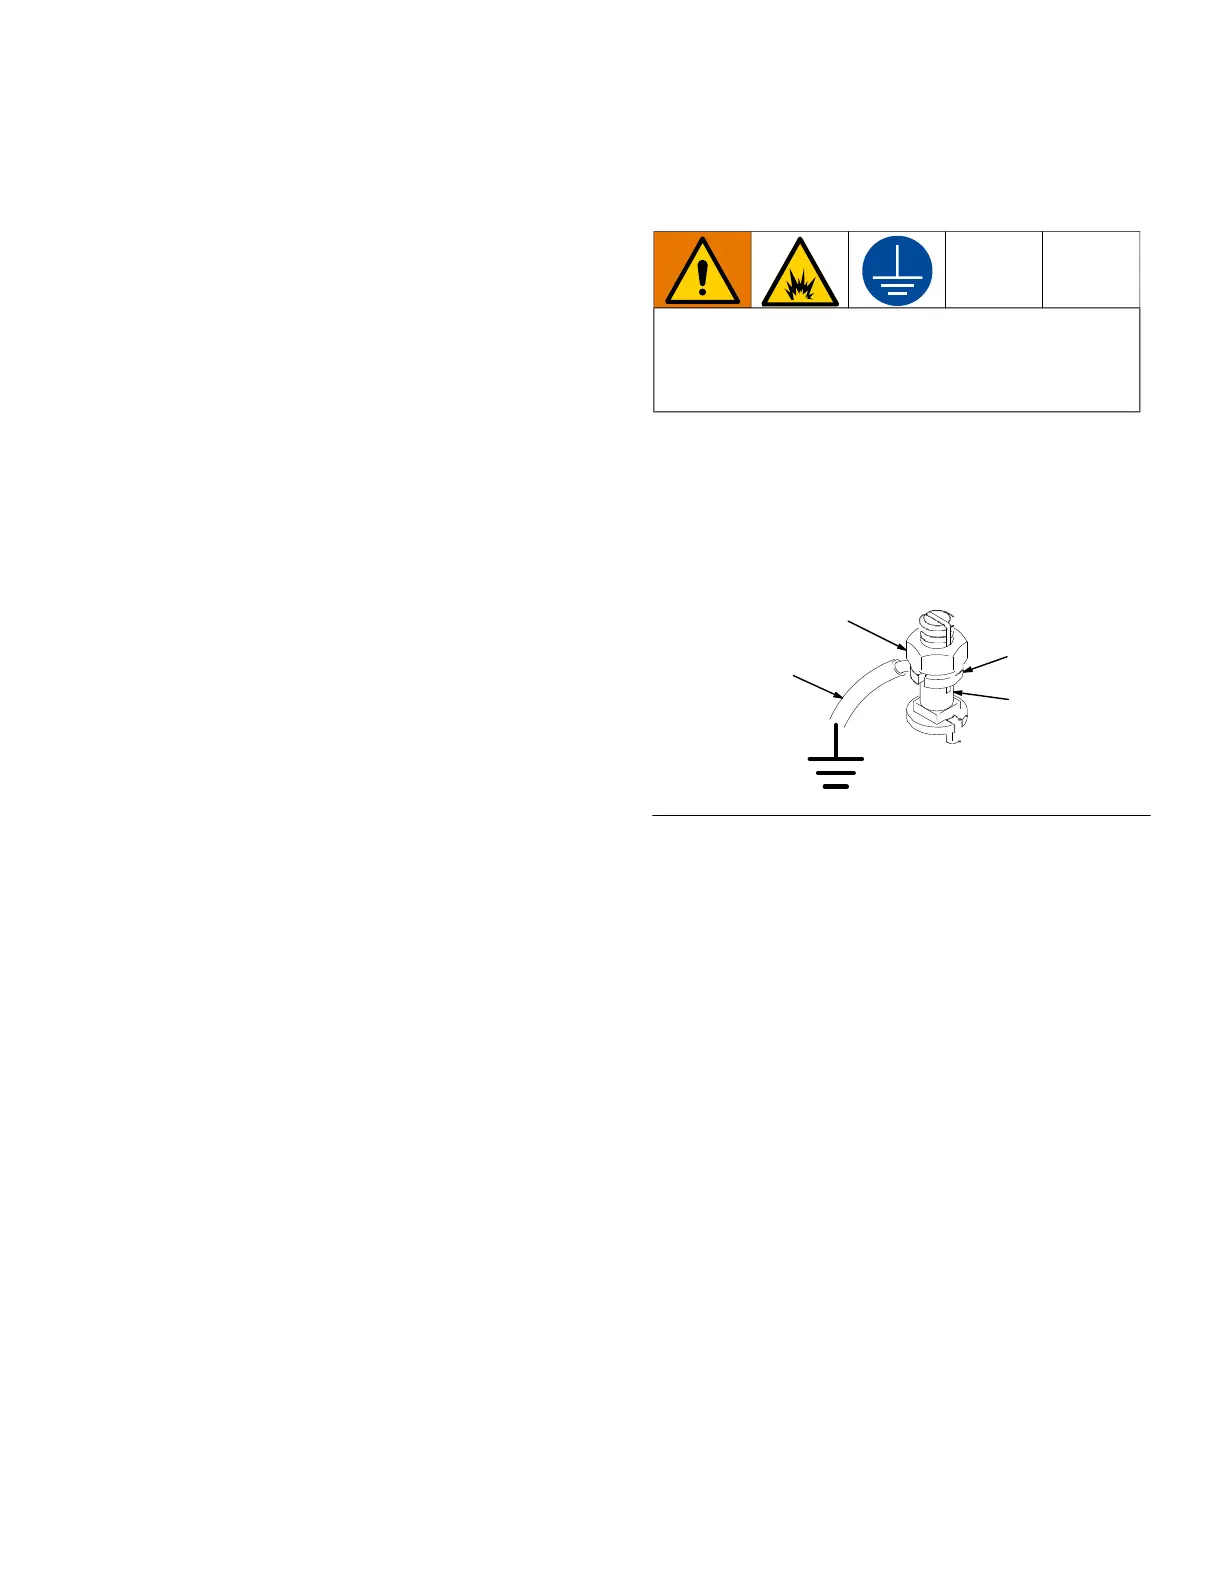
The equipment must be grounded to reduce the risk
of static sparking. Static sparking can cause fumes
to ignite or explode. Grounding provides an escape
wire for the electric current.
FIG. 2
W
Y
X
Z
0864