Repair
18 3A0732B
Repair Air Valve
Replace Complete Air Valve
1. Stop the pump. Follow Pressure Relief Procedure,
page 10.
2. Disconnect the air line to the motor.
3. See F
IG. 14 on page 23. Remove four screws (211).
Remove the air valve (214) and gasket (209*◆).
4. To repair the air valve, go to Disassemble the Air
Valve, page 18. To install a replacement air valve,
continue with step 5.
5. Align the new air valve gasket (209*◆) on the mani-
fold, then attach the air valve (214). Torque screws
(211) to 95-105 in-lb (11-12 N•m).
6. Reconnect the air line to the motor.
Replace Seals or Rebuild Air Valve
NOTE: Air Valve Seal Kits are available. See page 35.
Parts are marked with an †.
Air Valve Repair Kits are available. See page 35. Parts
are marked with an ◆.
Air Valve End Cap Kits are available. See page 35. Parts
are marked with an ✠.
Disassemble the Air Valve
1. Perform steps 1-3 under Replace Complete Air
Valve, page 18.
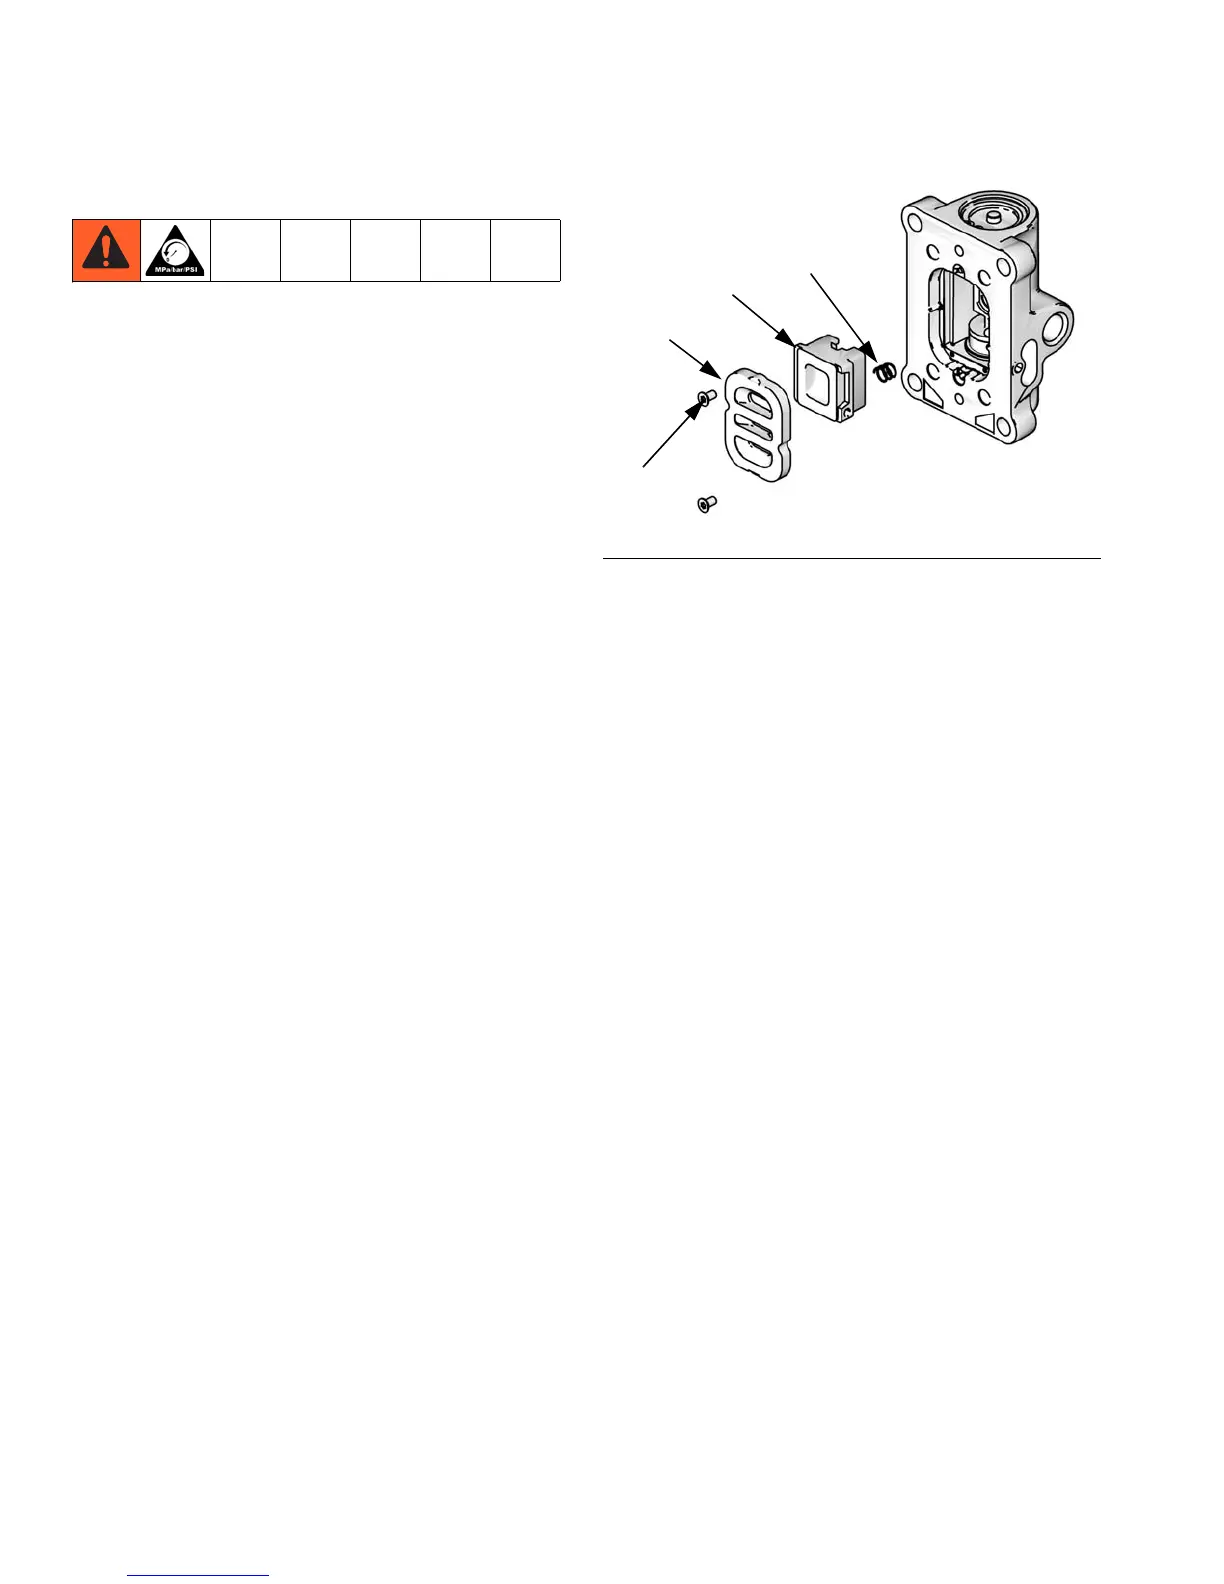
2. See F
IG. 8. Use a 2 mm or 5/64 hex key to remove
two screws (309†◆). Remove the valve plate
(305◆), cup (312◆), and spring (311◆).
3. See F
IG. 9. Remove the snap ring (310✠) from each
end. Use the piston to push the end caps (307✠) out
of the ends. Remove end cap o-rings (306†✠◆).
4. Remove the piston (302◆). Remove the u-cup seals
(308†◆) from each end and the detent assembly
(303◆) and detent cam (304◆) from the center.
FIG. 8. Air Plate Removal
309†◆
305◆
312◆
311◆
ti16284a
 Loading...