Repair/Replacement
14 3A6285D
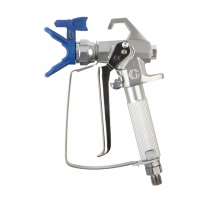
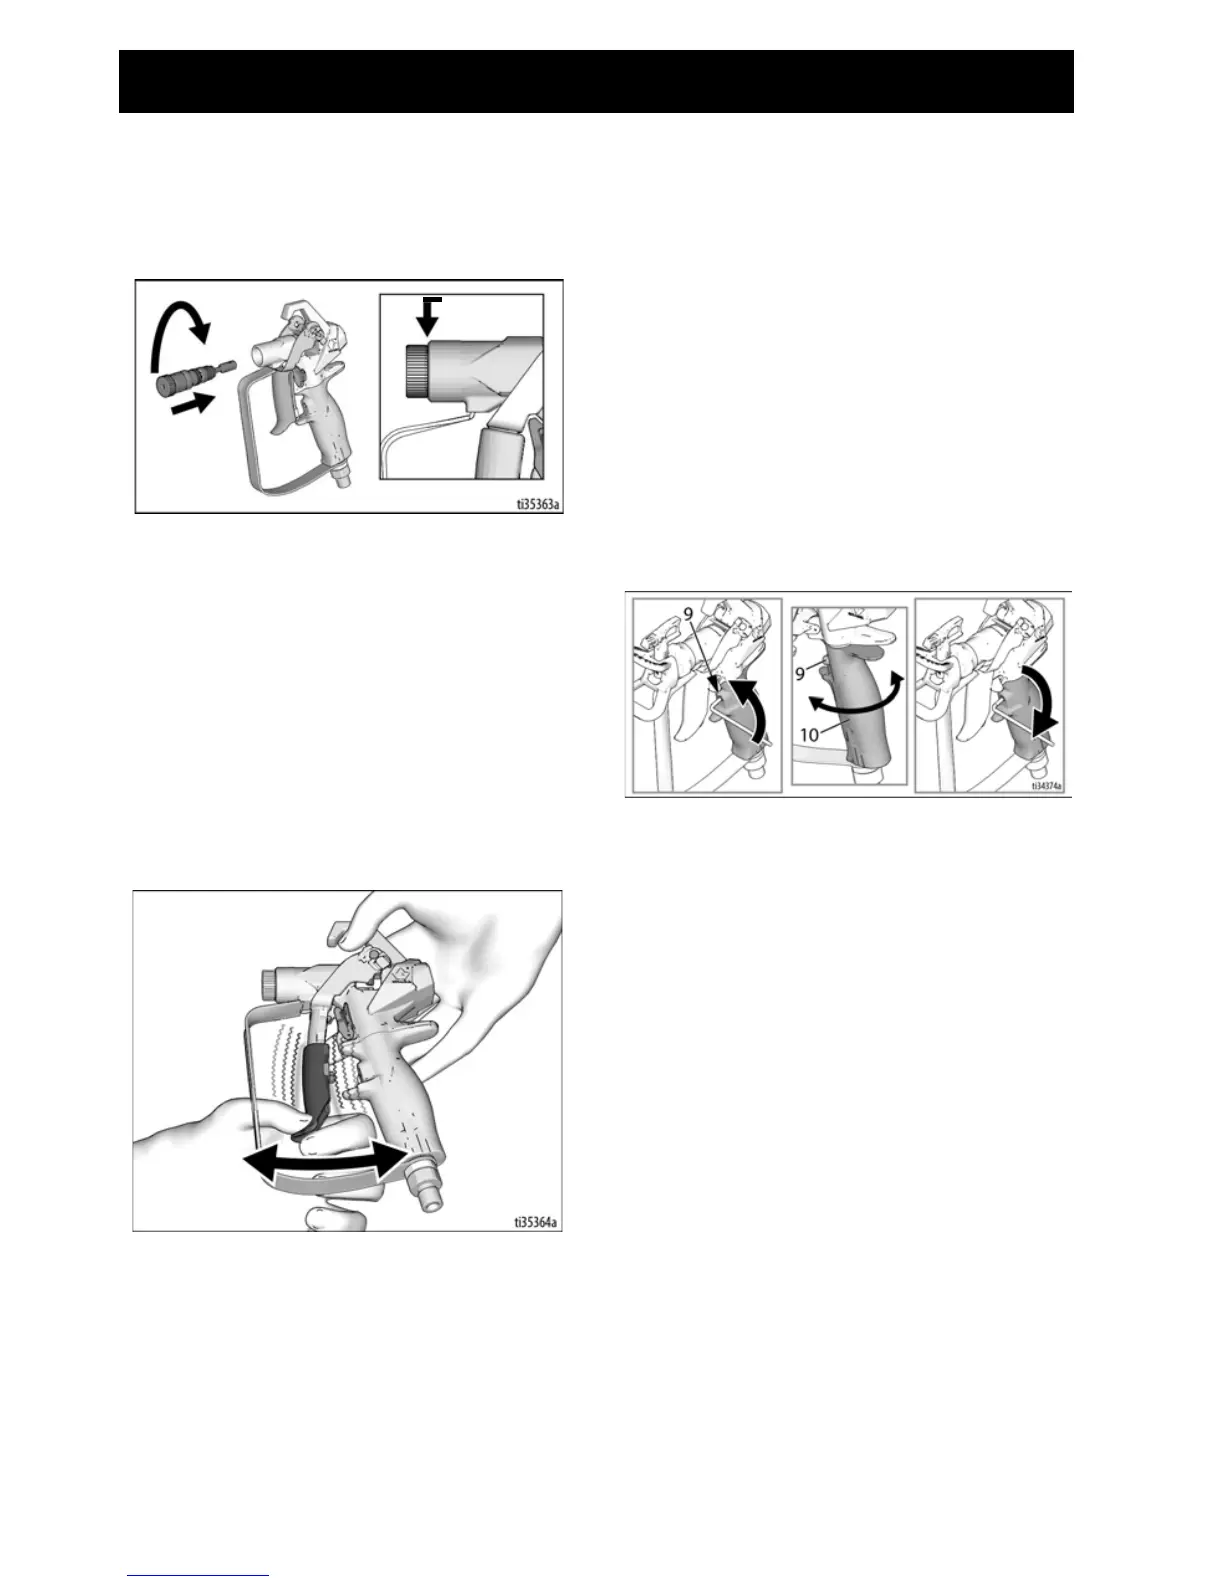
8. Install new cartridge (2) into the gun
and tighten until it fully bottoms out.
There should be no gap in the
indicated area below (a).
9. Push trigger assembly (13) back
down into spray position. The push
pins(11) should snap back out to
normal position when trigger
assembly (13) is fully engaged.
Verify the cartridge is installed
correctly by making sure the trigger
assembly (13) can wiggle back and
forth.
NOTE: Do not operate the gun if the
cartridge is not installed correctly.
10. Reinstall tip (26) and guard (25).
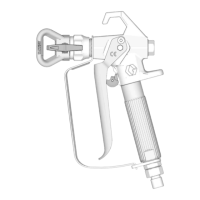
Aligning Handle
If when tightened securely, handle no
longer matches up with housing, realign
handle.
1. Relieve pressure. See Pressure
Relief Procedure, page 5. Engage
trigger lock (15).
2. Tighten handle (10) securely.
3. Loosen set screw (9) using a 1/8”
Allen Wrench.
4. Rotate handle (10) so it is aligned
with housing (1).
5. Tighten set screw (9) securely.