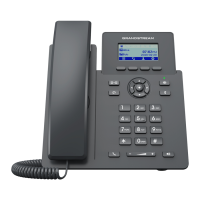
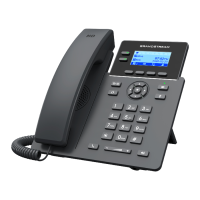
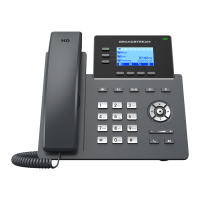
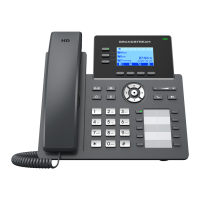
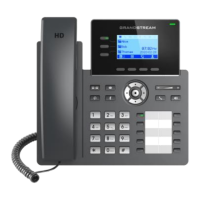
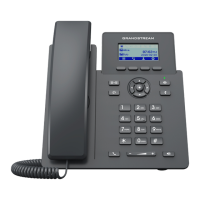
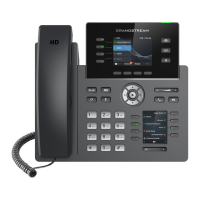
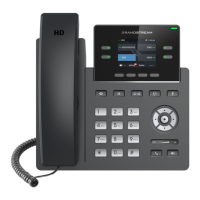
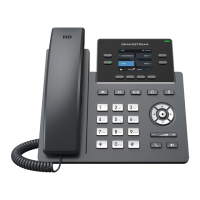
Connecting the GRP260x
To setup the GRP2600, follow the steps below:
1. Connect the handset and main phone case with the phone cord.
2. Connect the LAN port of the phone to the RJ-45 socket of a hub/switch or a router (LAN side of the router)
using the Ethernet cable.
3. Connect the PSU output plug to the power jack on the phone; plug the power adapter into an electrical
outlet. If PoE switch is used in step 2 (GRP2601P/GRP2602P/GRP2603P/GRP2604P only), this step could
be skipped.
4. The LCD will display Grandstream logo. Before continuing, please wait for the date/time display to show
up.
5. Using the phone embedded web server or keypad configuration menu, you can further configure the
phone using either a static IP or DHCP.
Connecting to Wi-Fi Network (GRP2602W only)
- On LCD menu, navigate to “Settings → Wi-Fi settings” and enable Wi-Fi.
- Select “Wi-Fi Network” and GRP2602W will automatically start scanning within the range.
- A list of Wi-Fi networks will be displayed. Select the desired network, and if required, enter the correct
password to connect.
- Users can add and connect to a hidden network by accessing “Wi-Fi” Network” and then press on Add
softkey . Then enter the Network’s information.
Notes:
• When the GPR2602W is not connected to any network (including Ethernet and Wi-Fi), a prompt
interface will pop up to notify users about it. Users can quickly enter “Wi-Fi Network” page by pressing
on the Wi-Fi softkey.
• For easy deployment, The GRP2602W is out of the box is preconfigured to connect to a default SSID
named wp_master with a password (WPA/WPA2 PSK) equal to wp!987@dmin, users can adapt these
settings from the web UI as well to make it easier for deployment on customer site.
Figure 4: GRP2600 Back Side View

 Loading...
