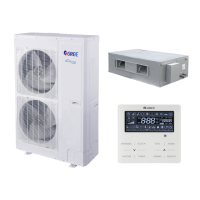
GREE Duct type split Air conditioner Inverter Series
118
4 Disassembly And Assembly Procedure Of Main Parts
Introduction to Main Parts.
Disassembly and Assembly of Compressor
Remark: Make sure that there isn’t any refrigerant in pipe system and the power supply is cut off before removal of
the compressor
1.Disconnect the power cord.
① Unscrew the retaining screw of
power cord with screwdriver.
② Unplug the power cord.
Note:Earmark the colour of wire
corresponding to the terminal when
Removing the wire , and the mixture
can be avoided when recovering the
wire connection.
2.Cut off the connection between
compressor and pipes.
Don’t leave the welding slag inside
pipes
3.Remove the compressor from the
chassis.
① Unscrew retaining nuts of the
footing of compressor
② Remove the compressor from
the chassis
Hold it tightly to avoid accident.
4.Fix the new compressor on
chassis.
① Place the new compressor on
chassis.
② Fix retaining nuts of comprssor
footing.
5. Connect the compressor with
system pipes.
Don’t block it by welding.
6.Connect the power cord of
compressor.
Note:Earmark the colour of wire
corresponding to the terminal when
connecting the wire , and the
mixture can be avoided
7.Recover the electric heating tape
of compressor and discharge
temperature sensor,etc.
Enwind the bottom of compressor
with electric heating tape and fix it.
8.Check if the compressor rotates
in reverse and if lubricant have
leaked.
Check if the wiring is correct with
reference to circuit diagram and
check if there is any leakage after
welding.
wire
correspondi
ng to the
 Loading...