27
Installation and Maintenance
Fig.7
Fig.8
Fig.9
Fig.10
Fig.11
Fig.12
8.5 Mounting Outdoor Unit
8.6 Installing The Ceiling Assembly
8.7 Electrical Wiring
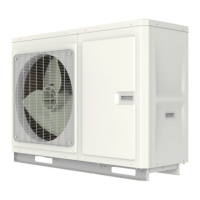
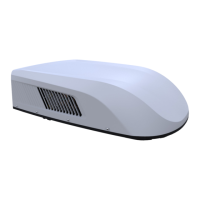
1.Open the package and take out the outdoor unit
.
1) When taking out the outdoor unit after unpacking, do not lift the
air outlet grille at the back of outer case(see Fig.7).
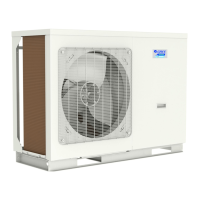
2.Put the outdoor unit at the mounting plat of switchover opening.
1) Lift the outdoor unit. During the movement, it is strictly forbidden
to hoist the plastic outer caser of outer unit of the air conditioner.
2) Put it on the mounting plat of the prepared switchover opening
to make the sealing strip of outdoor unit match with the groove
on the surface of the mounting plat. Do not drag the outdoor unit.
Otherwise, the seal may fall o.
Make sure that you have properly matched the roof top air
conditioner and interior ceiling assembly.
Caution before tightening bolts:
1.The applicable thickness of vehicle roof ranges from
30mm~80mm.
2.Before tightening bolts, screw in the four bolts manually and
prohibit screwing forcibly.
3.When screwing bolts, you can use automatic tool. Do not tighten
one bolt completely and then tighten other bolts, in order to prevent
sticking of screw thread.
4.The max torque for tightening ranges from 2.3Nm~2.5Nm.
The following step by step instructions must be performed in the
following sequence to ensure proper installation.
1.Carefully take the ceiling assembly out of the carton.
2.Remove the ceiling grille from the ceiling assembly.
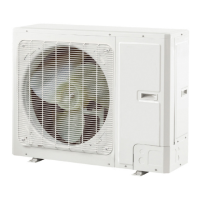
3.Then carry the outdoor unit to the vehicle’s top and align with the
openings on the vehicle’s top. Use 2 sets of mounting plat
assembly and 4 screw bolts to mount the outdoor unit (See Fig. 9).
4.You must start (thread) the mounting bolts by hand to avoid
cross-threading. DO NOT START THE MOUNTING BOLTS WITH
AN AIR GUN. The mounting bolts should be tightened, process is
completed when the basepan gasket has been evenly compressed.
5.Before installing the air duct assembly of the indoor unit of
recreational vehicle air conditioner, assemble the foam assembly
according to the thickness of the vehicle’s top. After simulated
installation, use an appropriate amount of sponge and foam
assembly. Stick the sponge and foam assembly with double faced
adhesive tape (prepared by user) (See Fig.10, Fig.11).
6.Install the foam assembly on the air duct assembly. Use 4 screw
bolts to x the air duct assembly onto the mounting plat.
After connecting the outdoor unit with indoor unit, check whether
the foam assembly has come loose (See Fig. 9).
Make sure that all power supply to the unit is disconnected before
performing any work on the unit to avoid the possibility of shock or
injury and/or damage to the equipment. When the interior ceiling
assembly frame is properly secured to the roof top air conditioner,
the following electrical connections must be performed.
1. As shown in Fig.12, the outdoor unit has two sets of outgoing
wires, which are power cord (high current) and the control signal
wires respectively. The former one should be directly connected to
the power supply terminal while the latter one should be connected
to the control signal wire of the indoor unit.
foam
wind-path
foam
sponge(Num4,5mm)
foam(Num 4,14mm)
foam(under)
wind-path
Gasket
installation board
Thickness of vehicle
roof is from 30mm-80mm
bubble
4 bolt
4 bolt
(Max torque is from
2.3Nm~2.5Nm)
WARNING
2. As shown in Fig.13, the indoor unit has one set of control signal
wires, with 1 wiring terminals in total.
3. Connect the docking terminals of indoor unit and outdoor unit,
see Fig.14.
outdoor
wire
 Loading...