35
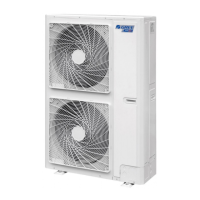
Condensing Unit
Service Manual
4 DISASSEMBLY AND ASSEMBLY PROCEDURE OF MAIN PARTS
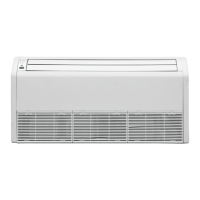
Model:
HNTF24/A-D, HNTF36/A-D, HNTF48/A-D, HNTF60/A-D
Disassembly of panel grating module
Remark: Make sure that the power supply is cut off before disassembling and protect all the parts during disassembly. Do not put lter
screen near the high temperature heat source.
Step Illustration Handling Instruction
Disassembly of sub-assy of
front grill
●Unscrew the 2 clasps of the upper grill and the
2 screws of the clasps.
●Open the grill, disassemble the 2 down clasps
to remove the grill.
Disassembly of right and left nishing plates
Remark: Make sure the power supply is cut off before disassembling and protect all the parts during disassembly. Do not scratch the outer
parts.
Step Illustration Handling Instruction
Disassembly of right and left
nishing plates
●Disassemble the screws as shown in the
graph with screwdriver and then push upward
to remove the right and left nishing plates.(As
is shown in the graph, arrow represents the
position of screws.)
Disassembly of panel parts
Remark: Make sure the power supply is cut off before disassembling and protect all the parts during disassembly. Do not scratch the outer
parts.
Step Illustration Handling Instruction
Disassembly of panel parts
●Unscrew the 3 sides’ screws on the cover to
remove the cover.
Disassembly of sub-assy of electric box
Remark: Make sure that the power supply is cut off before disassembling and protect all the parts during disassembly, especially the
components inside the box in case of water and hit.
Step Illustration Handling Instruction
Disassembly of electric box
cover
●Disassemble 3 screws as shown by the arrow
in the graph on left and remove the electric box
cover.
Disassembly of air deecting plate modules
Remark: Make sure the power supply is cut off before disassembling and protect all the parts during disassembly, especially the joints of
the air deecting plate.
Step Illustration Handling Instruction
Disassembly of sub-assy of
air deecting plate
●Remove the air deflecting plates from the air
deflecting plate support assembly, and then
remove both ends from the air sweeping
motor. joint (As is shown in the graph, arrow
represents the support assembly and circle the
air sweeping motor joint.)
 Loading...