Usage and Installation Manual for Combination Heat Pump Water Heater
b. Drain the water through drainage pipe at the bottom water tank of unit during disusing
in winter.
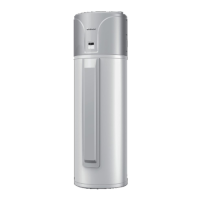
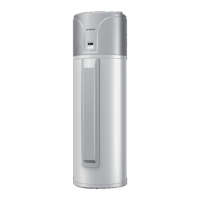
4). Preparing for water tank
Water tank at 2℃ will decrease by 8℃ in 24 hr.
Water tank at 7℃will decrease by 5℃ in 24 hr.
The installation of supporting base of water tank should be performed by users at field to
simplify carrying. Fix the supporting bases on special places at the base of water tank with
screws, together with which the supporting bases are equipped in the packaging.
10. Connection of pipeline
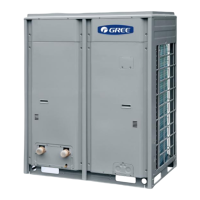
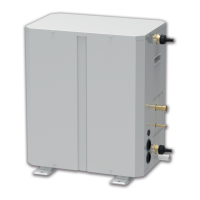
1). Connection of refrigerant pipe
A. The host unit and water tank are respectively equipped with 1/2”and 3/4” screwed joints and
connected by TP2M copper pipes with external diameter of 1/2”and 3/4” and wall thickness of
1mm. The following points should be noticed during installation:
a.If the water tank is 10m higher than host unit in vertical, an oil elbow should be installed at
5m of hot air pipe connecting host unit and water tank.
b. If installation location of water tank is lower than that of host unit, the maximum drop height
between them should be within 3.5m.
c. The connection pipe between host unit and water tank should not exceed 15m.
B. Bundle the thick and thin connection pipes, grounding wire and the wire of thermal sensor
with plastic during wrapping pipes. If connection between water tank and host passes the wall,
dill a φ70 hole in the wall and protect the pipes with protective sleeve.
2). Connection of water pipe
A. There are 3 sets of water pipeline system in water tank in total, living water system, water
supply system of air conditioner heating, solar-energy heat exchanging water supply system.
There respectively are copper pipe of outlet and inlet of these 3 sets system, spreading outside the
water tank. During installation, be sure to conform to local rules. The unit can operate only after
safety trail running.
B. There respectively are auxiliary water inlet and water outlet in the upper and lower part of the
frontal water tank (fig.1.2).If auxiliary water tank is needed, screw of the stopple of water
inlet/outlet and then connect them with specified water- inlet/outlet main pipes.During
14
 Loading...