Do you have a question about the Grizzly G1017 and is the answer not in the manual?
Explains the meaning of safety symbols like DANGER, WARNING, CAUTION, and NOTICE.
Covers guards, keys, clean workspace, environment, visitors, tool usage, and correct tool selection.
Covers extension cords, apparel, safety glasses, securing work, tool maintenance, and accidental starts.
Warns against leaving the tool running unattended and the need to turn off power.
Ensure machine is secured, aware of wood condition, perform inspections, and use sharp, balanced knives.
Do not plane man-made composites, position for clearance, keep hands away from moving parts, and handle glued-up stock.
Develop good habits, never leave planer unattended, and always wear safety glasses or goggles.
Details the planer's operation at 110V, recommended circuit breaker, and dedicated circuit.
Explains the importance of grounding, proper plug use, and checking outlets for safety.
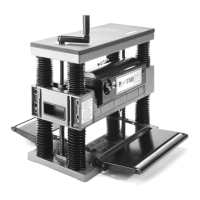
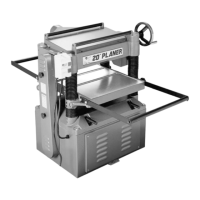
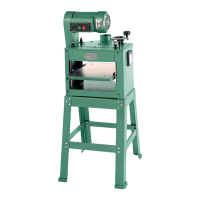
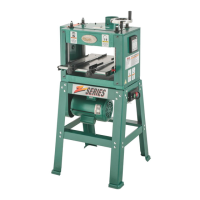
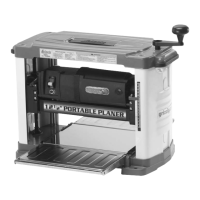
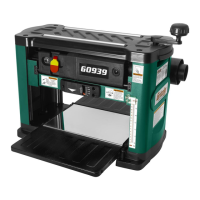
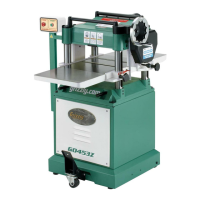
Introduction to the Model G1017 planer, its features, and the purpose of the manual.
Provides contact details for Grizzly Industrial, Inc. for service, parts, and manual feedback.
Stresses the need to read and understand the manual before operating the machine.
Instructions for reporting shipping damage and retaining packing materials for claims.
Warns about the machine's heavy weight and advises seeking assistance for moving.
Lists all parts included with the planer and instructions for missing non-proprietary parts.
Instructions for cleaning the waxy oil coating using solvent or degreaser, with safety precautions.
Warns about the extreme sharpness of cutterhead knives and the need for caution.
Advice on planning workspace, ensuring adequate lighting, and electrical outlet placement.
Instructions for securing the chip deflector for operator safety and chip direction.
Guidance on building a wooden base for stability and mounting the planer.
Steps for attaching the handle assembly to the planer.
Location and function of the on-off switch, including its locking feature.
Explains the reset button for the thermal overload protection switch.
Details how to adjust the depth of cut using the crank handle and scale.
Instructions for checking and adjusting the alignment of extension wings.
Information about the feed rollers, their pressure, and factory pre-set status.
Warning about the sharpness of cutterhead knives and precautions during adjustments.
Procedure to check parallelism between the cutterhead and bed using a hardwood gauge.
Provides dimensions for creating a hardwood gauge for parallelism checks.
Warning about the sharpness of cutterhead knives and precautions during adjustments.
Instructions for adjusting the chain and sprockets for cutterhead parallelism.
Steps for safely removing planer knives using appropriate tools and caution.
Detailed steps for installing and adjusting knives using a leveling screw and gauge.
Instructions on correctly tightening gib bolts to secure the knives.
Steps for performing a test run of the planer after assembly and adjustments.
Advice for effective planing, including lumber inspection, cut depth, and wood grain.
Lists common hardwoods and their shear strengths indicating planing difficulty.
Lists common softwoods and their shear strengths indicating planing difficulty.
Explains common wood characteristics like chipped grain, fuzzy grain, glossy surface, snipe, and wavy surface.
Describes chip marks/indentations, their causes, and potential solutions.
Explains build-up issues on rollers/cutterhead and their effects.
Provides solutions for common planing problems like chip marks, moisture, and dull knives.
Regular checks for loose bolts, worn parts, and conditions that could hamper safe operation.
Instructions for lubricating bearings and adjusting screw-threads.
Information on the importance of knife sharpness, professional sharpening, and blade matching.
Advice on keeping the motor clean, protecting it from contaminants, and checking carbon brushes.
Steps for inspecting and replacing the V-belt driving the cutterhead.
Instructions for cleaning chips and sawdust from between feed roller bushing blocks and brackets.
Information on obtaining parts, service, warranty, and additional resources.
Final safety warnings emphasizing respect, caution, and avoiding modifications.
| Motor Power | 3 HP |
|---|---|
| Voltage | 220V |
| Type | Planer |
| Phase | 1 |
| Amps | 15A |
| Maximum Cutting Height | 6 inches |
| Maximum Depth of Cut | 1/8 inch |