Remove the connecting pipe.
Dismantling Procedures CR, CRN 32•45•64•90
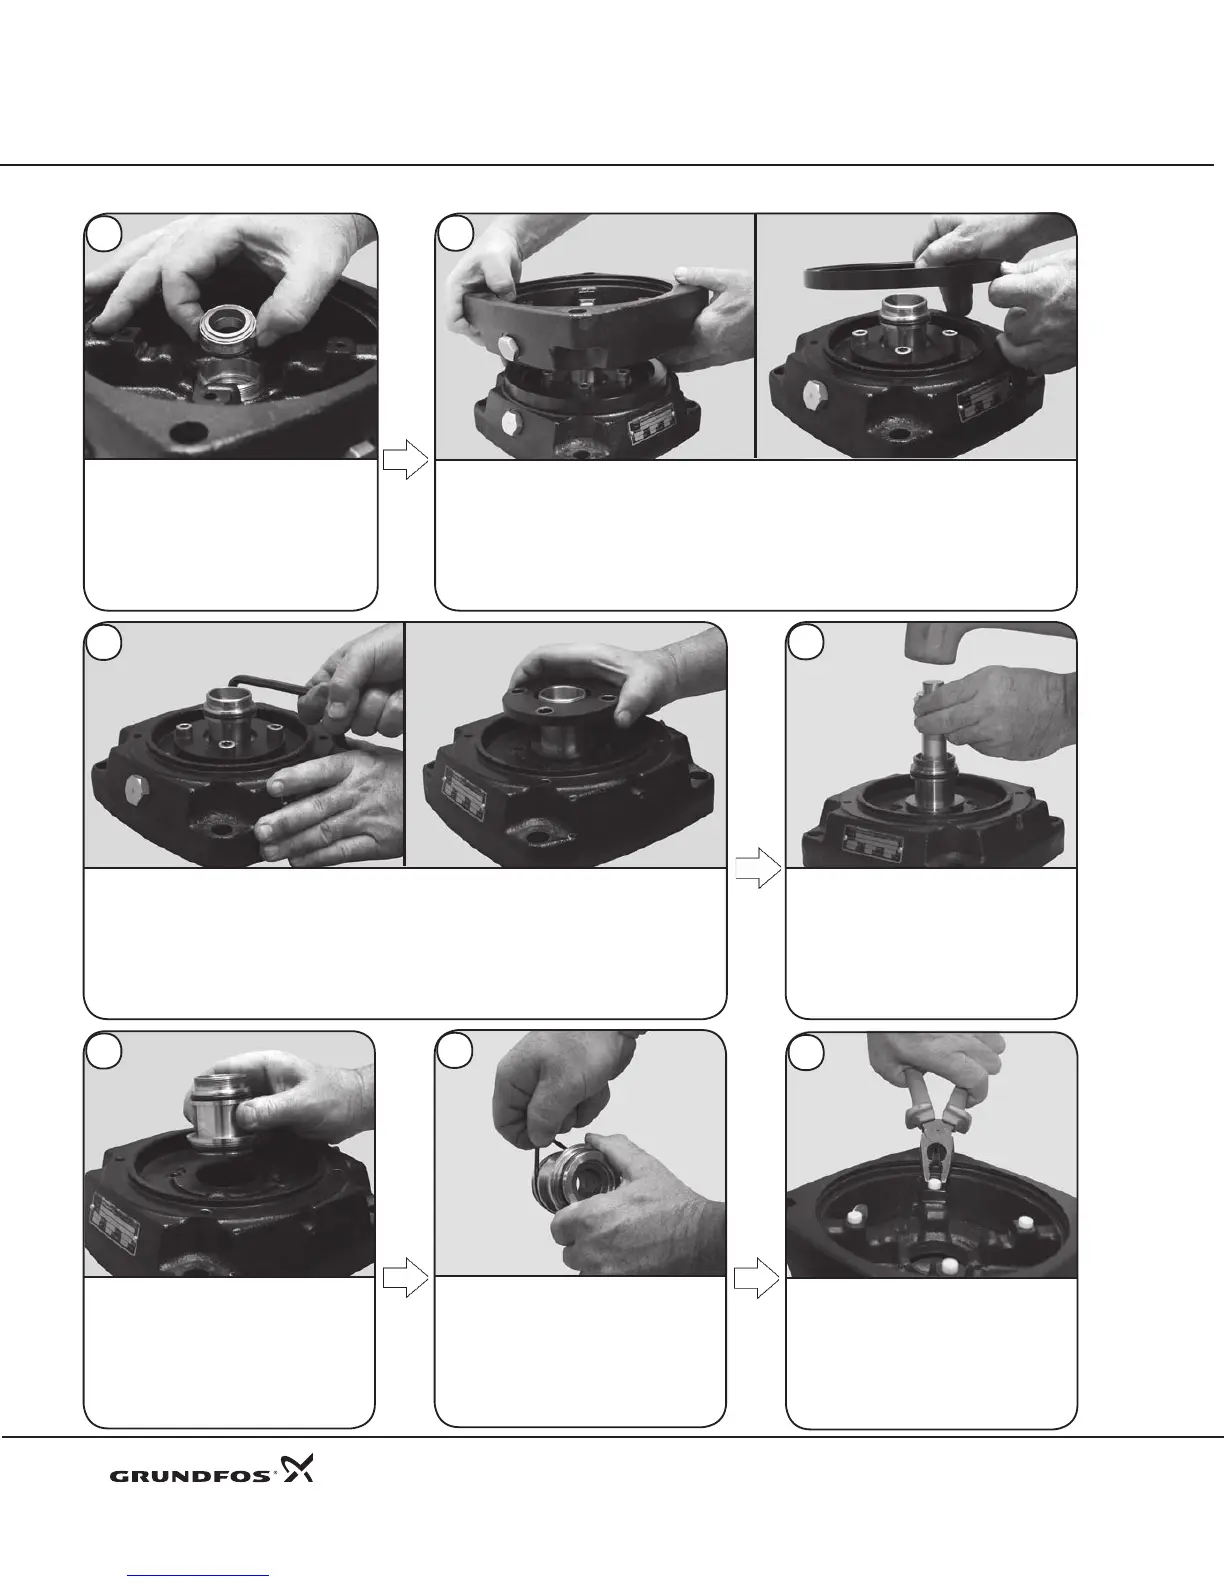
Back-to-Back Seal (continued)
Use your finger to reach through
the center of the seal, then pull the
Stationary Seal from the connecting
pipe.
Remove the middle pump head and spacing ring.
29
28
Use an 8 mm Allen wrench to loosen and remove the Retainer Screw (Pos. 58d). Then,
remove the Connecting Pipe Retainer (Pos. 58c).
30
6
Use 00SV2128 and a rubber mallet to
drive out the Retainer Ring (Pos. 47h)
and Bushings (Pos. 47g).
31
Flip the pump head over and remove
the four Stack Compression Spacers
(Pos. 60). For reassembly of the
inboard seal, skip to the Reassembly
Section step 25. To continue
disassembly, proceed to dismantling
step 51.
32
Remove the O-rings (Pos. 109a and
109b).
33
34
 Loading...


